TLDR: I cut my blades using a chainsaw
This happened a year ago. I never posted it because i “wanted to do it right and give good documentation”. But i think some pictures are better than nothing.
Theory
My goal is to cut 3 blades from the collected wood. Each blade
- is tapered. This means the width reduces towards the end. This saves material, weight, optimizes aerodynamics because of the higher tip speed and looks good
- is twisted. Each blade has an ‘angle of attack’. Twisted means that this angle of attack is taken into account over the whole length. Which leads to a ‘twist’ in the blade
- has an airfoil. An airfoil creates additional lift versus a plank dragging through the air
Unfortunately all this is science. There are people out there earning money with this knowledge. Some even pledge their whole lives for some minuscule advancement in this area.
Fortunately you don’t need exact science. To quote Huge Piggott (one of the leading figures in the DIY wind turbine movement):
“If it looks like an airfoil – it is an airfoil”
Which means that i probably won’t find the optimal solution. But something that works is feasible.
Chaining a block of wood into a wind blade means removing a lot of wood at the right places. The idea to cut away the biggest part with a chainsaw is from a german guy called Max aka Menelaos. He even placed a educational video online showing how to carve the blades: https://www.youtube.com/watch?v=aTloL-j5BSY. Important: This method only needs one cut! All other versions i found need 2 cuts with the chainsaw and are much more inaccurate.
I took my measurements from Hugh Piggott and Max. The measurements are available at http://www.kleinwindanlagen.de/Forum/cf3/topic.php?t=3802.
I cut out a template for the chainsaw:
Carving
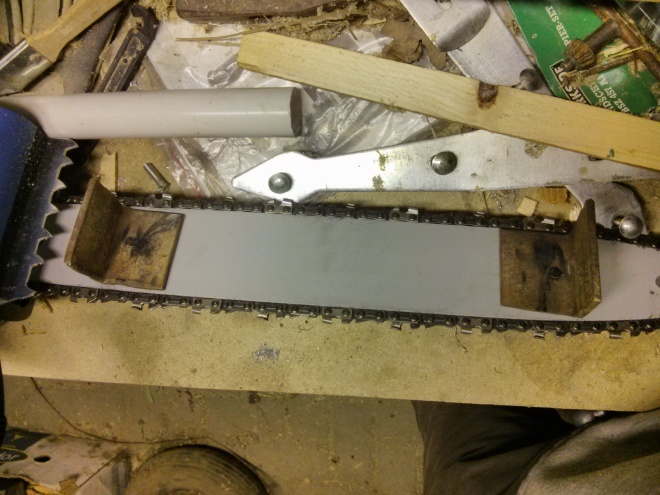
I have no experience using a chainsaw. I know that it can cut off an arm or leg. I know that cutting wood along the grain is even more difficult. That’s why i built a sledge to guide the chainsaw:
This failed horribly. The Guides add ca. 5mm in height. They block as soon as they reach the saw slit because the chainsaw blade together with the guides are ca. 10mm and the slit is ca. 5mm.
I continued cutting ‘freehand’. This means i try to keep the chainsaw blade as close to the template as possible.
Here you can see the leeward side of the template
And the windward side. You can see the chipboard template in front.
Here you can see me in midst of cutting through the wood. I had to re-clamp the blade.
All done for three blades. This technique only needs one pass with the chainsaw.
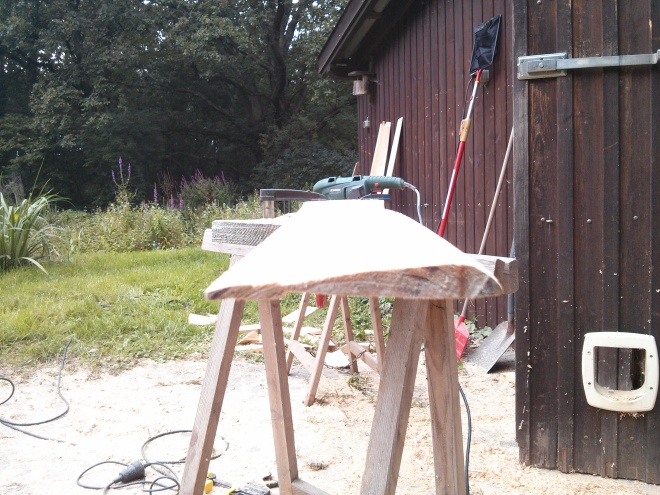
I removed the chainsaw traces using a power planner and belt sander
It’s actually an airfoil! You can also see the poorly laminated wood. It split in the left quarter.
The end result:


