I recently had to fix the door of my Grundofen, a thermal mass stove that provides a wonderful, radiant heat. A critical component had failed: the middle of the three Schamotteplatten (fireclay plates) insulating the inside of the door broke in two. While a simple replacement was an option, commercial vermiculite plates are expensive and often fragile. I saw an opportunity to experiment and engineer a superior, custom solution.
Act I: The Geopolymer Dream and the Treacherous Slag
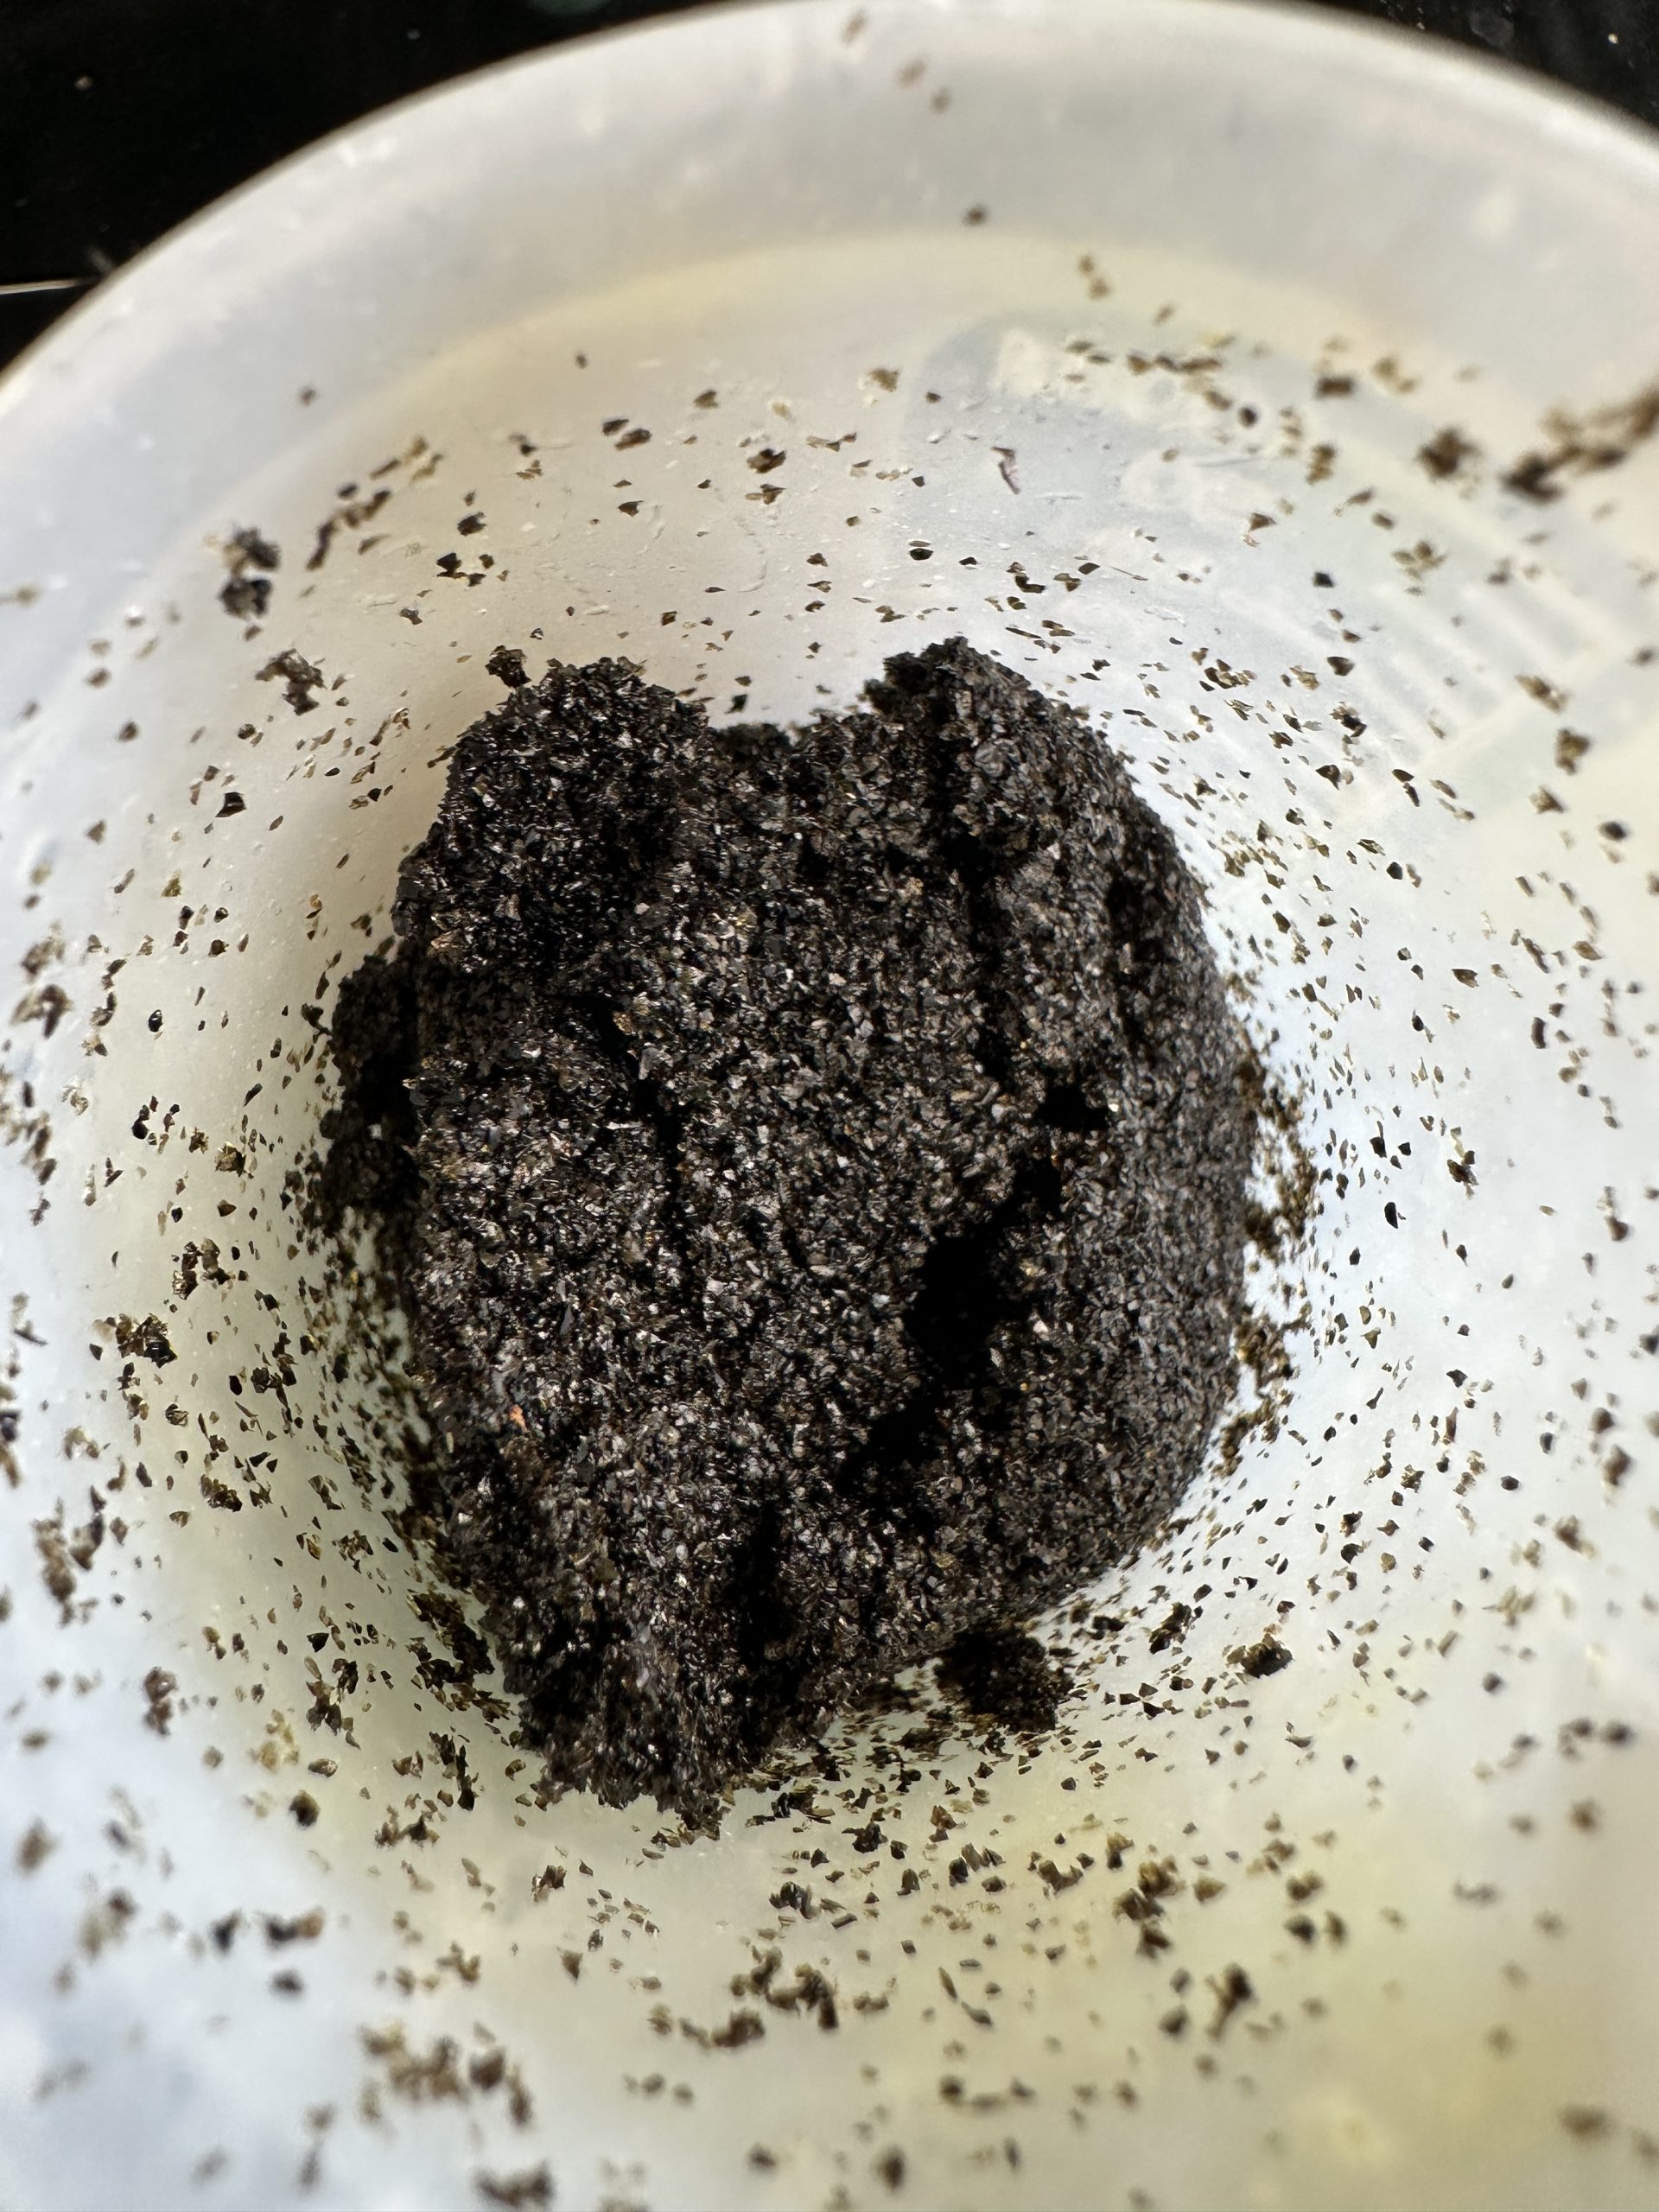
My first idea was ambitious: create a geopolymer. This is a type of synthetic, chemically-bonded stone with incredible properties, often made from industrial waste. I sourced a blasting abrasive called Kontrasil, which was described as a blast furnace slag—perfect, I thought. I combined it with a potent alkali activator made from drain cleaner (NaOH) and waterglass.
The result? Complete failure. The mix felt like wet sand and, even after a week, it had the structural integrity of… well, wet sand. It never hardened.
The Lesson: After much research, the truth became clear. My Kontrasil was a Schmelzkammerschlacke (coal boiler slag). It is intentionally manufactured to be hard and chemically inert by slow cooling, which gives it a stable crystalline structure. Reactive slag for cement, in contrast, is rapidly water-quenched to freeze it in a chemically vulnerable amorphous (glassy) state. I was essentially trying to make glue out of granite dust. The raw material was fundamentally wrong from the start.
Act II: Building the Mold and a Lesson in Symmetry
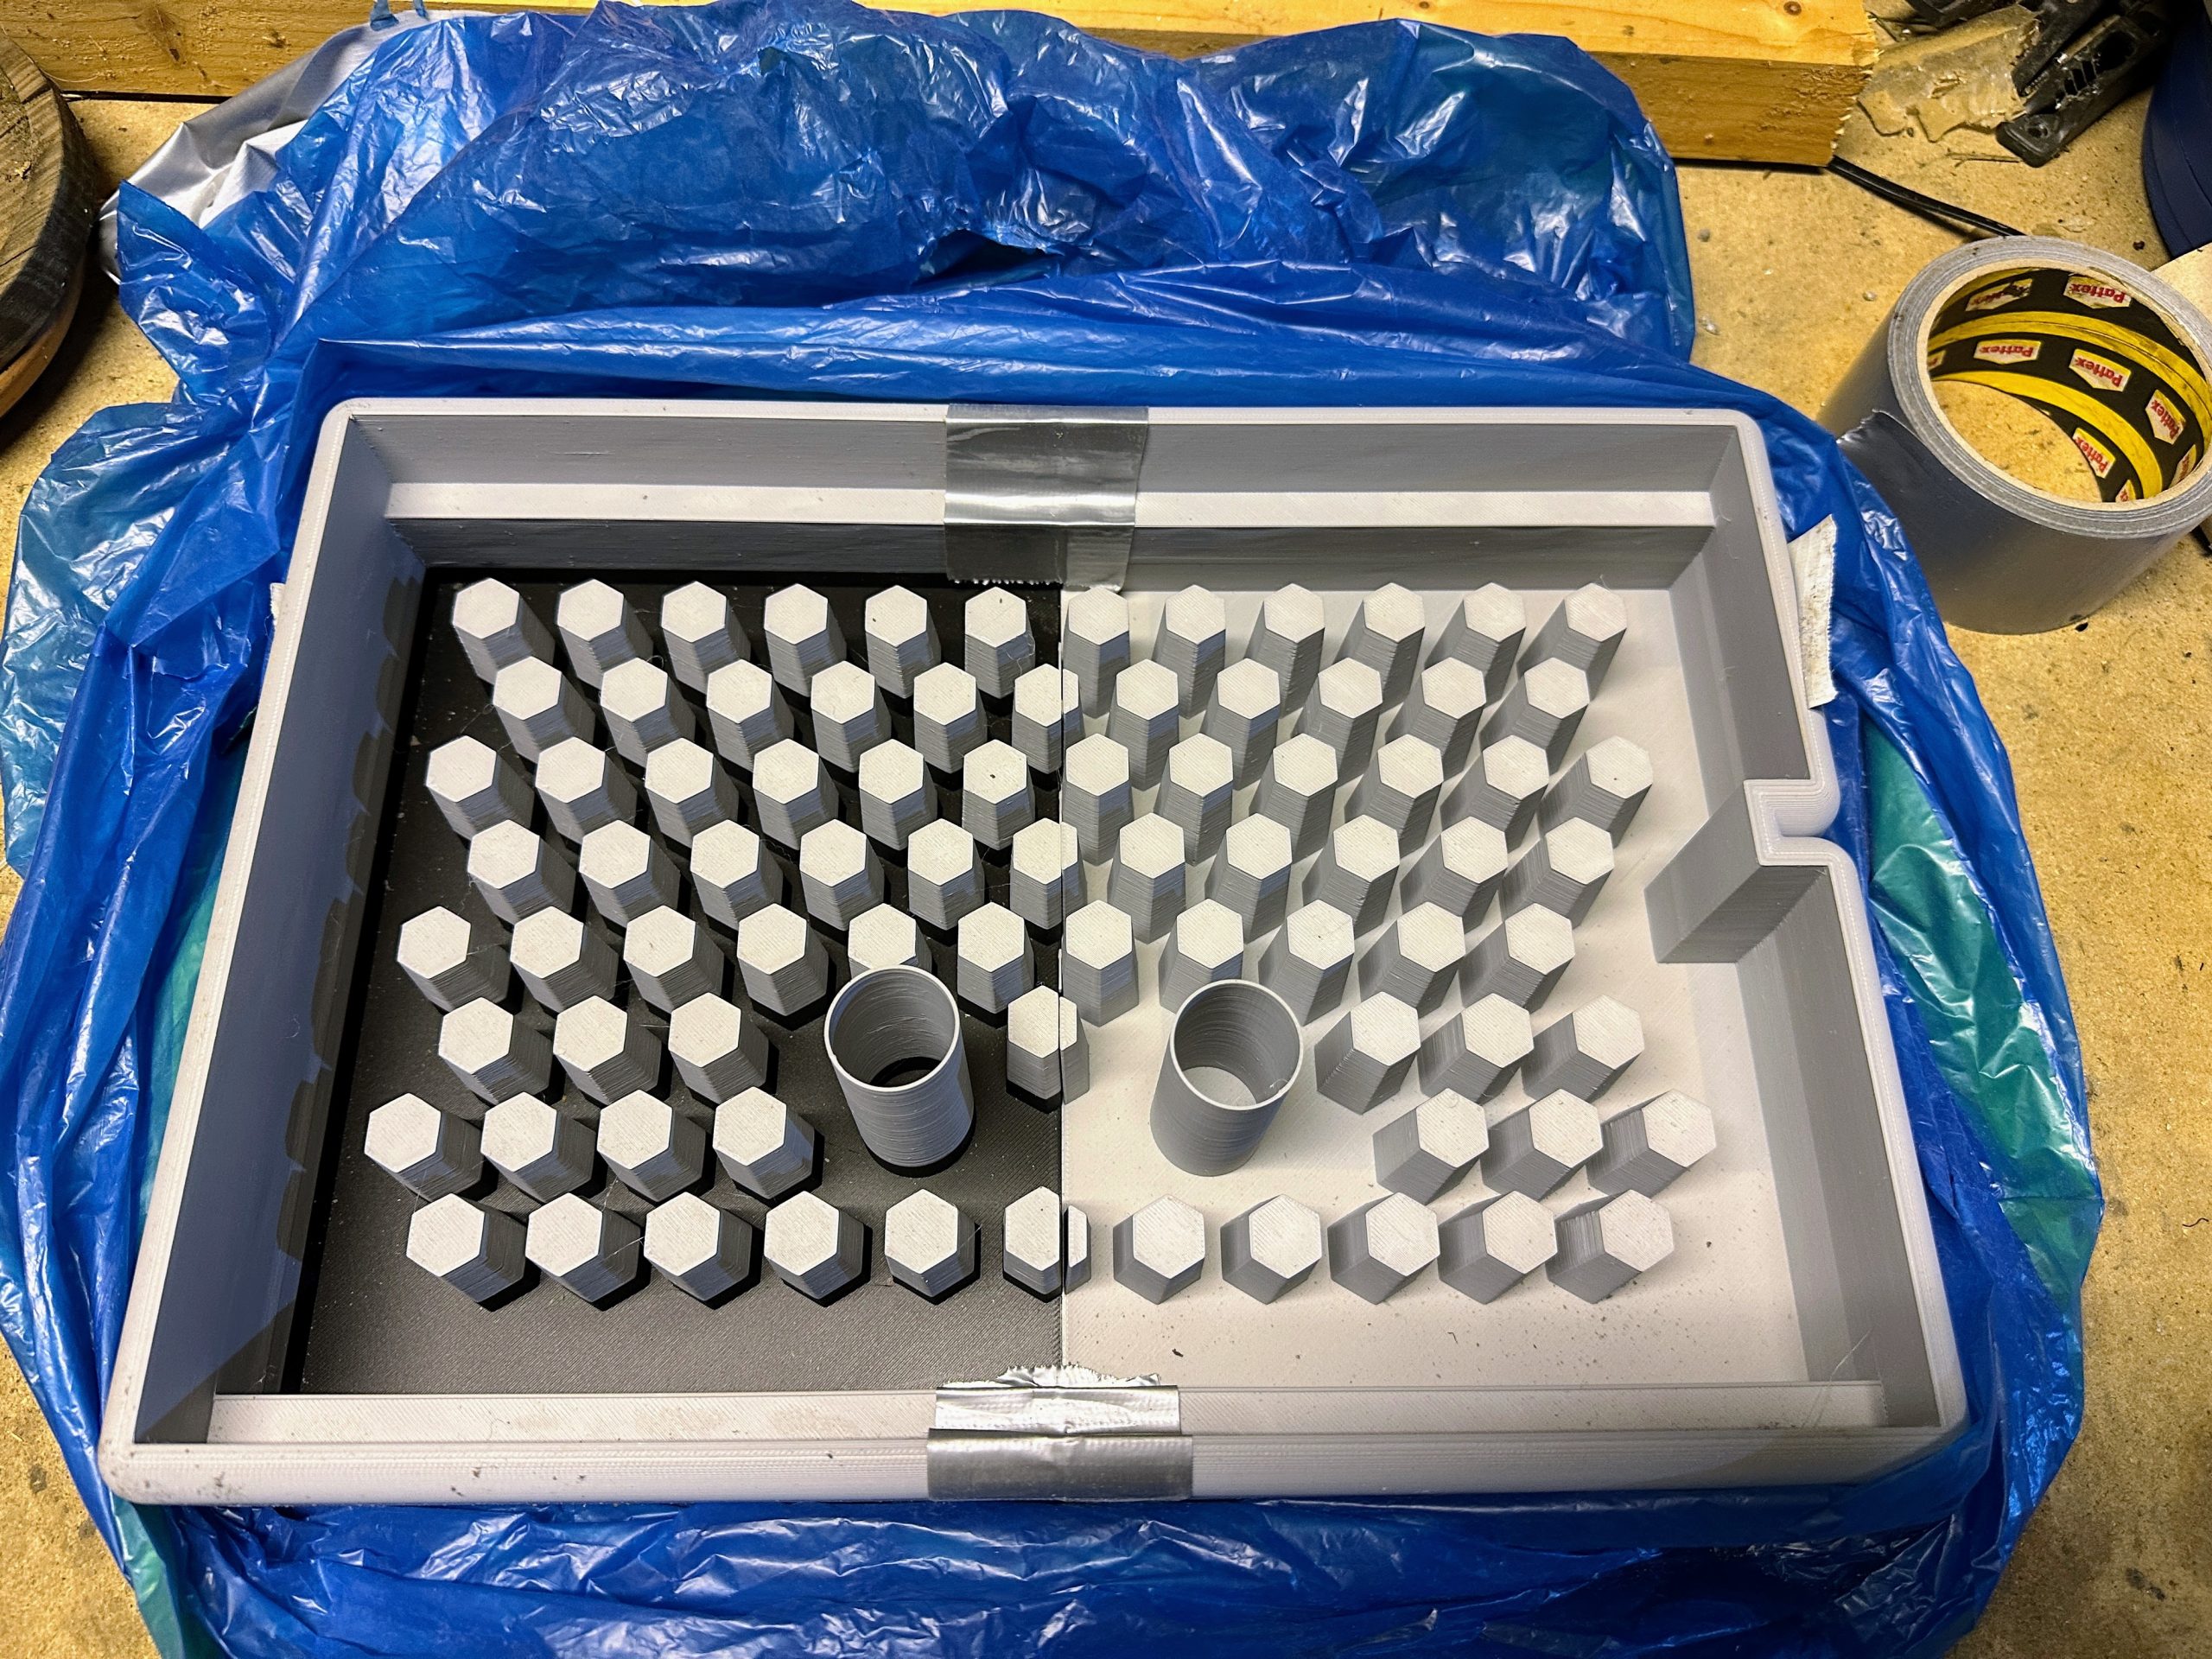
Confident I now understood the chemistry, I pivoted to a more traditional castable refractory. I meticulously measured the old door plates and designed a 3D-printable mold, complete with hexagon cutouts to reduce weight and improve thermal properties. The first casting came out looking perfect.
It was only when I went to install it that I realized my catastrophic error: I had forgotten to mirror the design. I had created a perfect, rock-solid plate for a door that opened the wrong way. A classic engineering oversight that every maker experiences sooner or later!
Act III: The Final Formula and a Lesson in Physics
With a corrected, mirrored mold printed, I was ready for the final attempt. I gathered the correct materials: Feuerzement (a calcium aluminate refractory cement), Perlite (a lightweight insulator), Quarzsand, and Lithium-Wasserglas as a chemical hardener and plasticizer.
Based on my previous failures, I knew the recipe had to be just right. Perlite is incredibly thirsty and has a huge volume for its weight, so a simple recipe by weight would fail. The final formula was engineered to ensure there was enough “paste” (cement, sand, and liquids) to fully coat and bind the massive volume of perlite.
The Winning Recipe (for a 4.4 Liter Mold)
- Feuerzement (Ciment Fondu): 1200g
- Quarzsand (fine, <1mm): 600g
- Perlite: 700g
- Wasser (Water): 1000g
- Lithium-Wasserglas: 250g
I mixed everything together in one batch. The mix initially felt stiff and dry as the perlite absorbed the water—a phenomenon known as “false set.” However, with continued mixing, it transformed into a coarse but paste. When you ‘pat’ it, the water comes out and creates a smooth surface.
During testing with a previous batch, I discovered a critical lesson: vibrating the mix is a mistake. The intense energy caused the components to separate, with the heavy sand and cement sinking and water pooling on top—a classic case of “segregation and bleeding” caused by the thixotropic nature of the mix. The final piece was therefore compacted by hand-pressing only.

Why this mix works
This isn’t just concrete; it’s an engineered composite. Here is the molecular breakdown:
1. The High-Temp Binder (Calcium Aluminate):
Standard Portland cement relies on a bond that creates Calcium Hydroxide as a byproduct. At around 500°C, this byproduct dehydrates and turns to powder, causing the concrete to crumble. I used Calcium Aluminate Cement (Ciment Fondu). At a molecular level, this forms ceramic-like mineral phases that remain stable and strong all the way up to 1300°C.
2. The Insulation (Trapped Air):
Heat travels by conduction. By using Perlite (volcanic glass), we introduce millions of trapped air bubbles. Since air is a terrible conductor of heat, the energy stays in the firebox rather than passing through the door.
3. The Quartz Trade-Off (Phase Transitions):
I added Quartz sand to the mix. Scientifically, this is risky because quartz undergoes a “phase transition” (expanding in volume) at 573°C, which can crack rigid ceramics. However, Perlite is soft. Without the sand, throwing a log into the stove would crush the insulation. I chose to add the sand to create a hard “skeleton” for mechanical abrasion resistance, relying on the softer perlite to absorb the internal expansion stresses.
4. The Chemical Booster (Lithium Silicate):
The Lithium-Waterglass acts as a flux. It reacts with the cement to form additional silicate bonds (C-A-S-H gels), effectively gluing the matrix together more tightly than water alone could achieve.
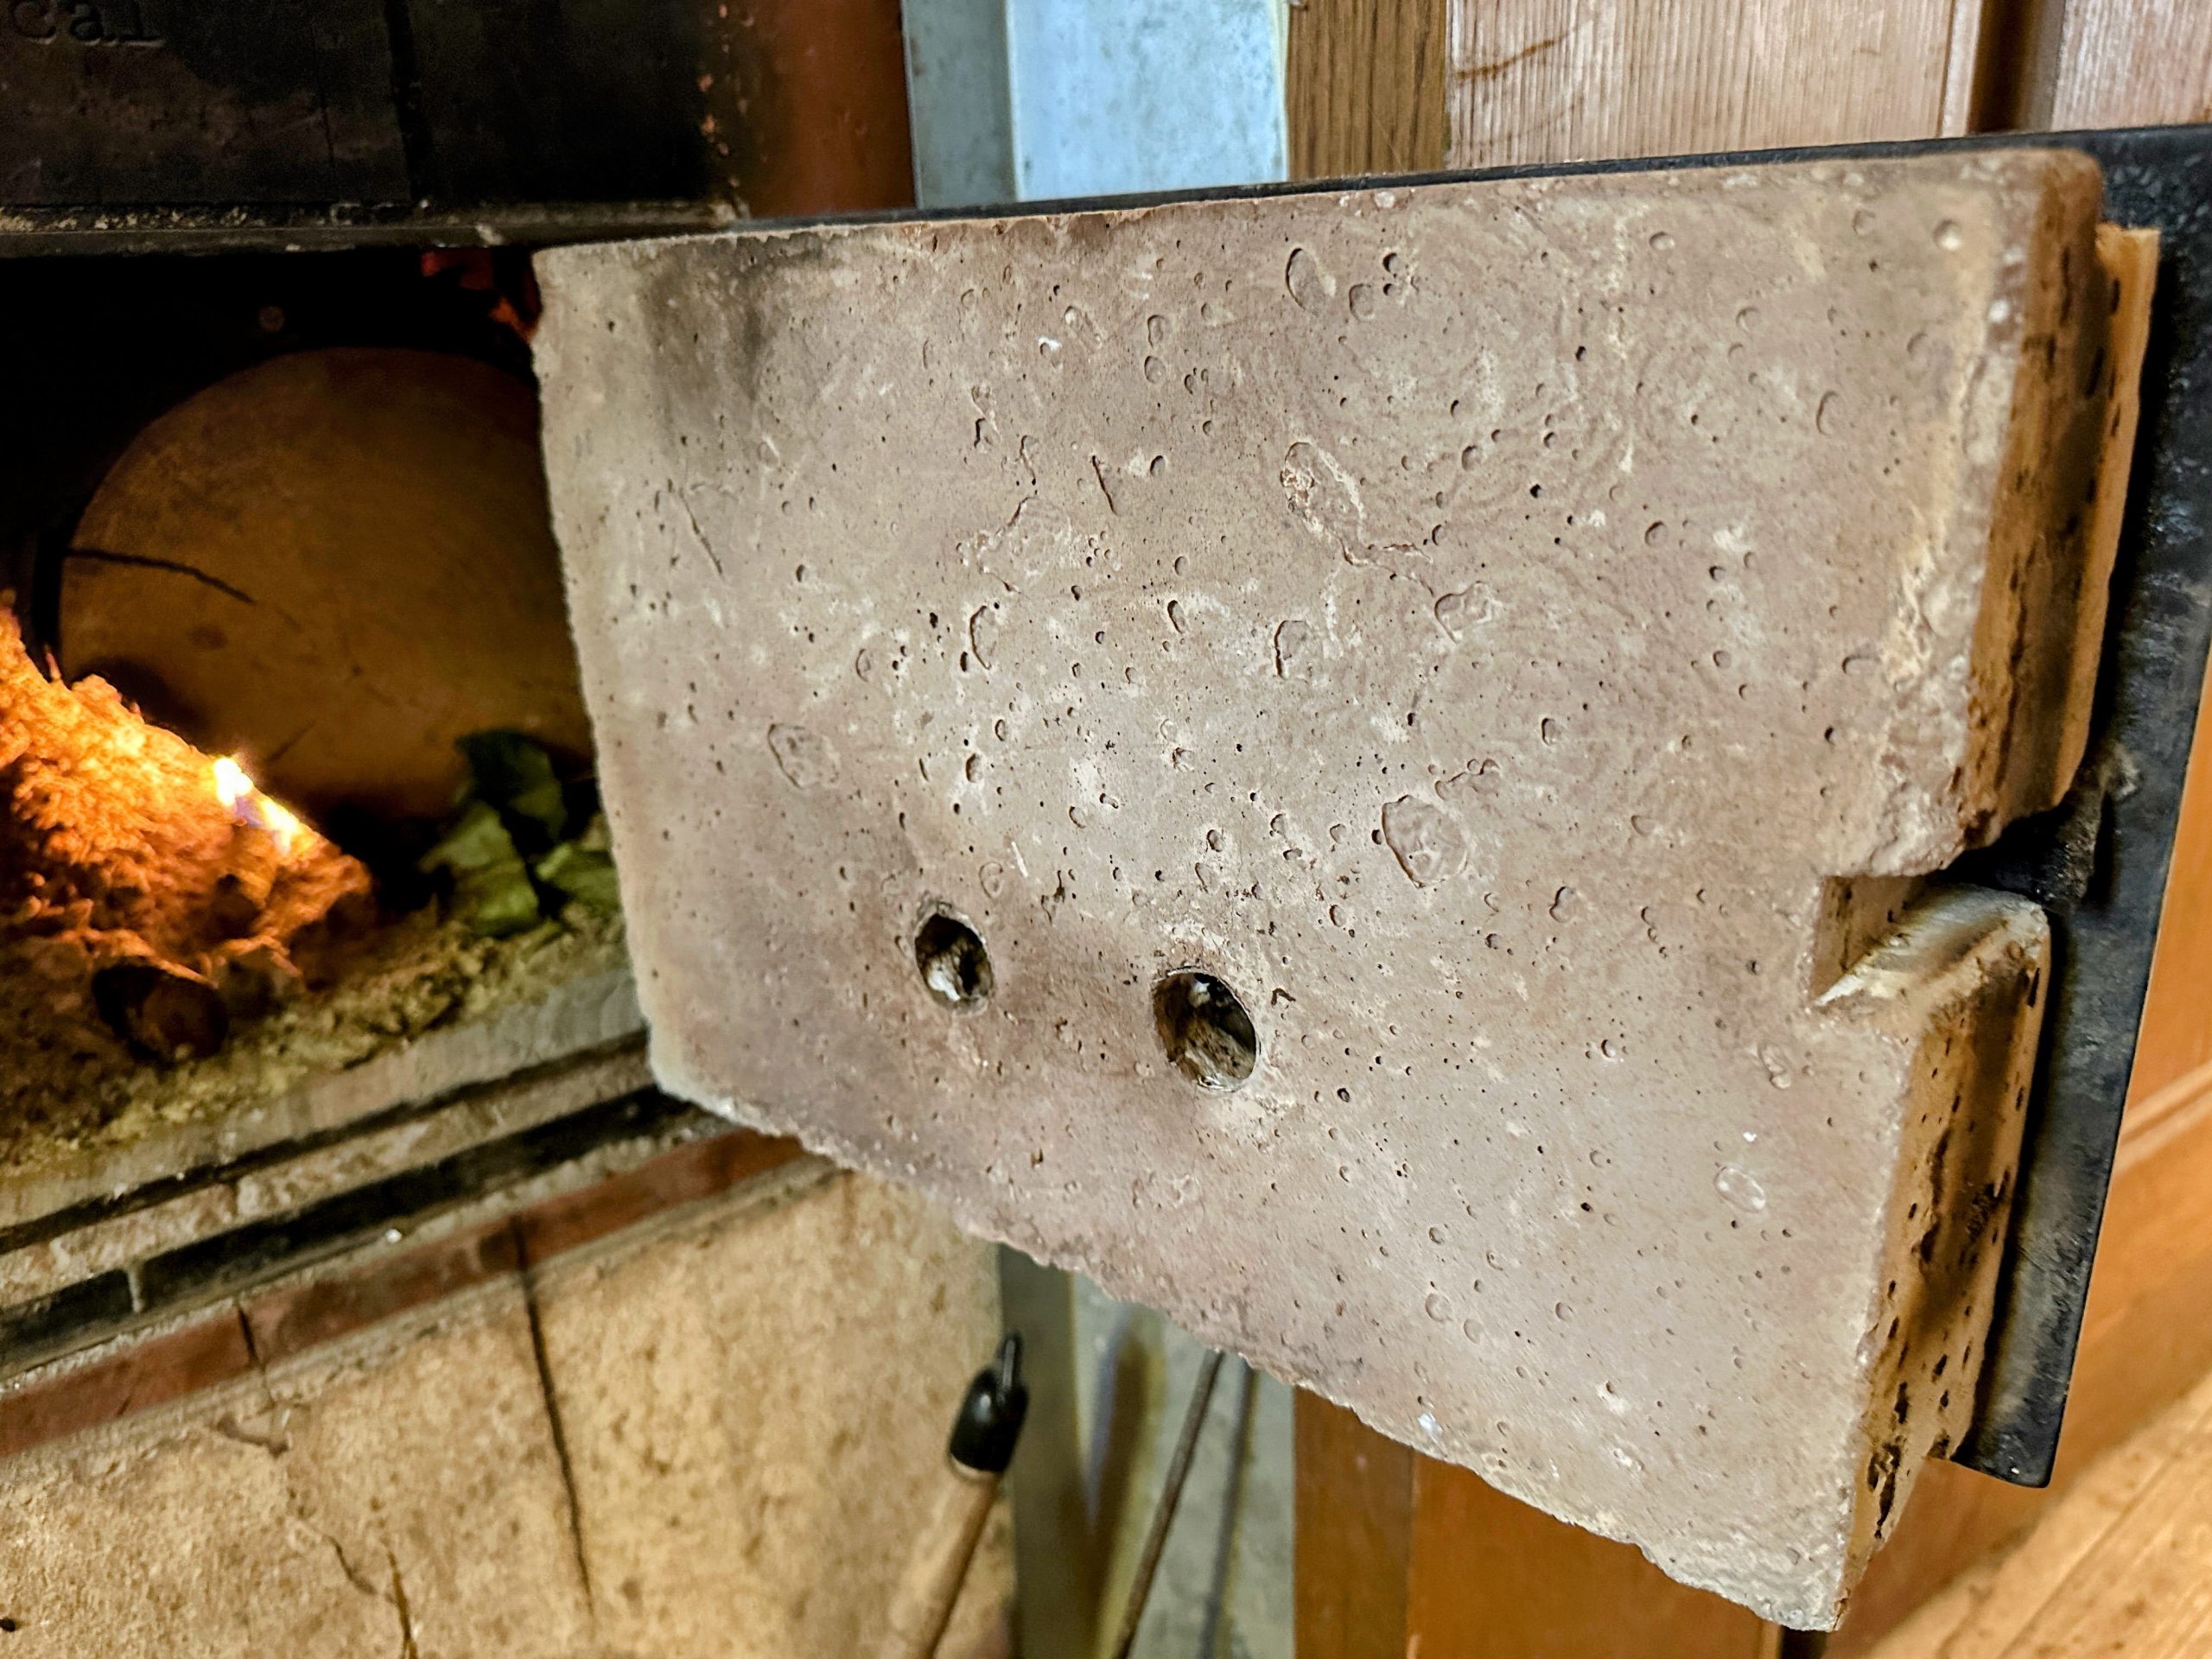
The Result: A Perfect Fit and a Cool Door
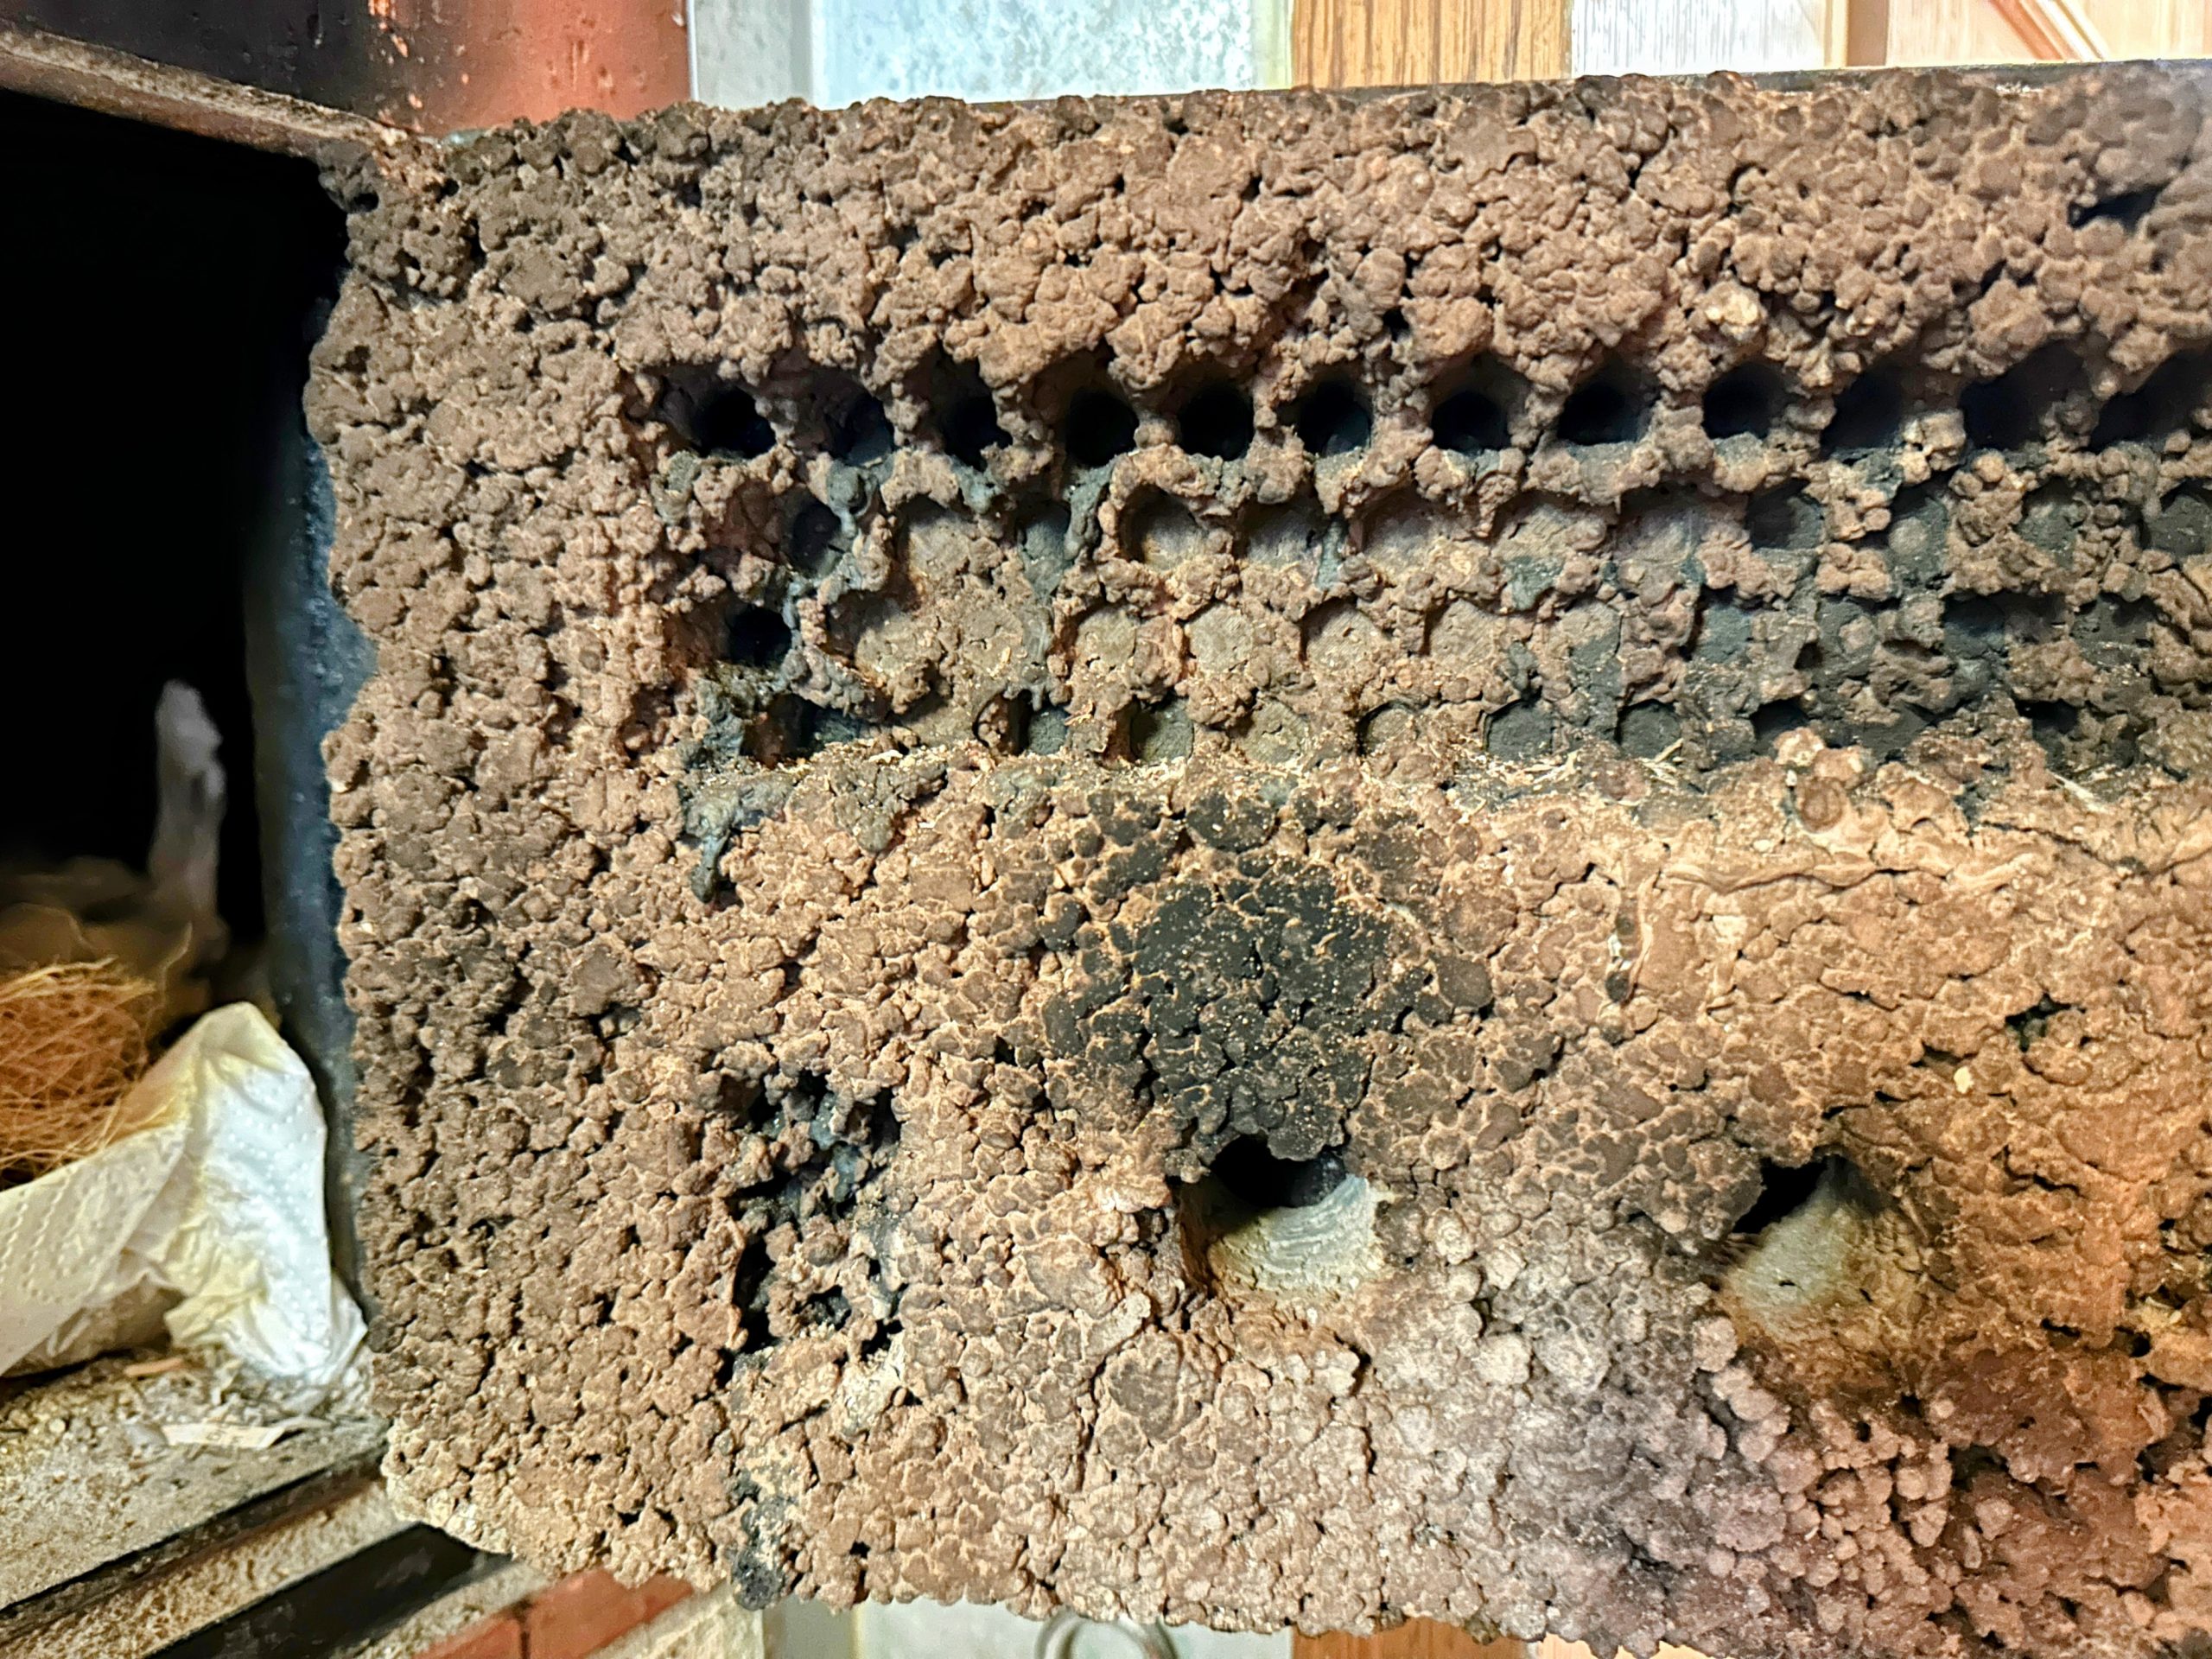
After a very patient two-week cure and dry time, the result was a solid, surprisingly light insulating block. I had either mismeasured slightly or the mix had effectively zero shrinkage, because the fit was so perfect I had to hammer it into the door frame—an ideal compression fit.
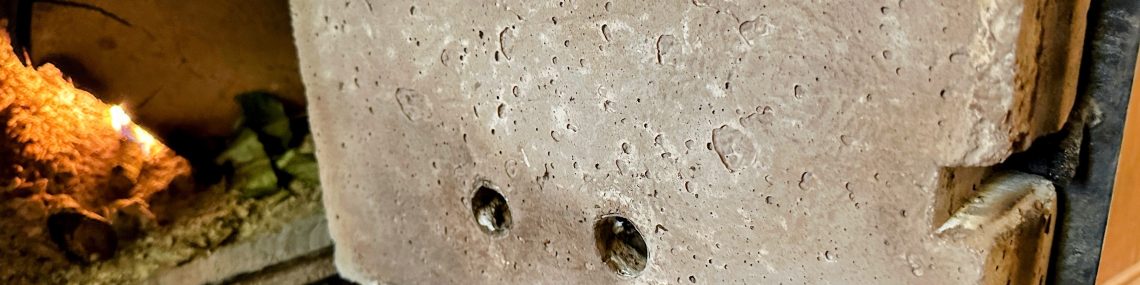
The real test, of course, was the fire. I am happy to report that it works perfectly. The insulation is vastly superior to the original commercial plates. After running the stove for hours with a roaring fire, the outer door stays cool to the touch. This is the ultimate proof that the material is functioning as an insulator (blocking heat transfer), not just a refractory (resisting heat). The heat is finally staying in the firebox where it belongs.
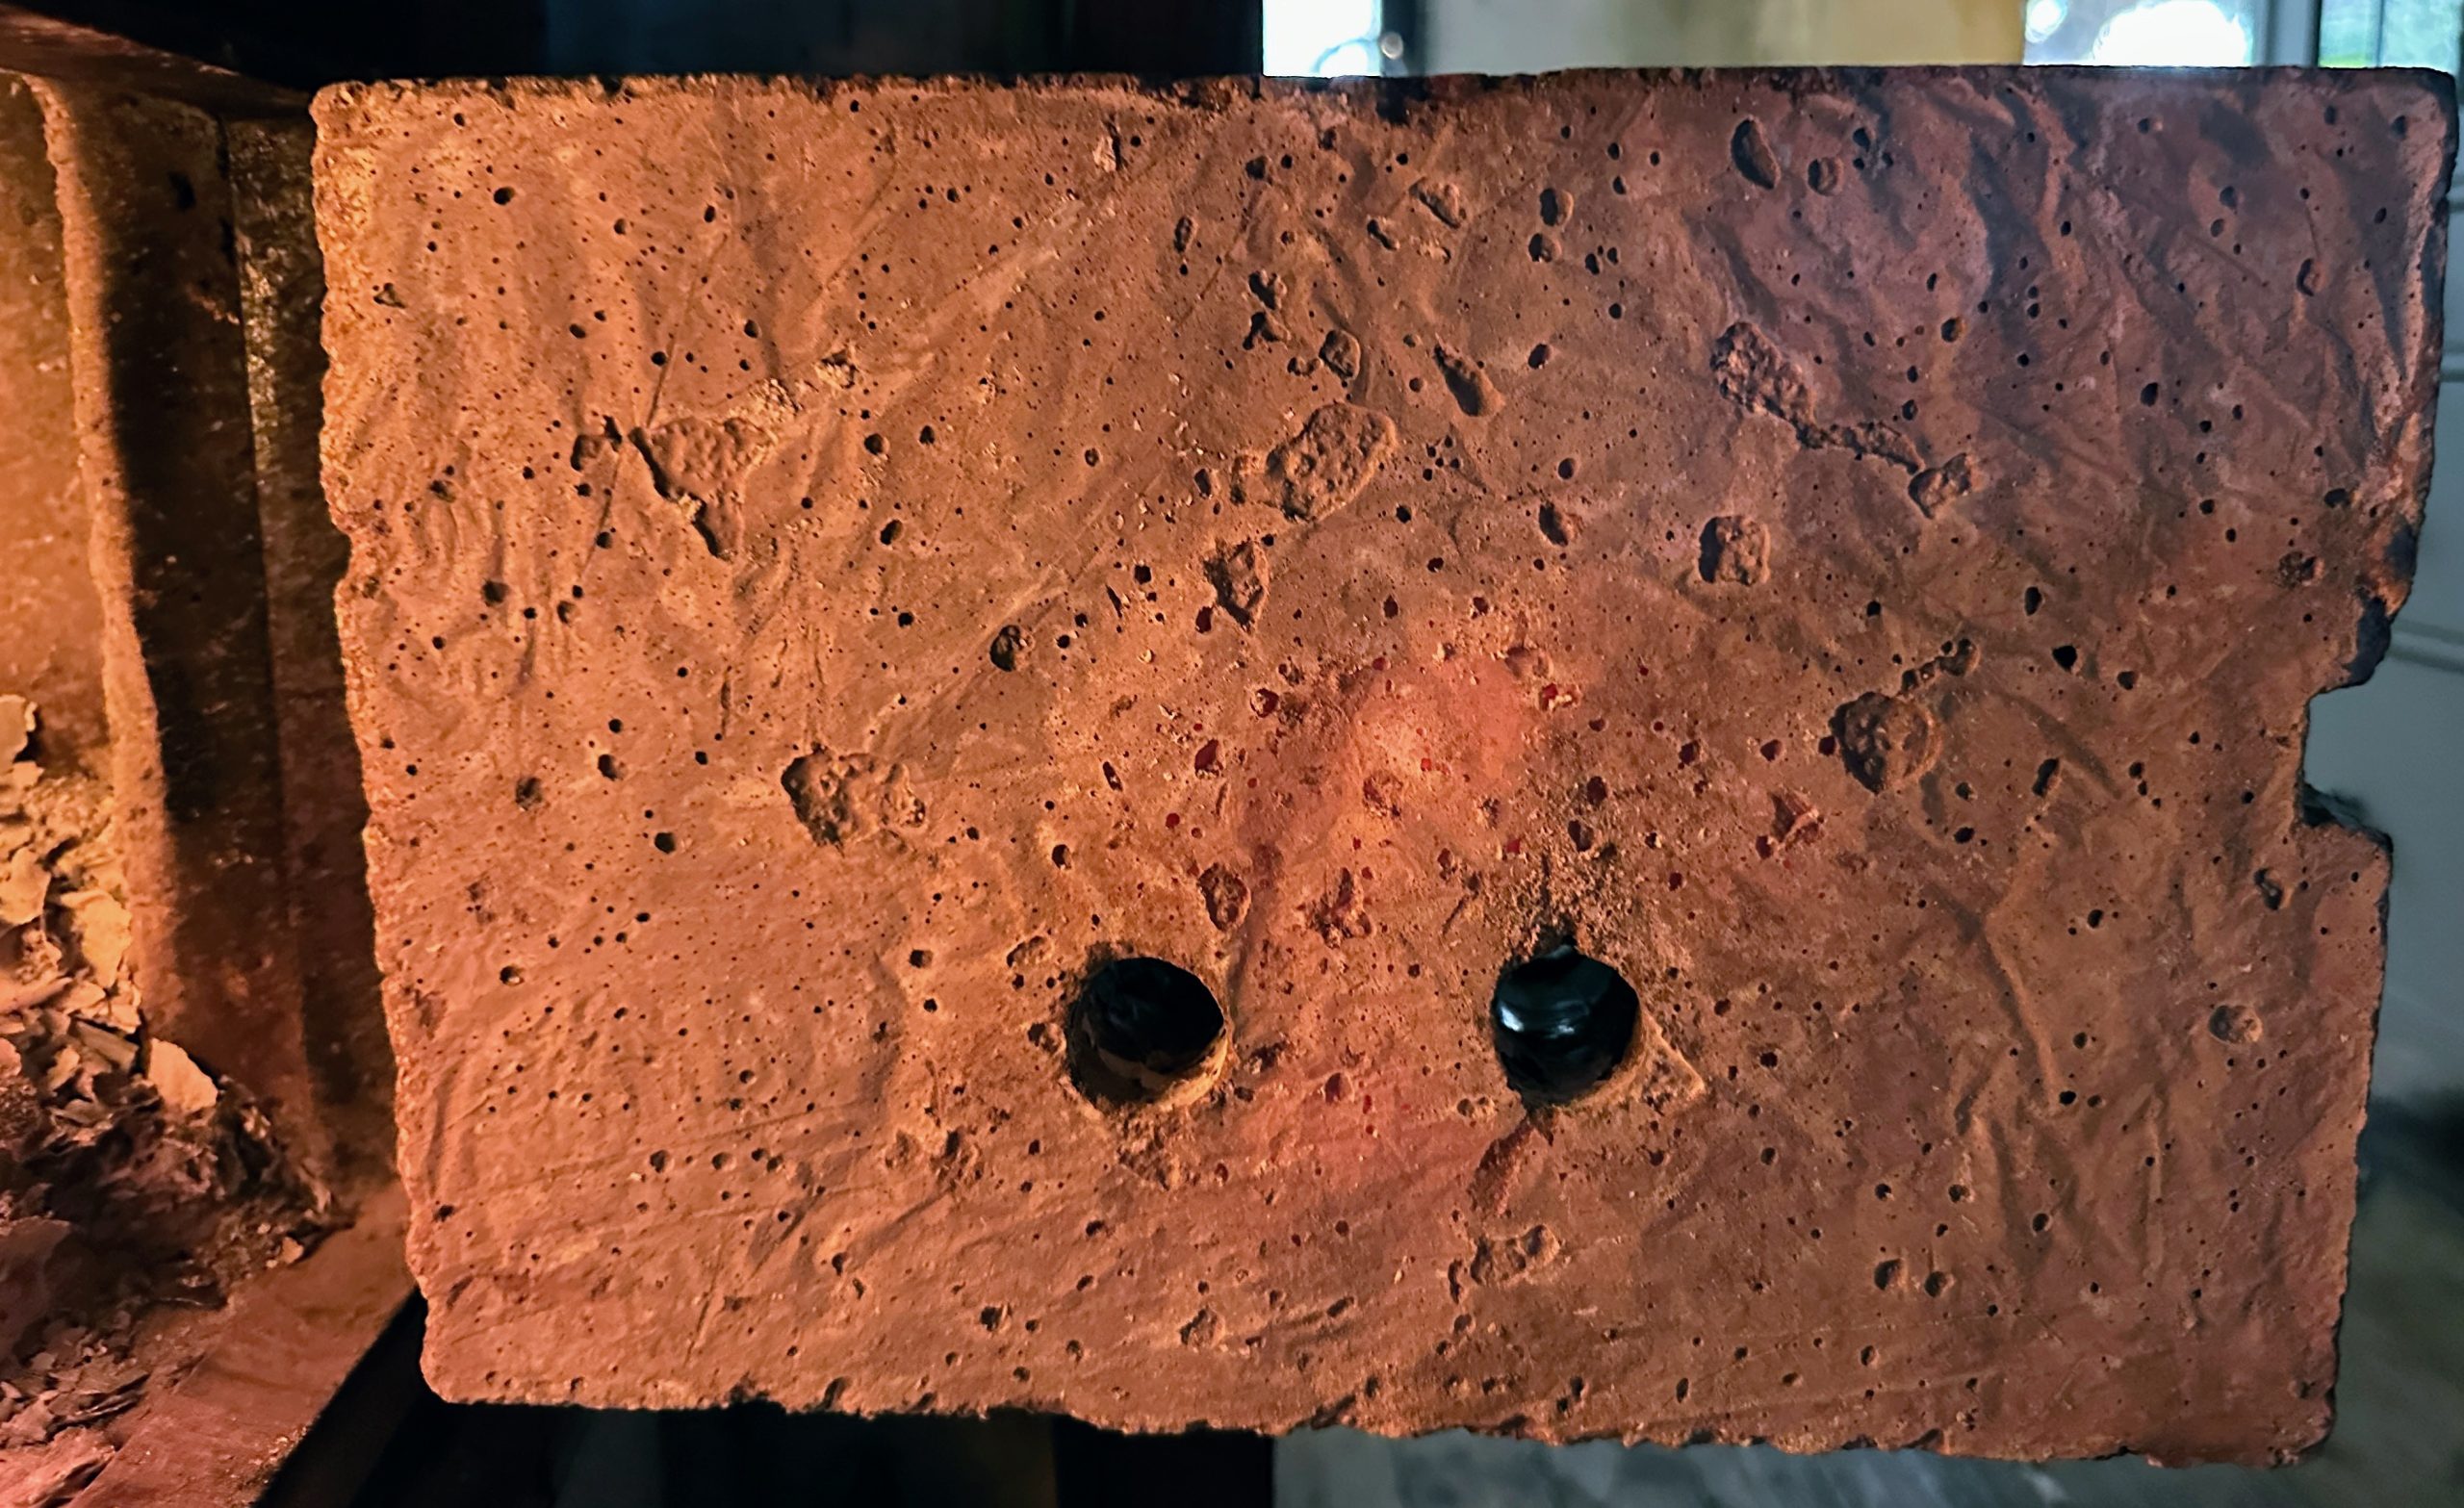
Red glowing door
A log came too close to the door and turned the center part red hot. Difficult to photograph, but look just above the air holes.
Key Learnings
- Material Chemistry Matters: Not all “slags” are created equal. The difference between a crystalline (inert) and an amorphous (reactive) atomic structure is the difference between failure and success.
- Formulate for Volume, Not Just Weight: When using lightweight aggregates like perlite, you must ensure you have enough binding paste to fill the massive volume between the particles.
- Understand the Physics of Mixing: A mix that feels “dry” might just need more mixing time to overcome its initial false set. Conversely, too much energy (like vibration) can cause a seemingly perfect mix to segregate and fail.
- Patience is a Virtue: Proper curing (keeping it wet) and drying (letting it air out) are non-negotiable chemical and physical processes. Rushing these final steps will ruin an otherwise perfect casting.