TL;DR: You have a lot of work to do until this is usable
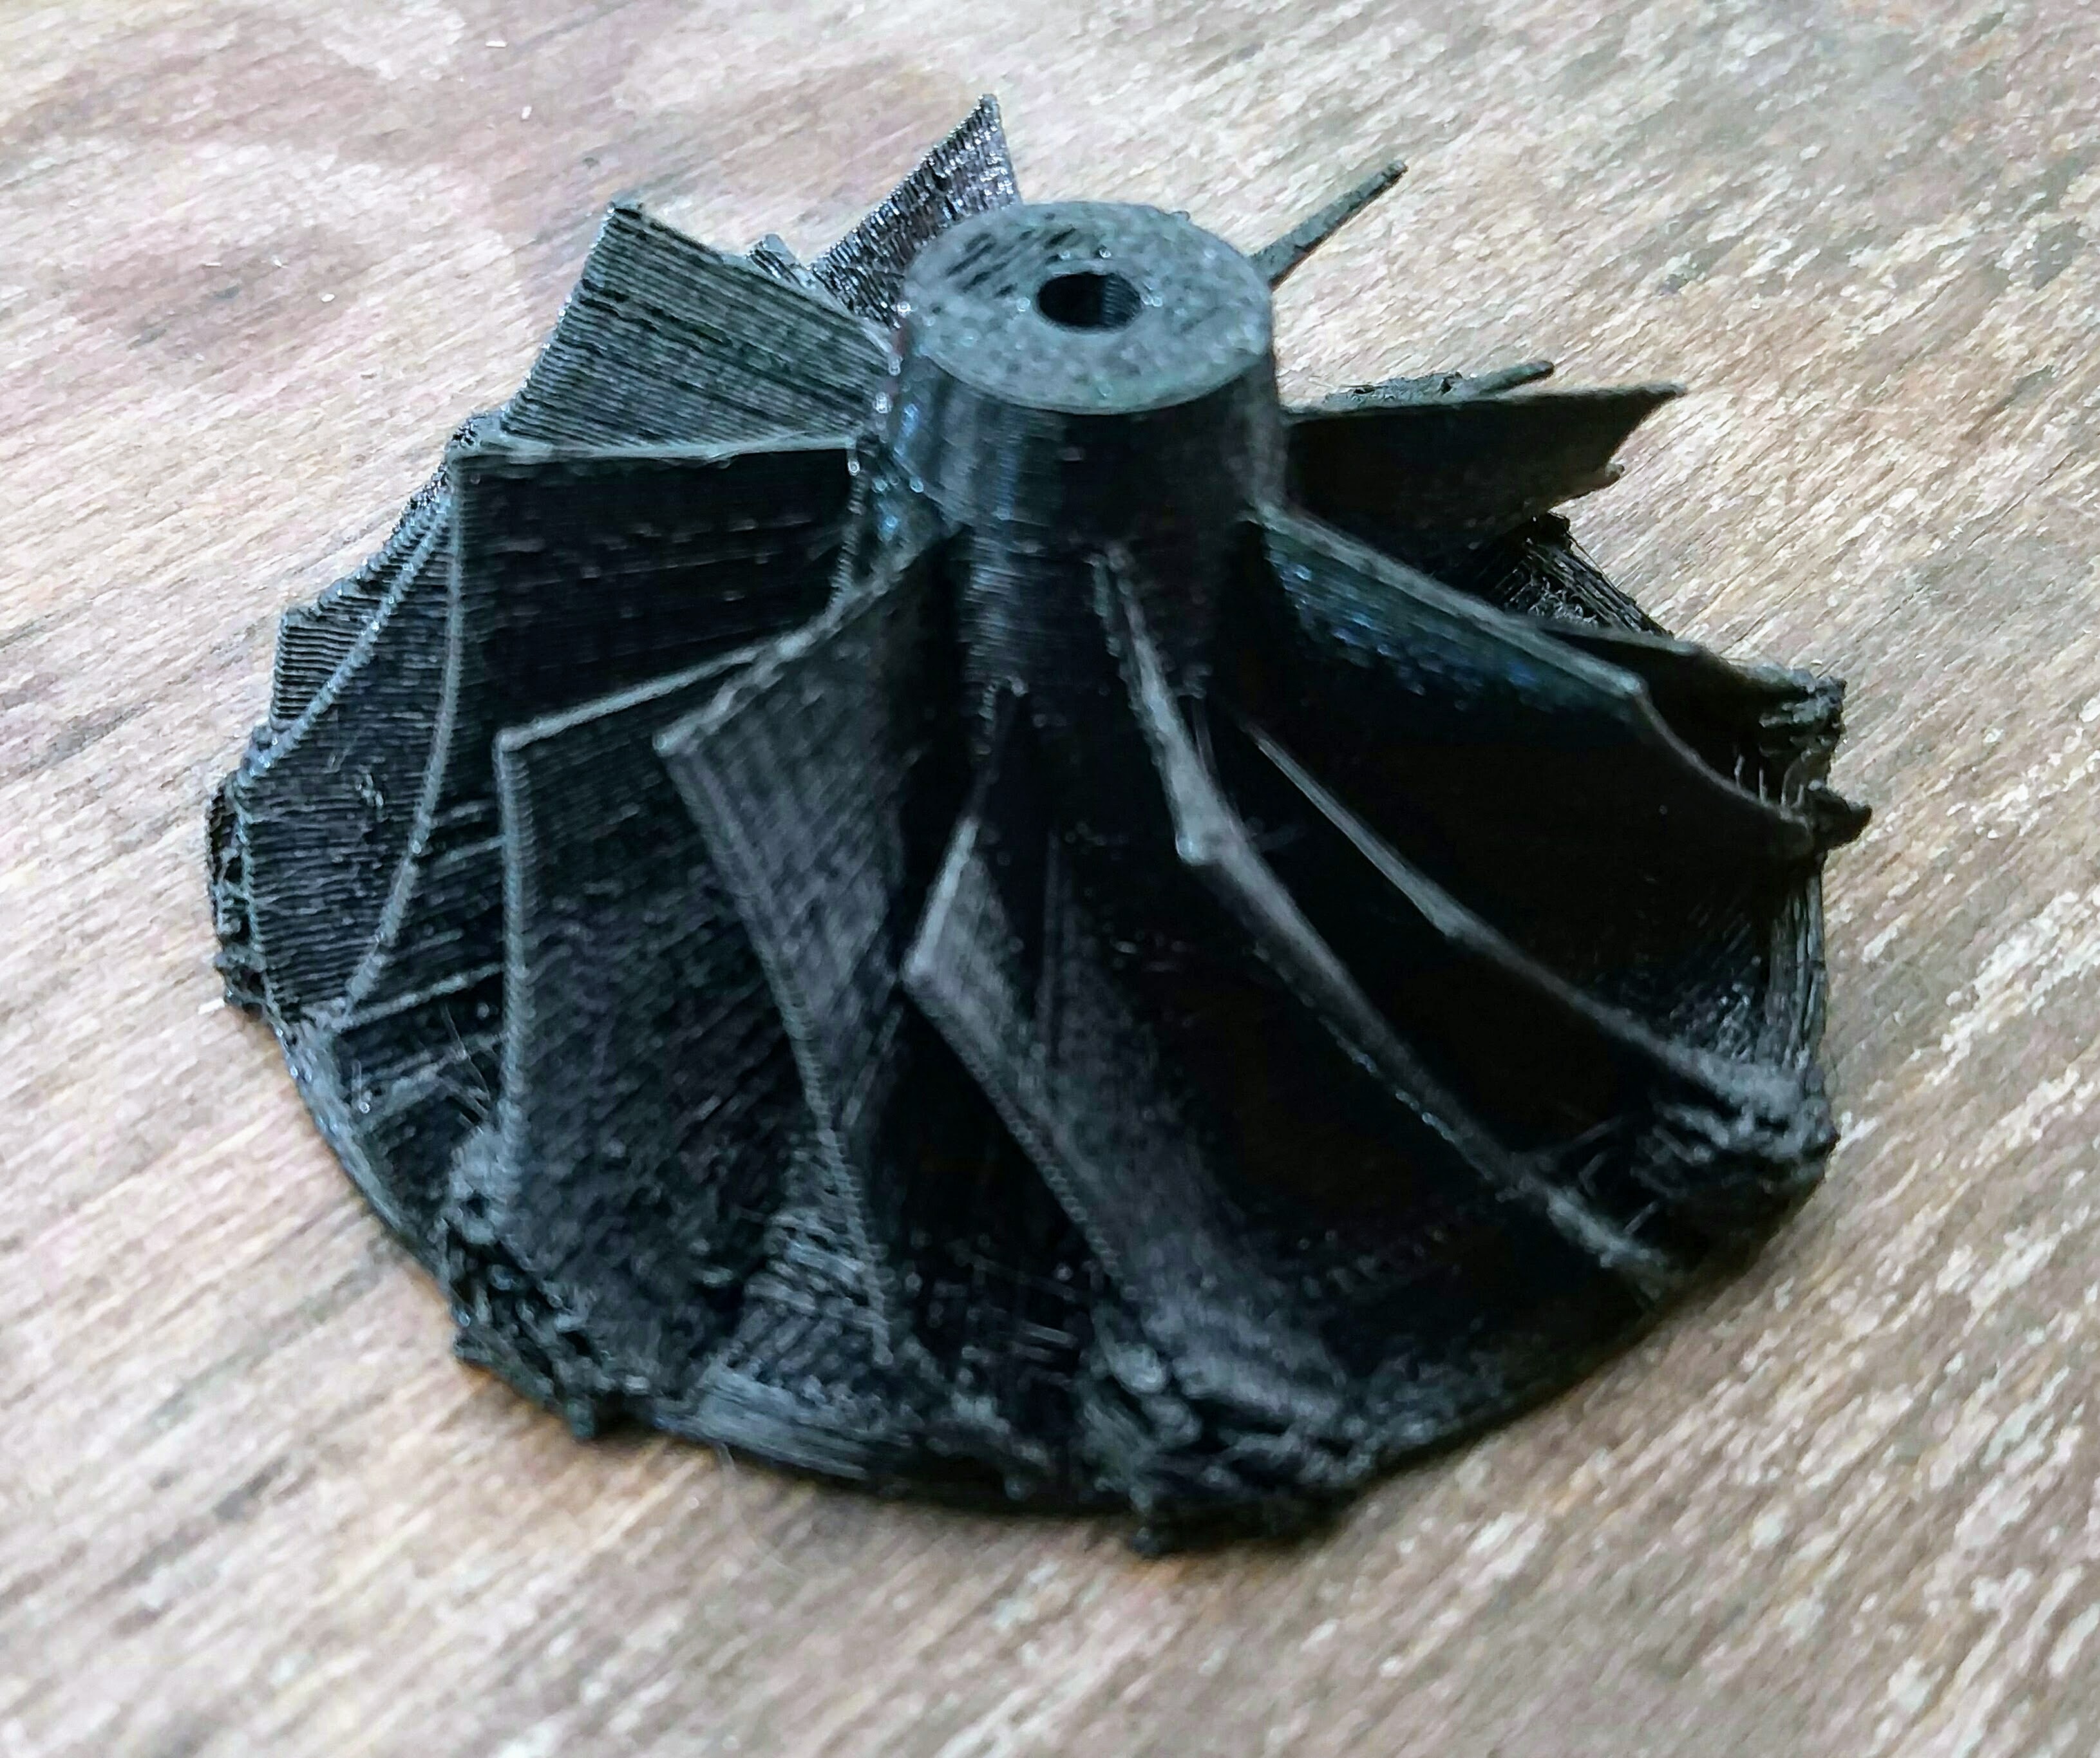
photo of a random print at 120mm/s
Introduction
I’ve bought an Anet A8 für 143€, everything included. It’s a clone of the the Prusa i3 and available under all kinds of brandings and with every changing components. Here are the things I’ve learned on my way.
Common Errors which have to be fixed
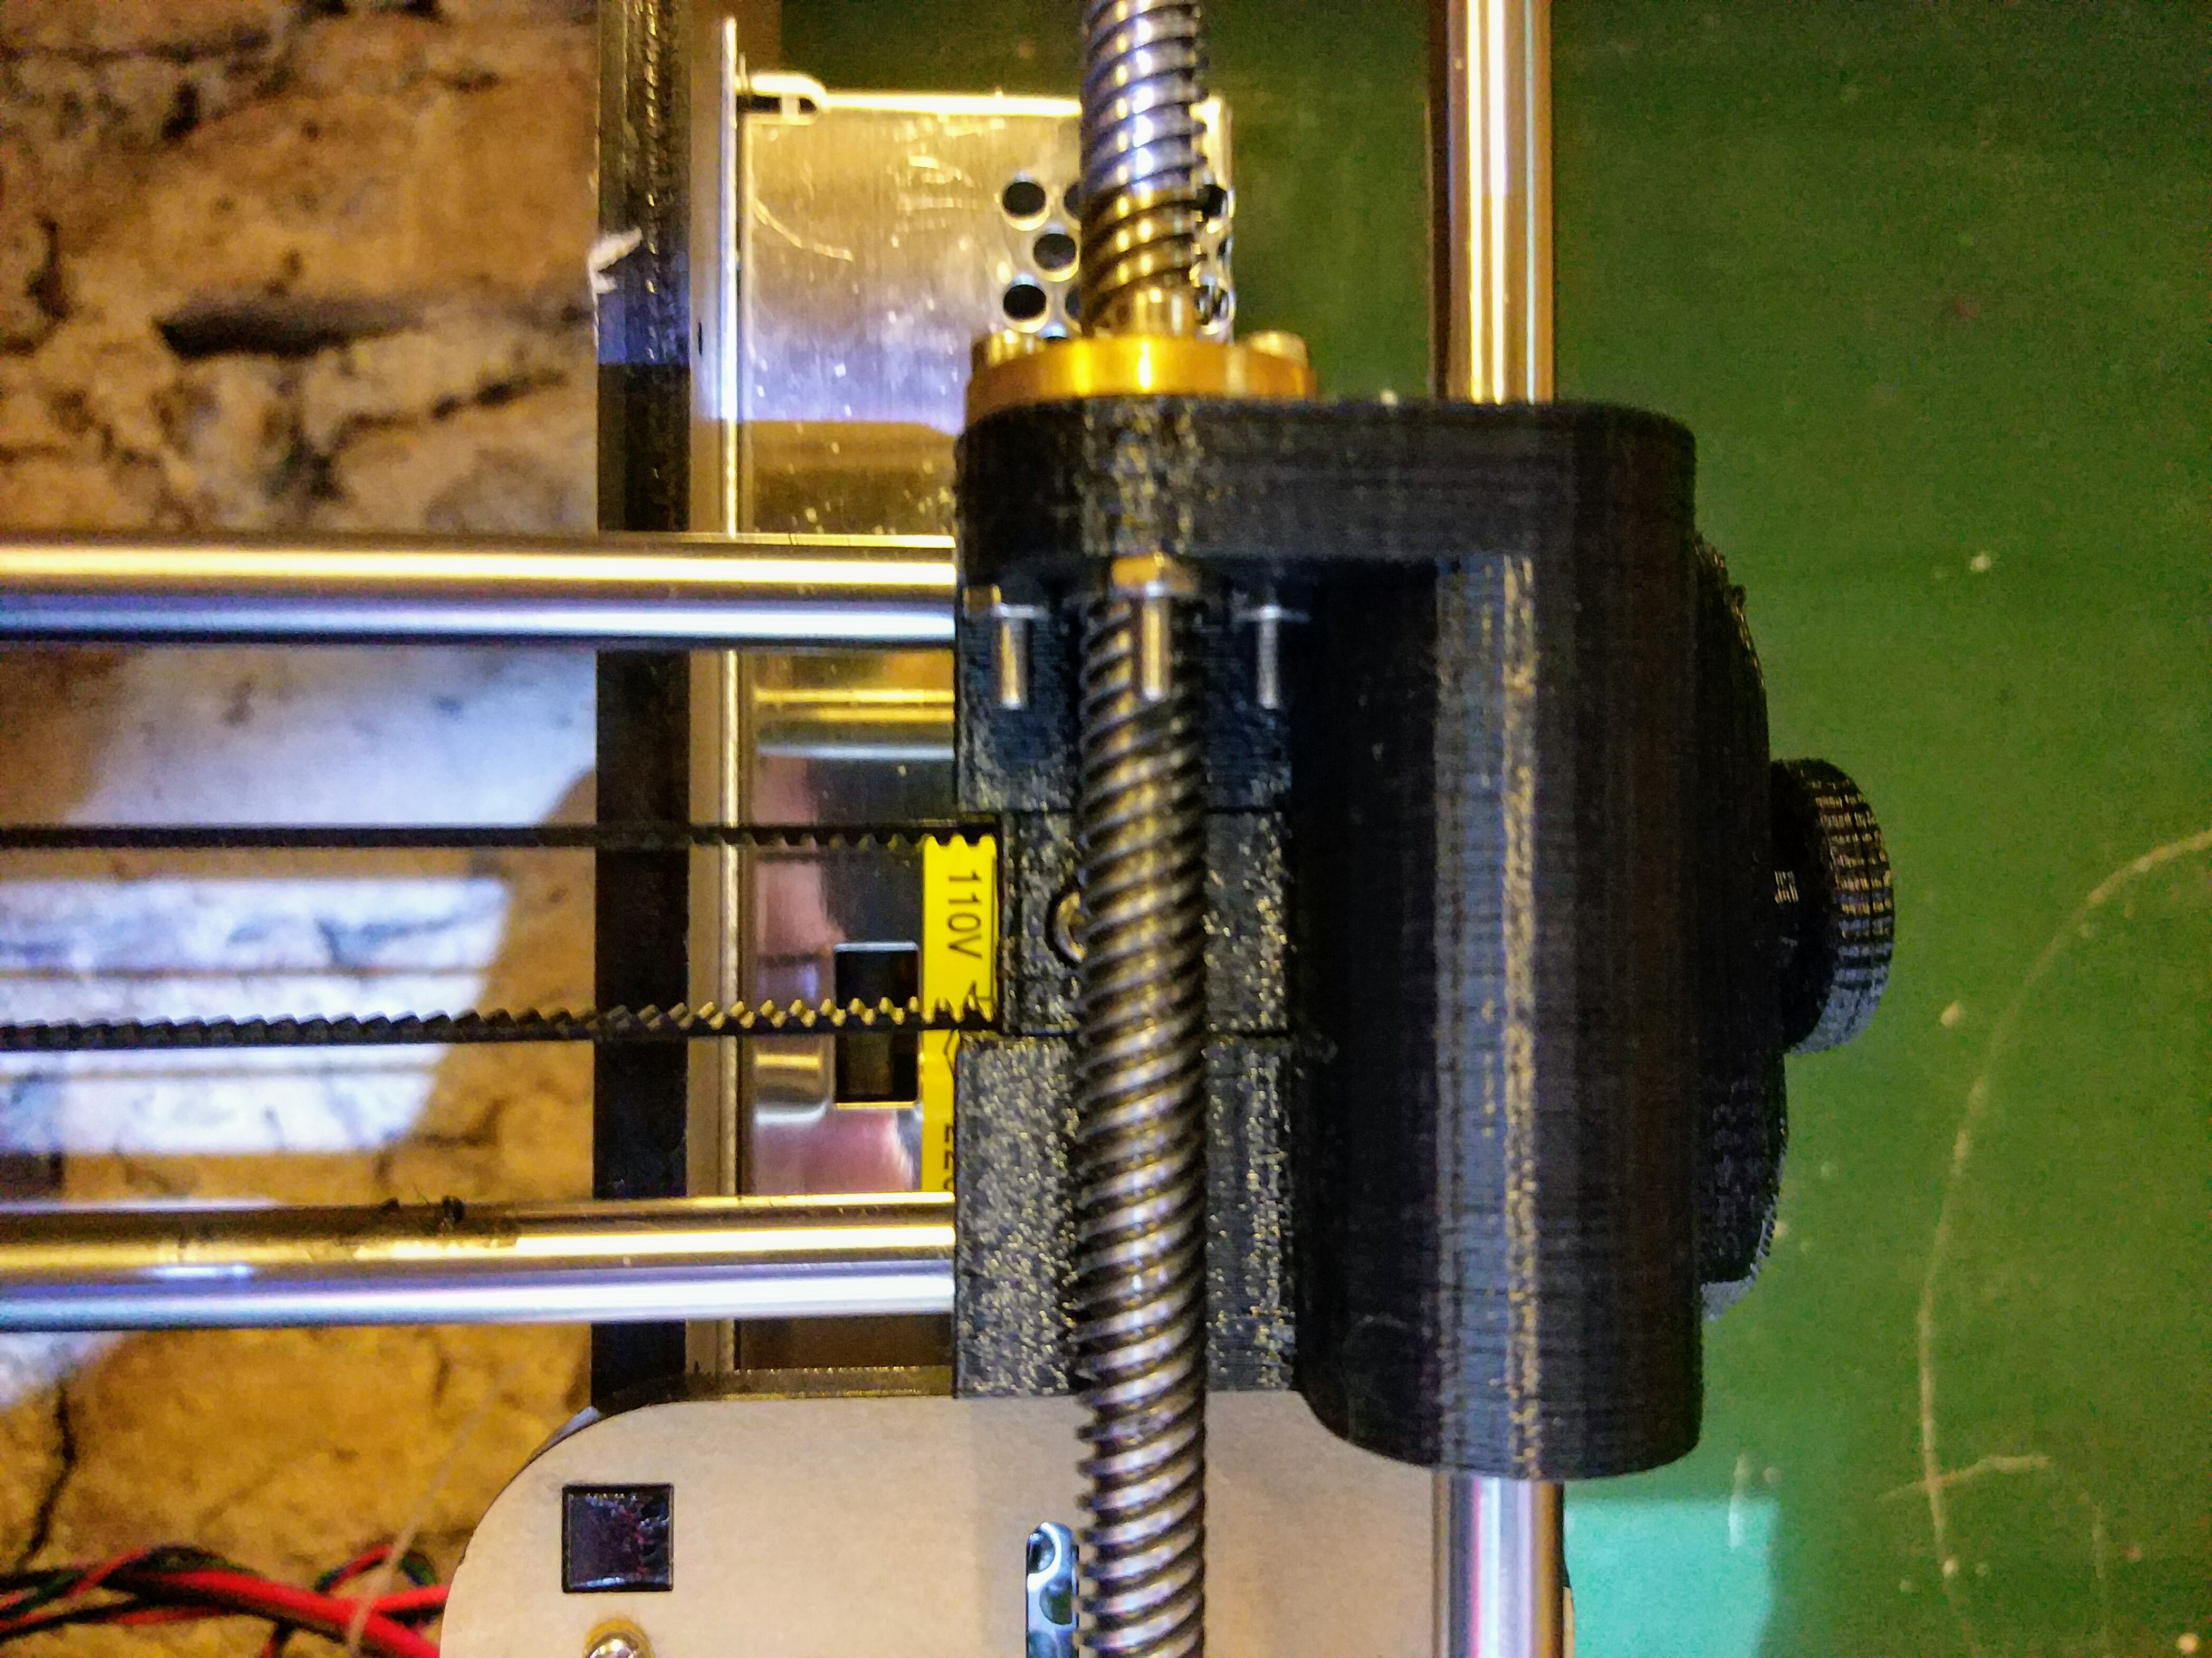
Not adjusting the elastic Couplers on the Z-Axis
The aluminium couplers which couple the stepper motors to the threaded rod have to be lifted a bit. The stepper axis should only enter ~ 5mm into the coupler. Same for the Z-Axis rod.
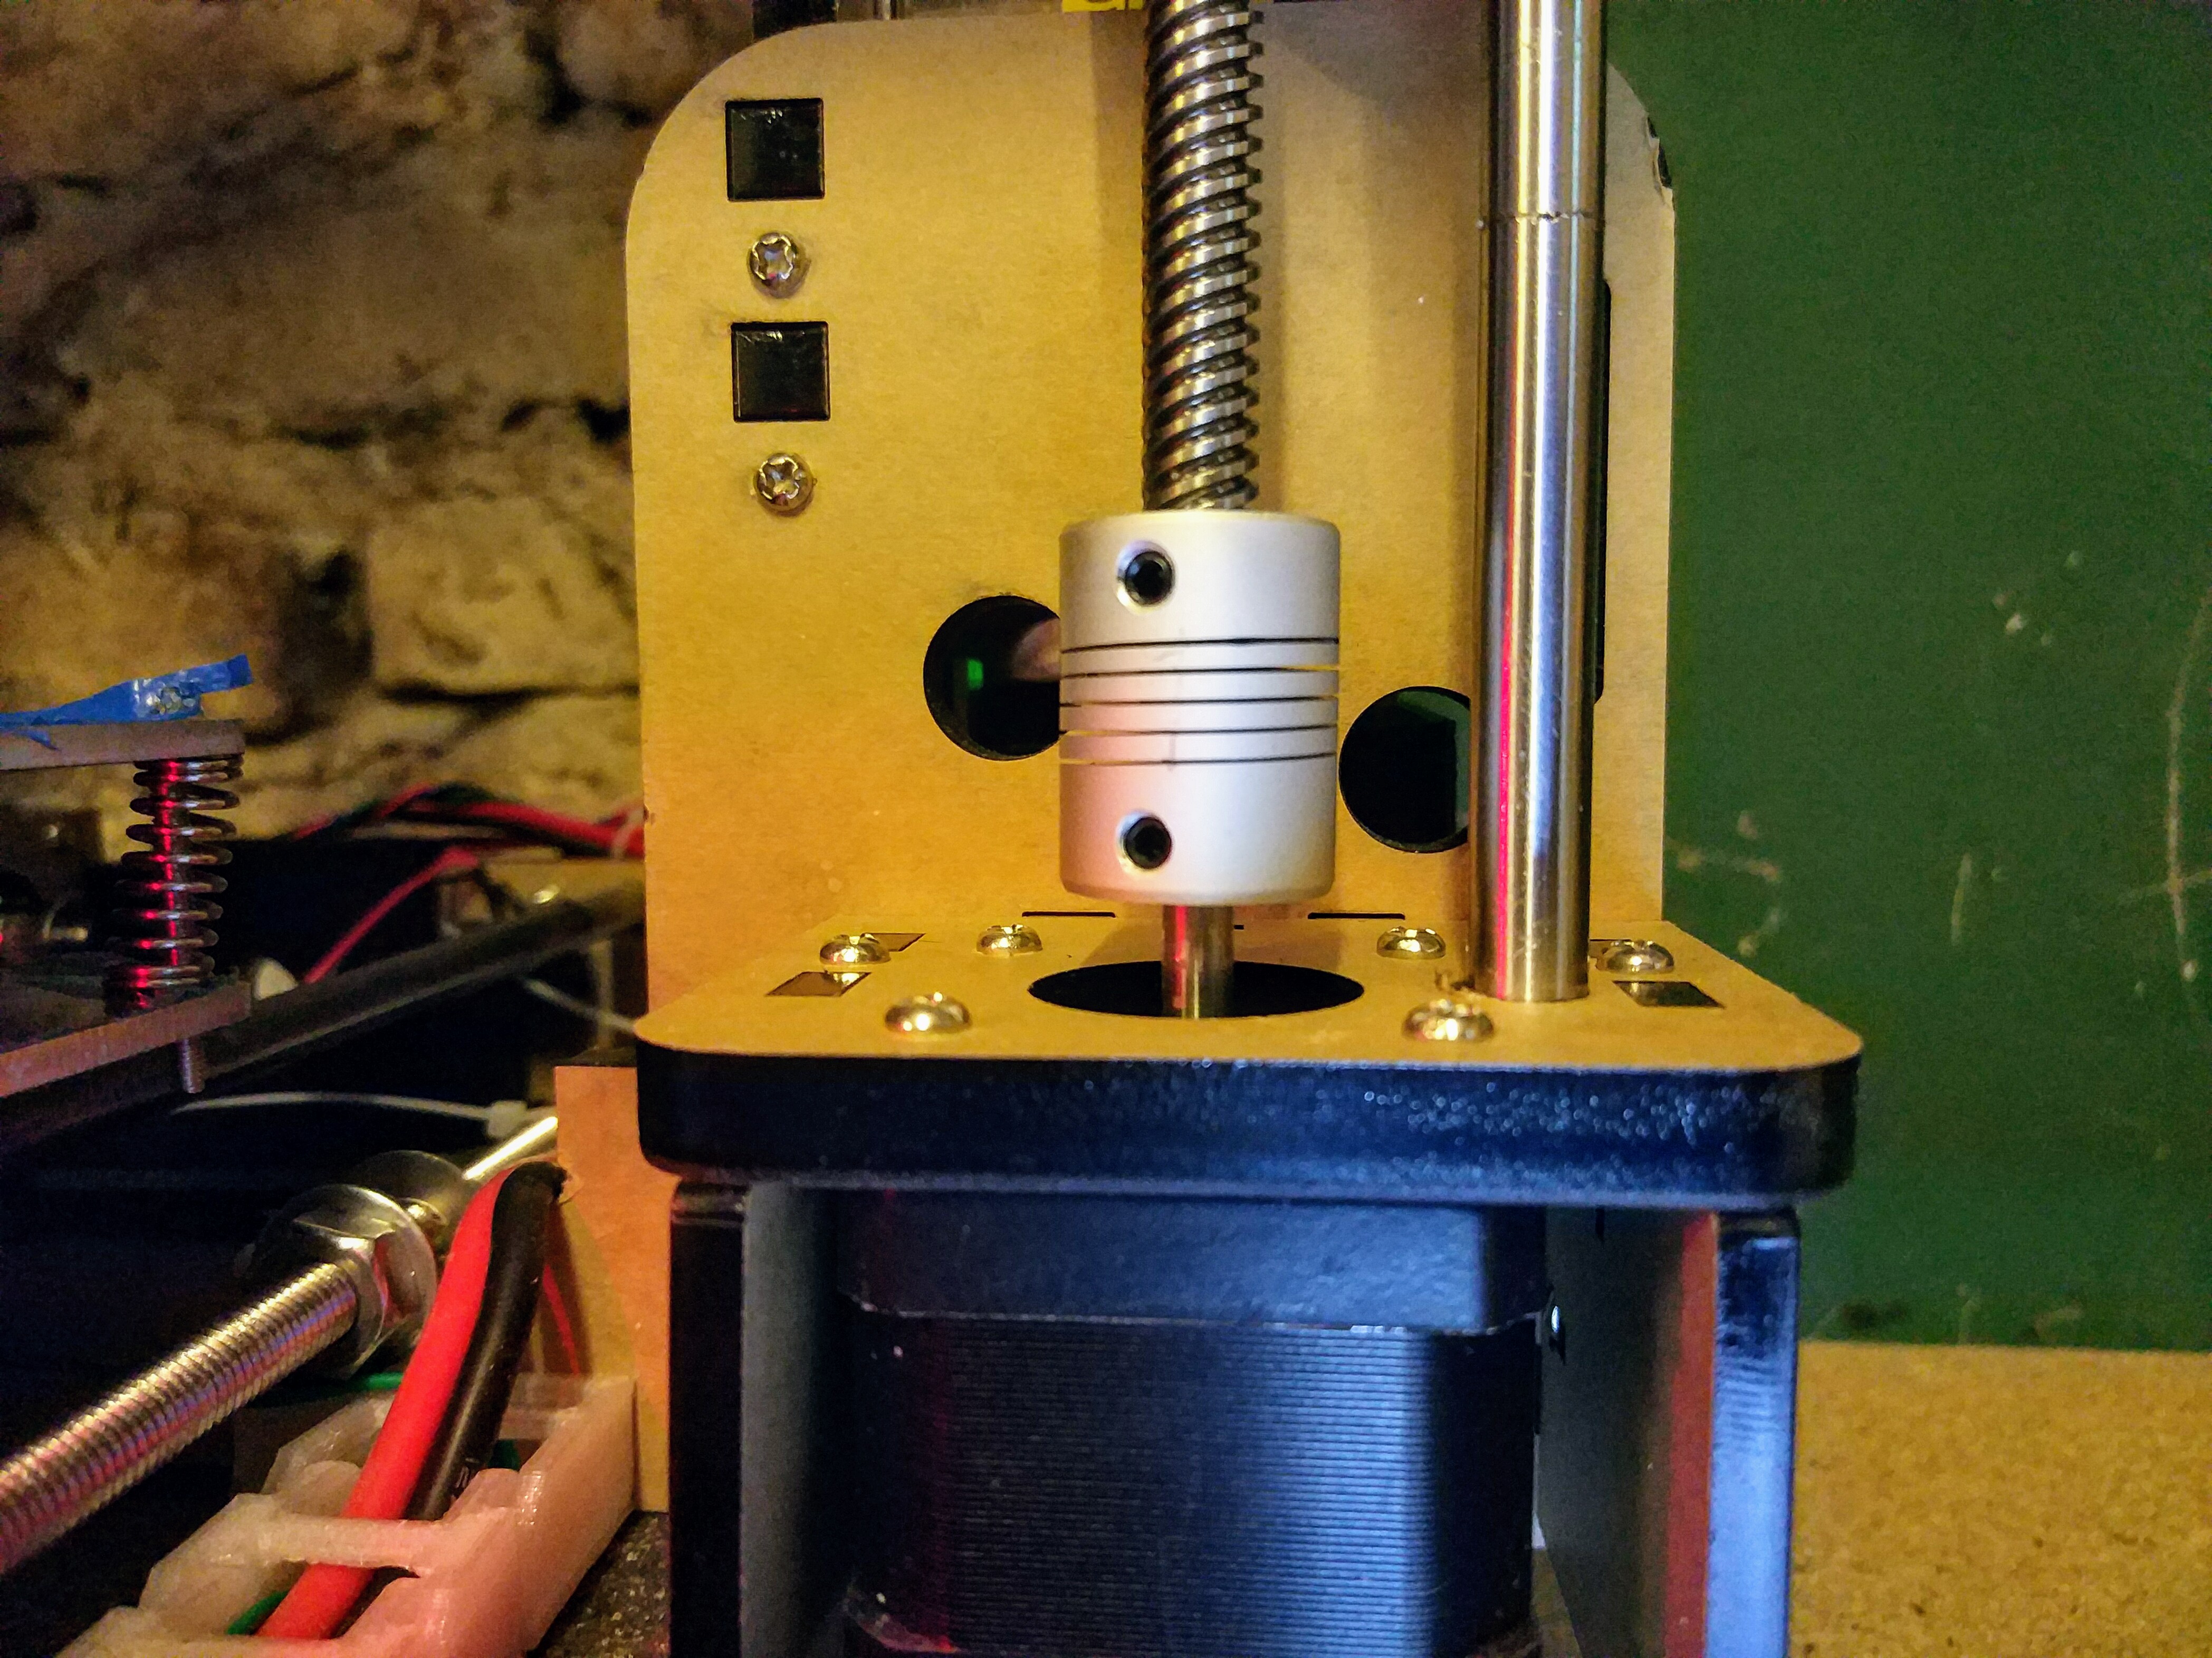
right hand side Z-axis coupler
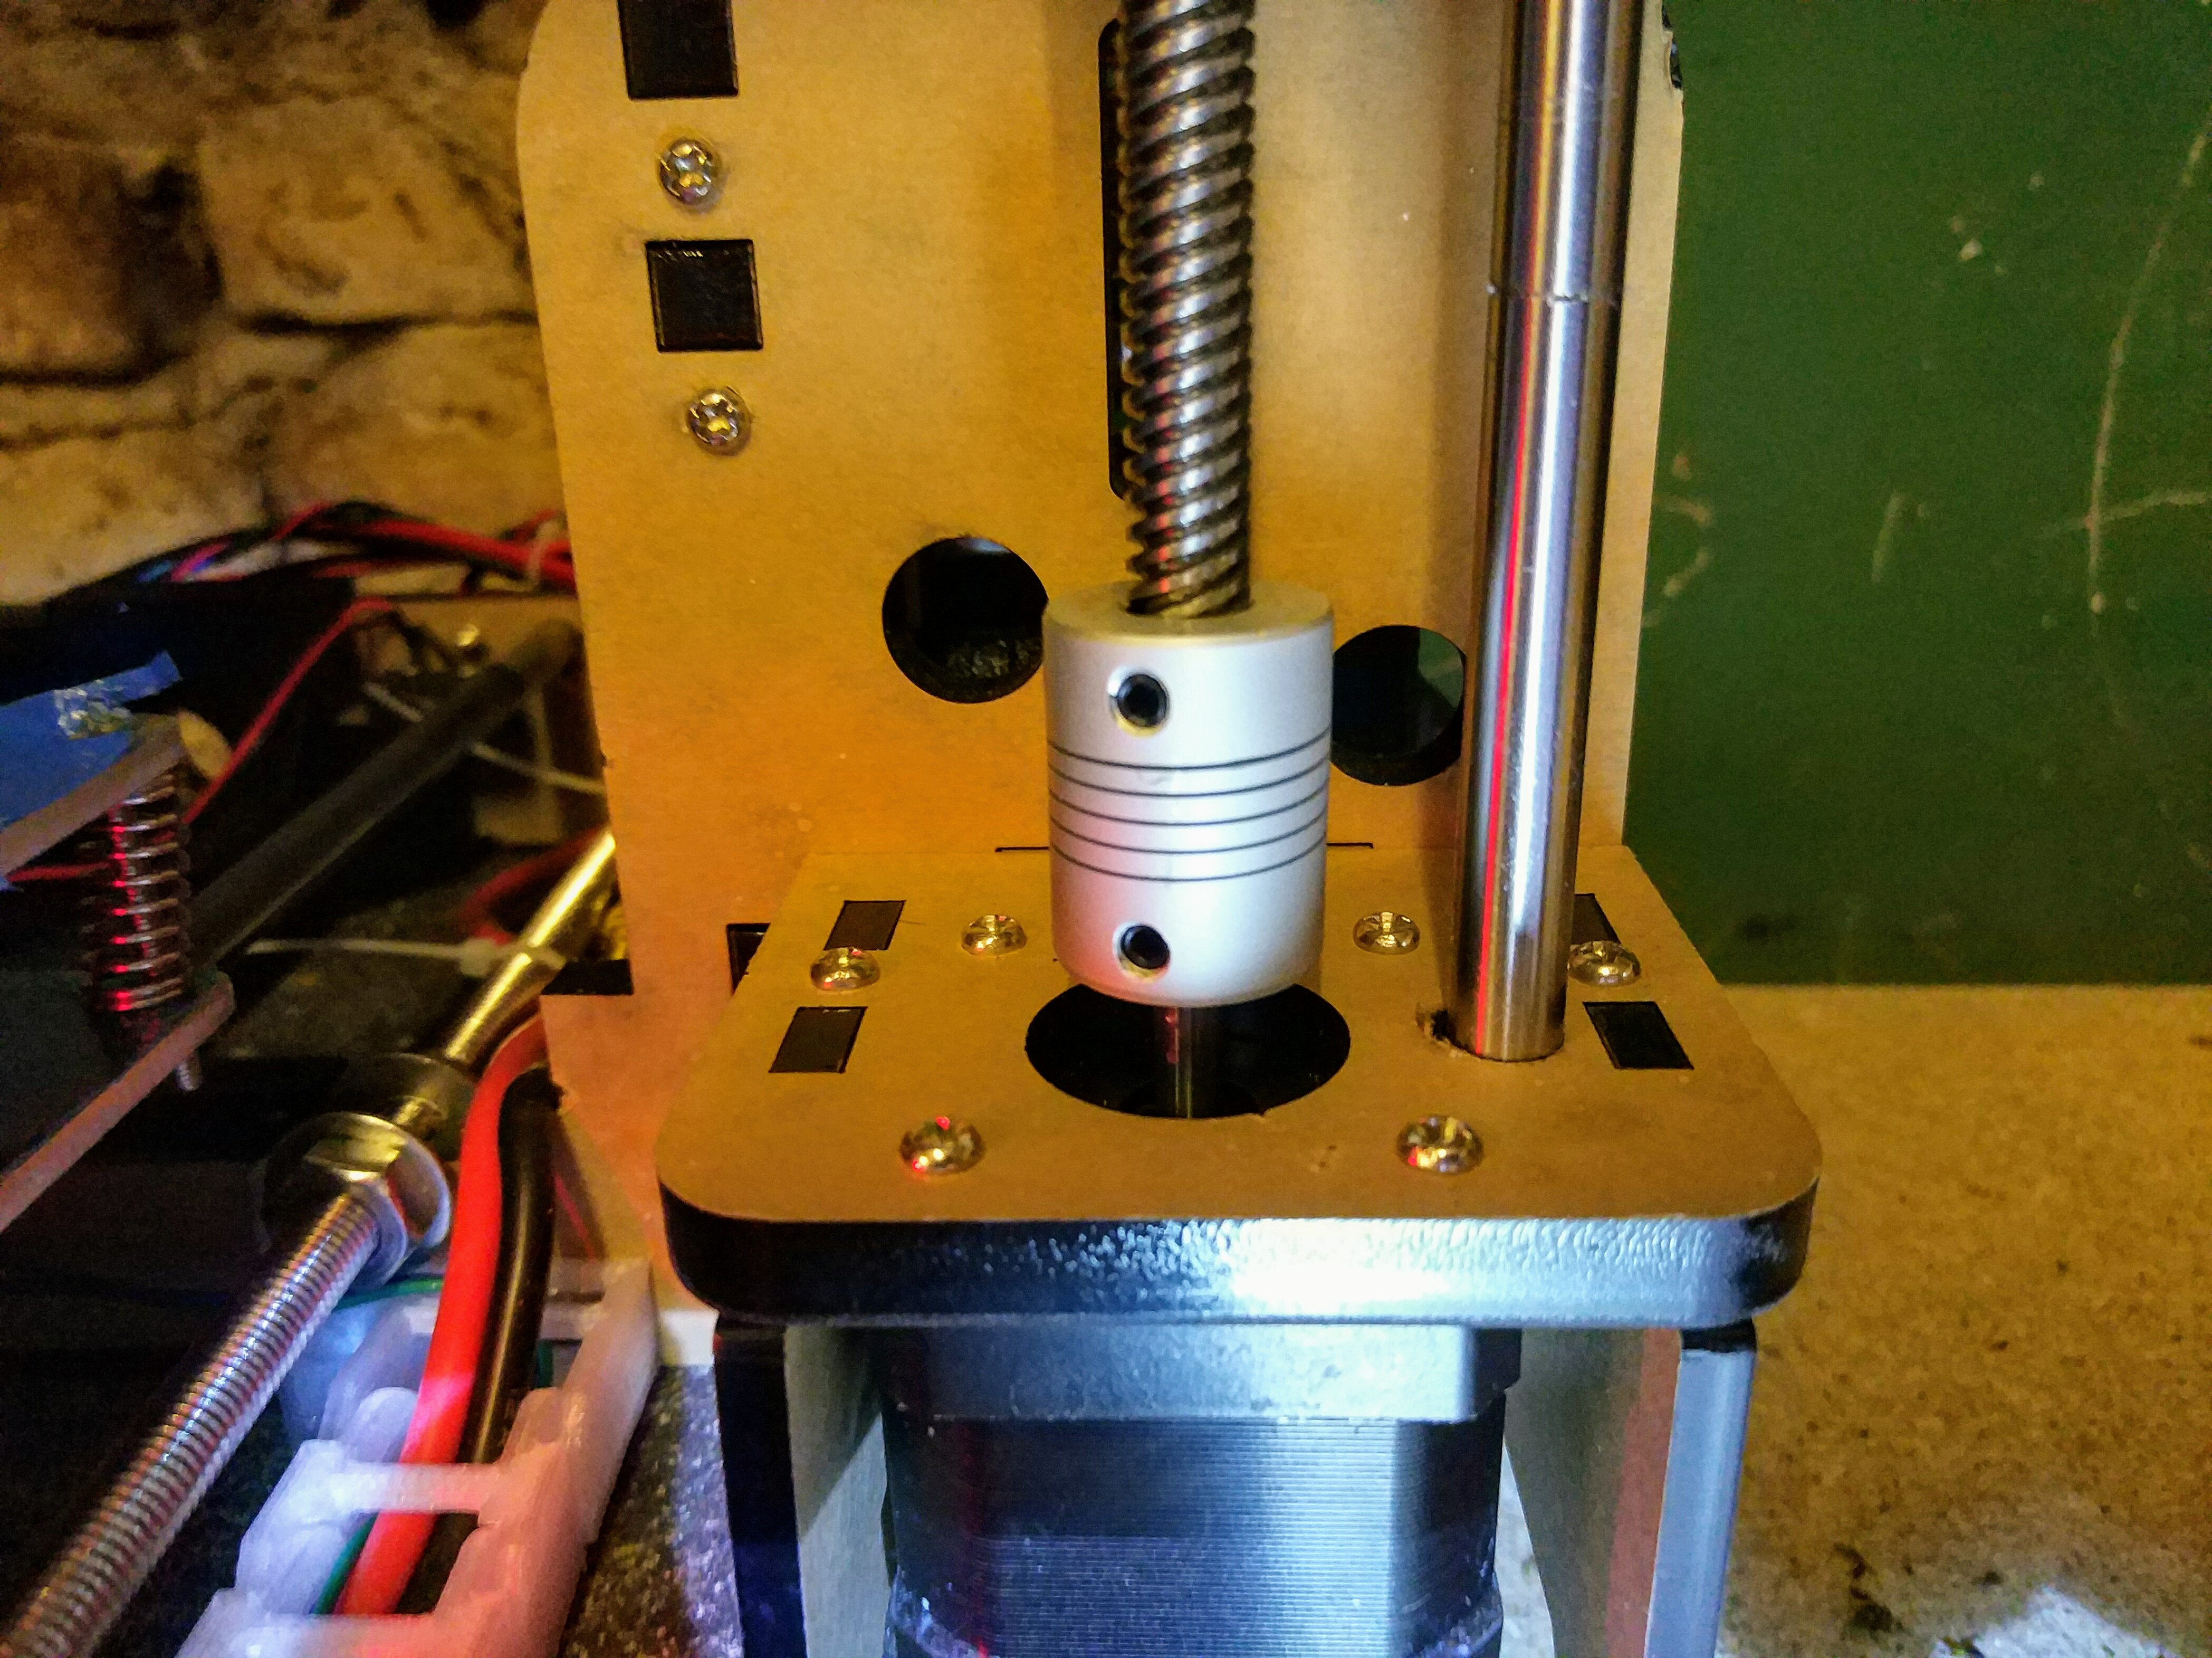
right hand side Z-axis coupler
This is something which you probably won’t catch yourself. You’ll have more Z-wobble and may loose steps.
The Z-axis threaded rod should be flush with the acrylic frame if you did it right:
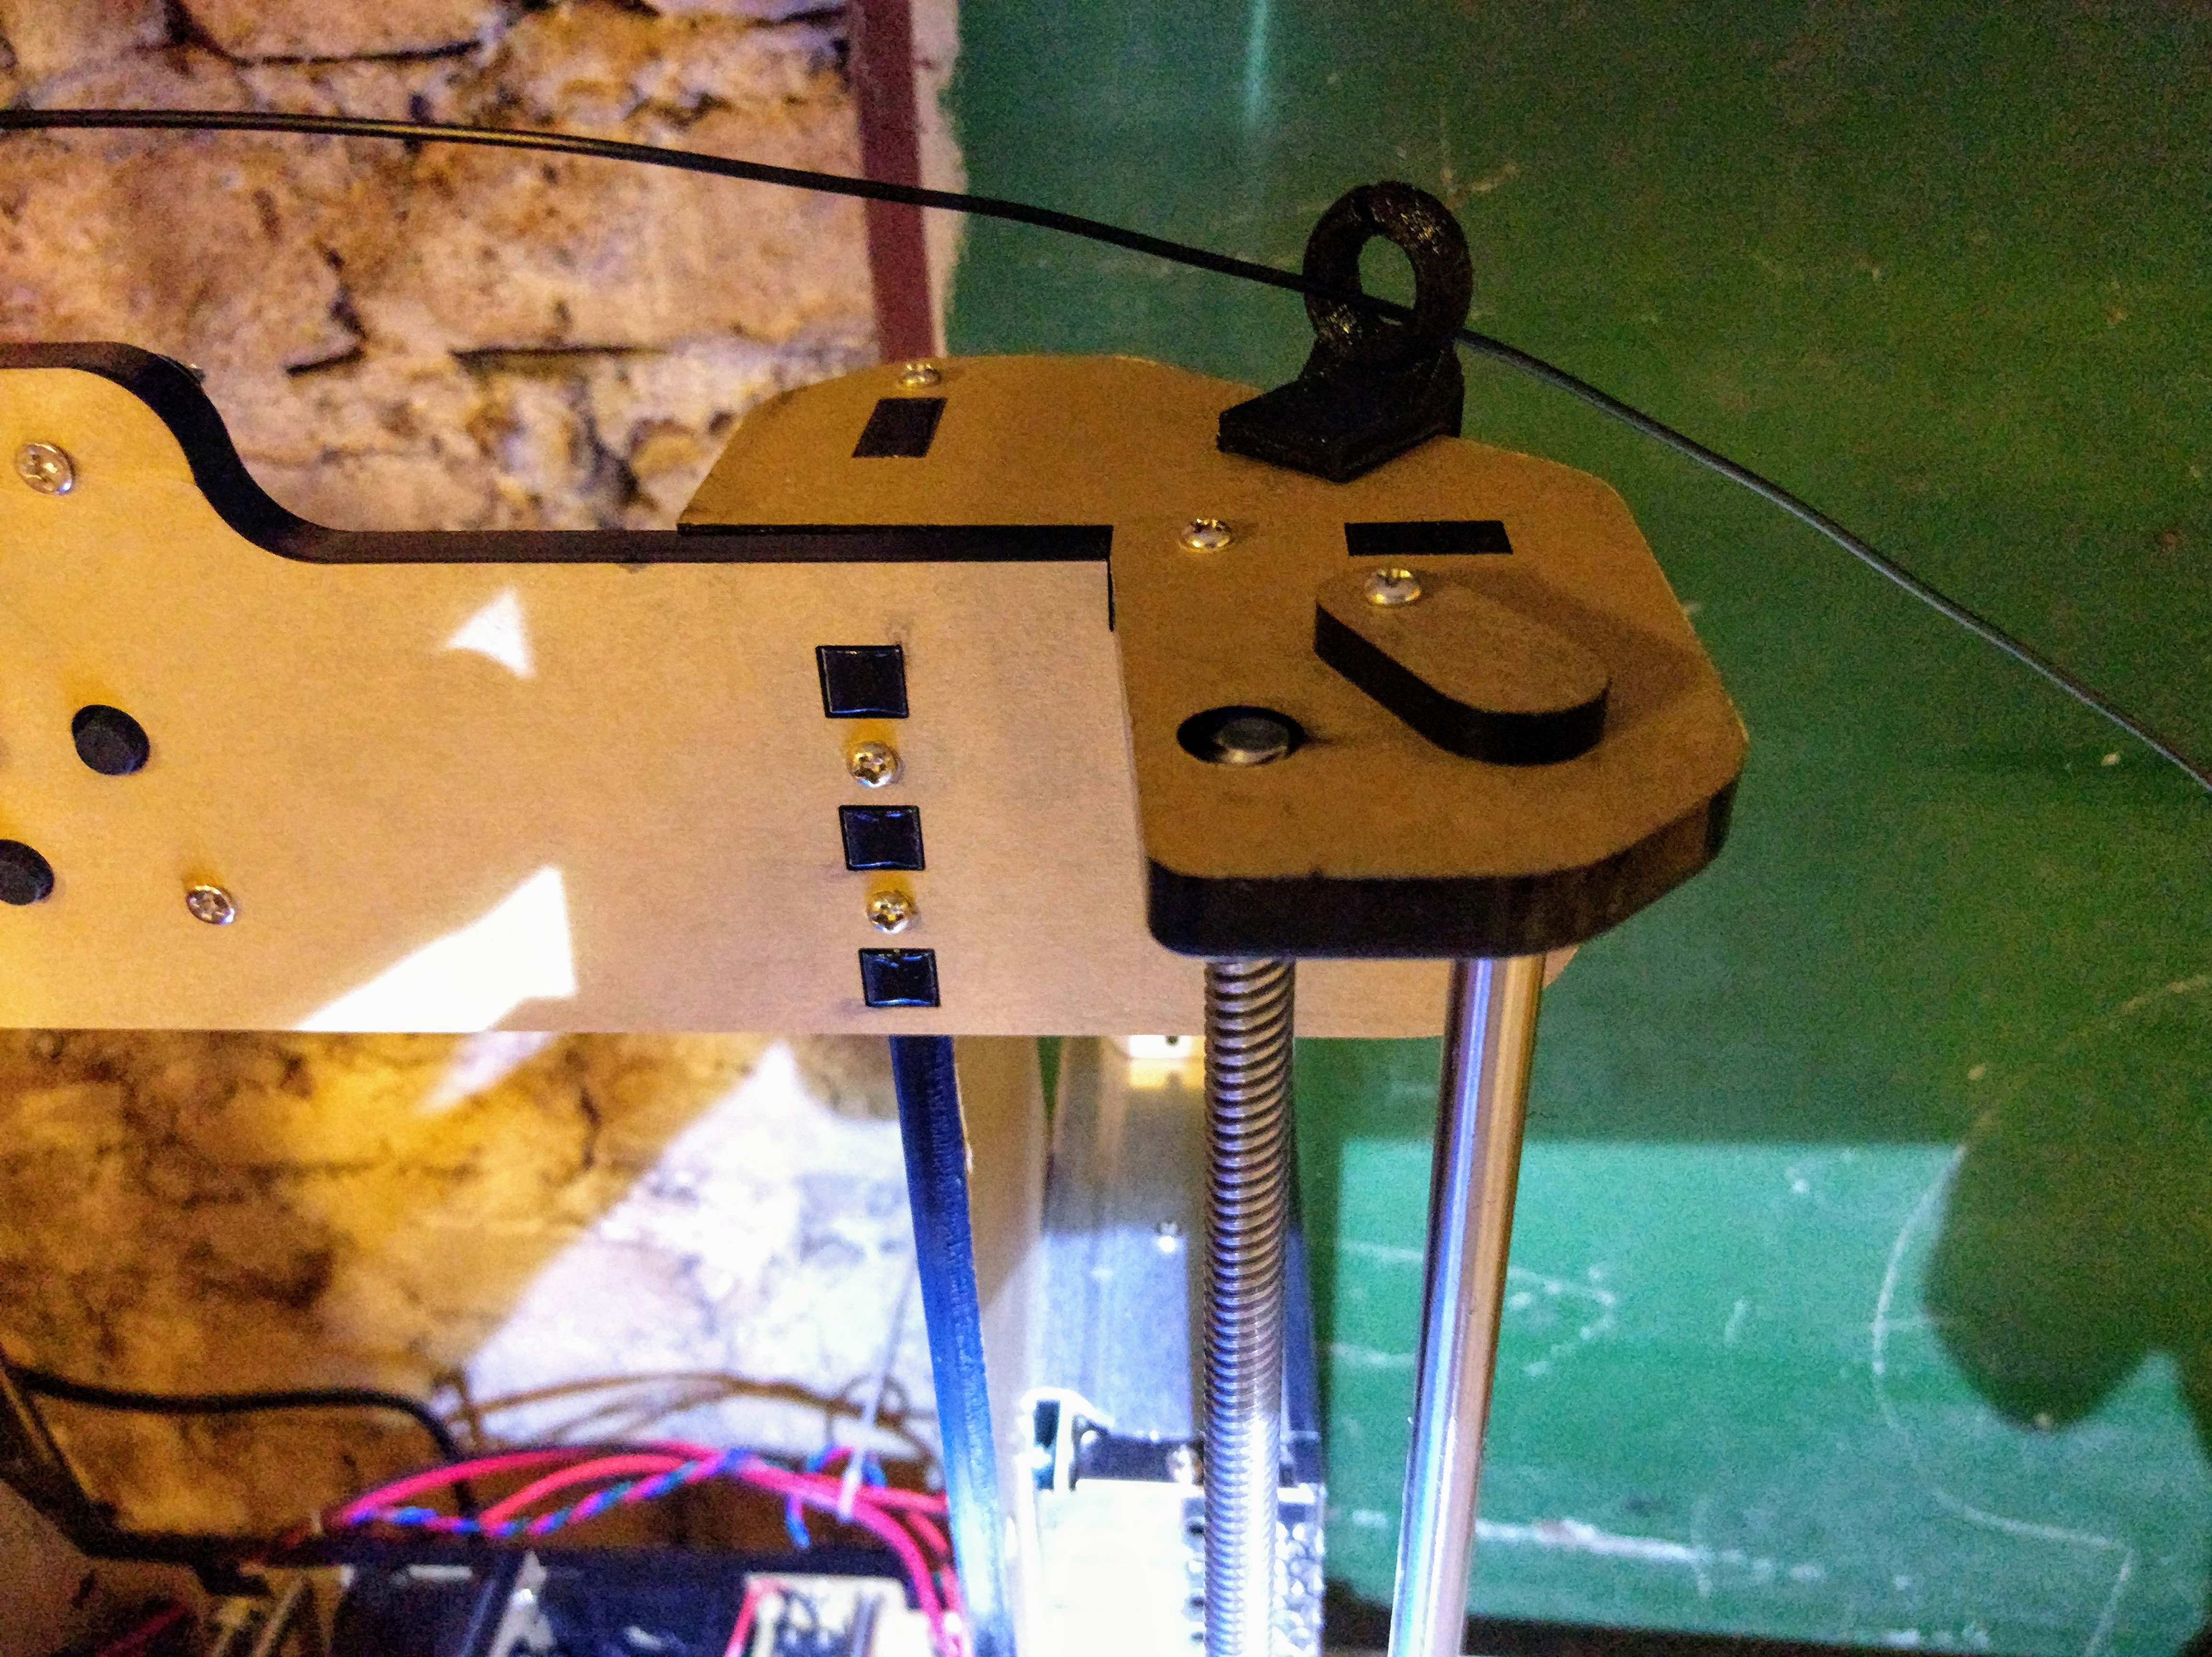
right hand side Z-axis top
Right Side X-Axis Idler
This is just faulty design. The right side’s idler, which holds the linear bearings, bends the Z-axis rods inwards. The more you fasten the X-pulley, the more it bends.
right hand side X-axis idler
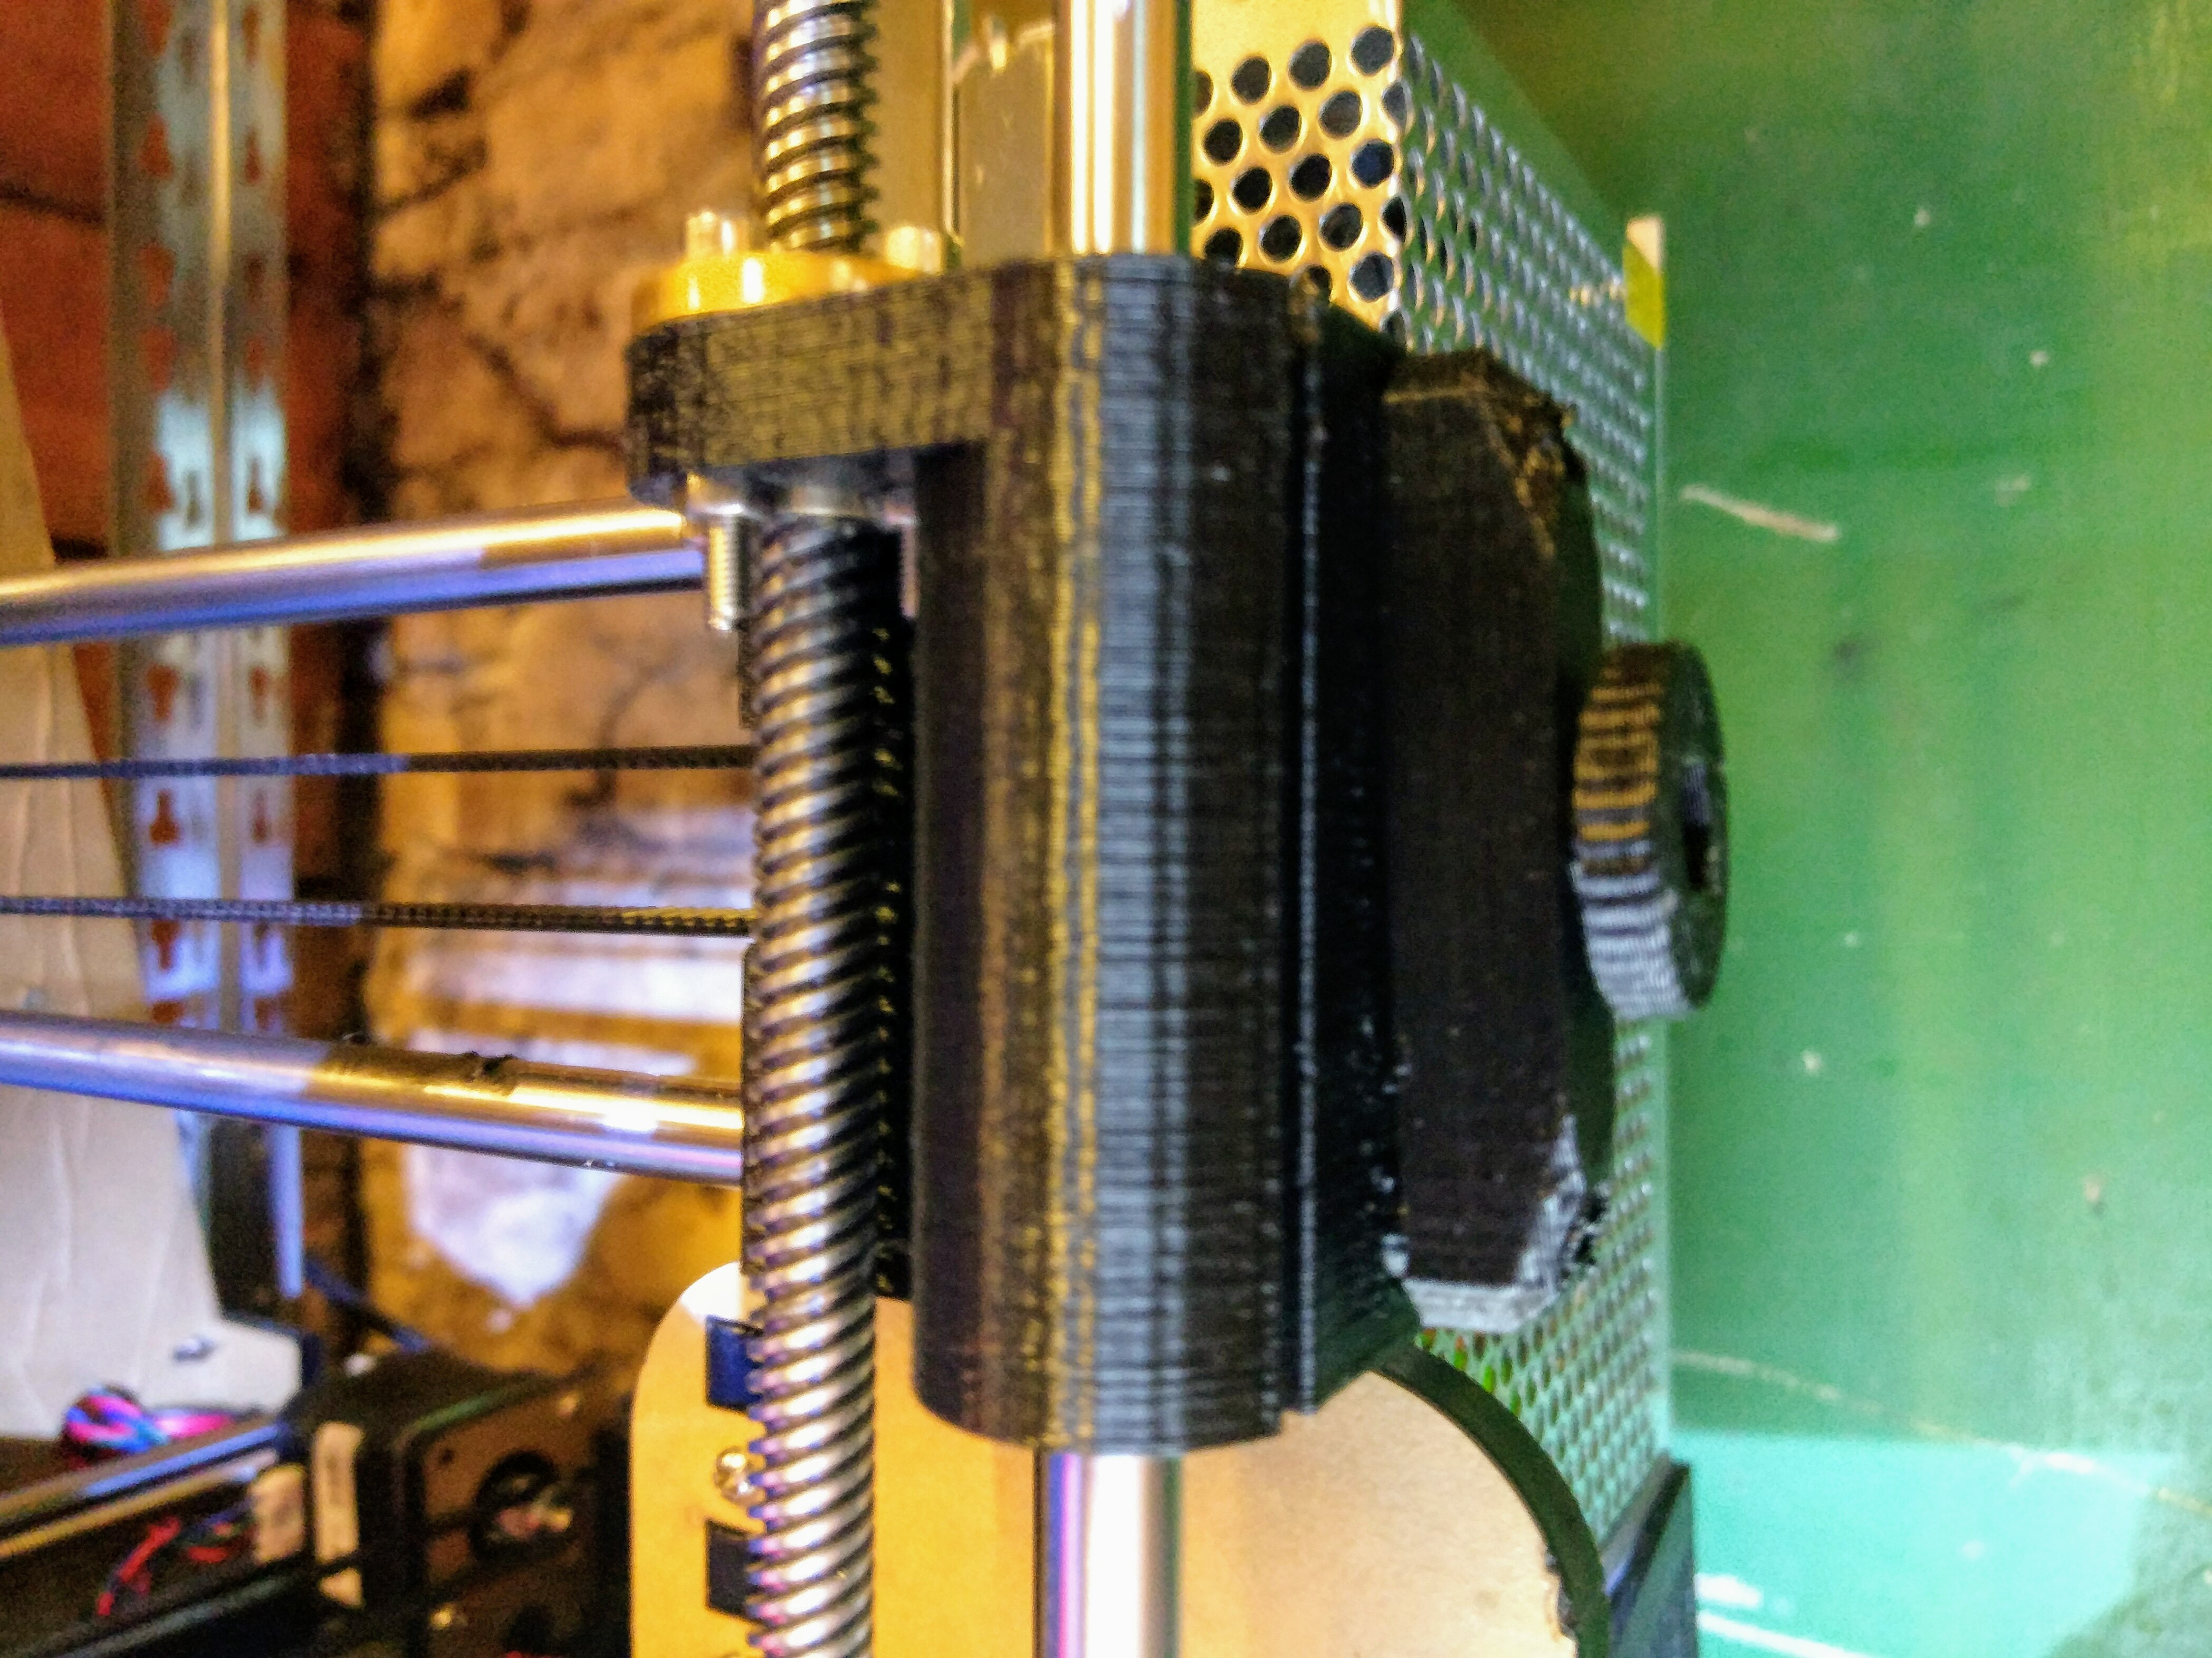
right hand side X-axis idler
Symptoms are grinding noises towards the lower end, uneven movement of the two Z-axis and of course missed steps. Also you shouldn’t be able to see the X-Axis rods’s end on the right side of the idler.
You can only fix this by printing a new part. You should do this as soon as possible. Otherwise you can only print very slowly and you will damage the Z-axis. Try to keep the X-axis belt as loose as possible.
It’s available at
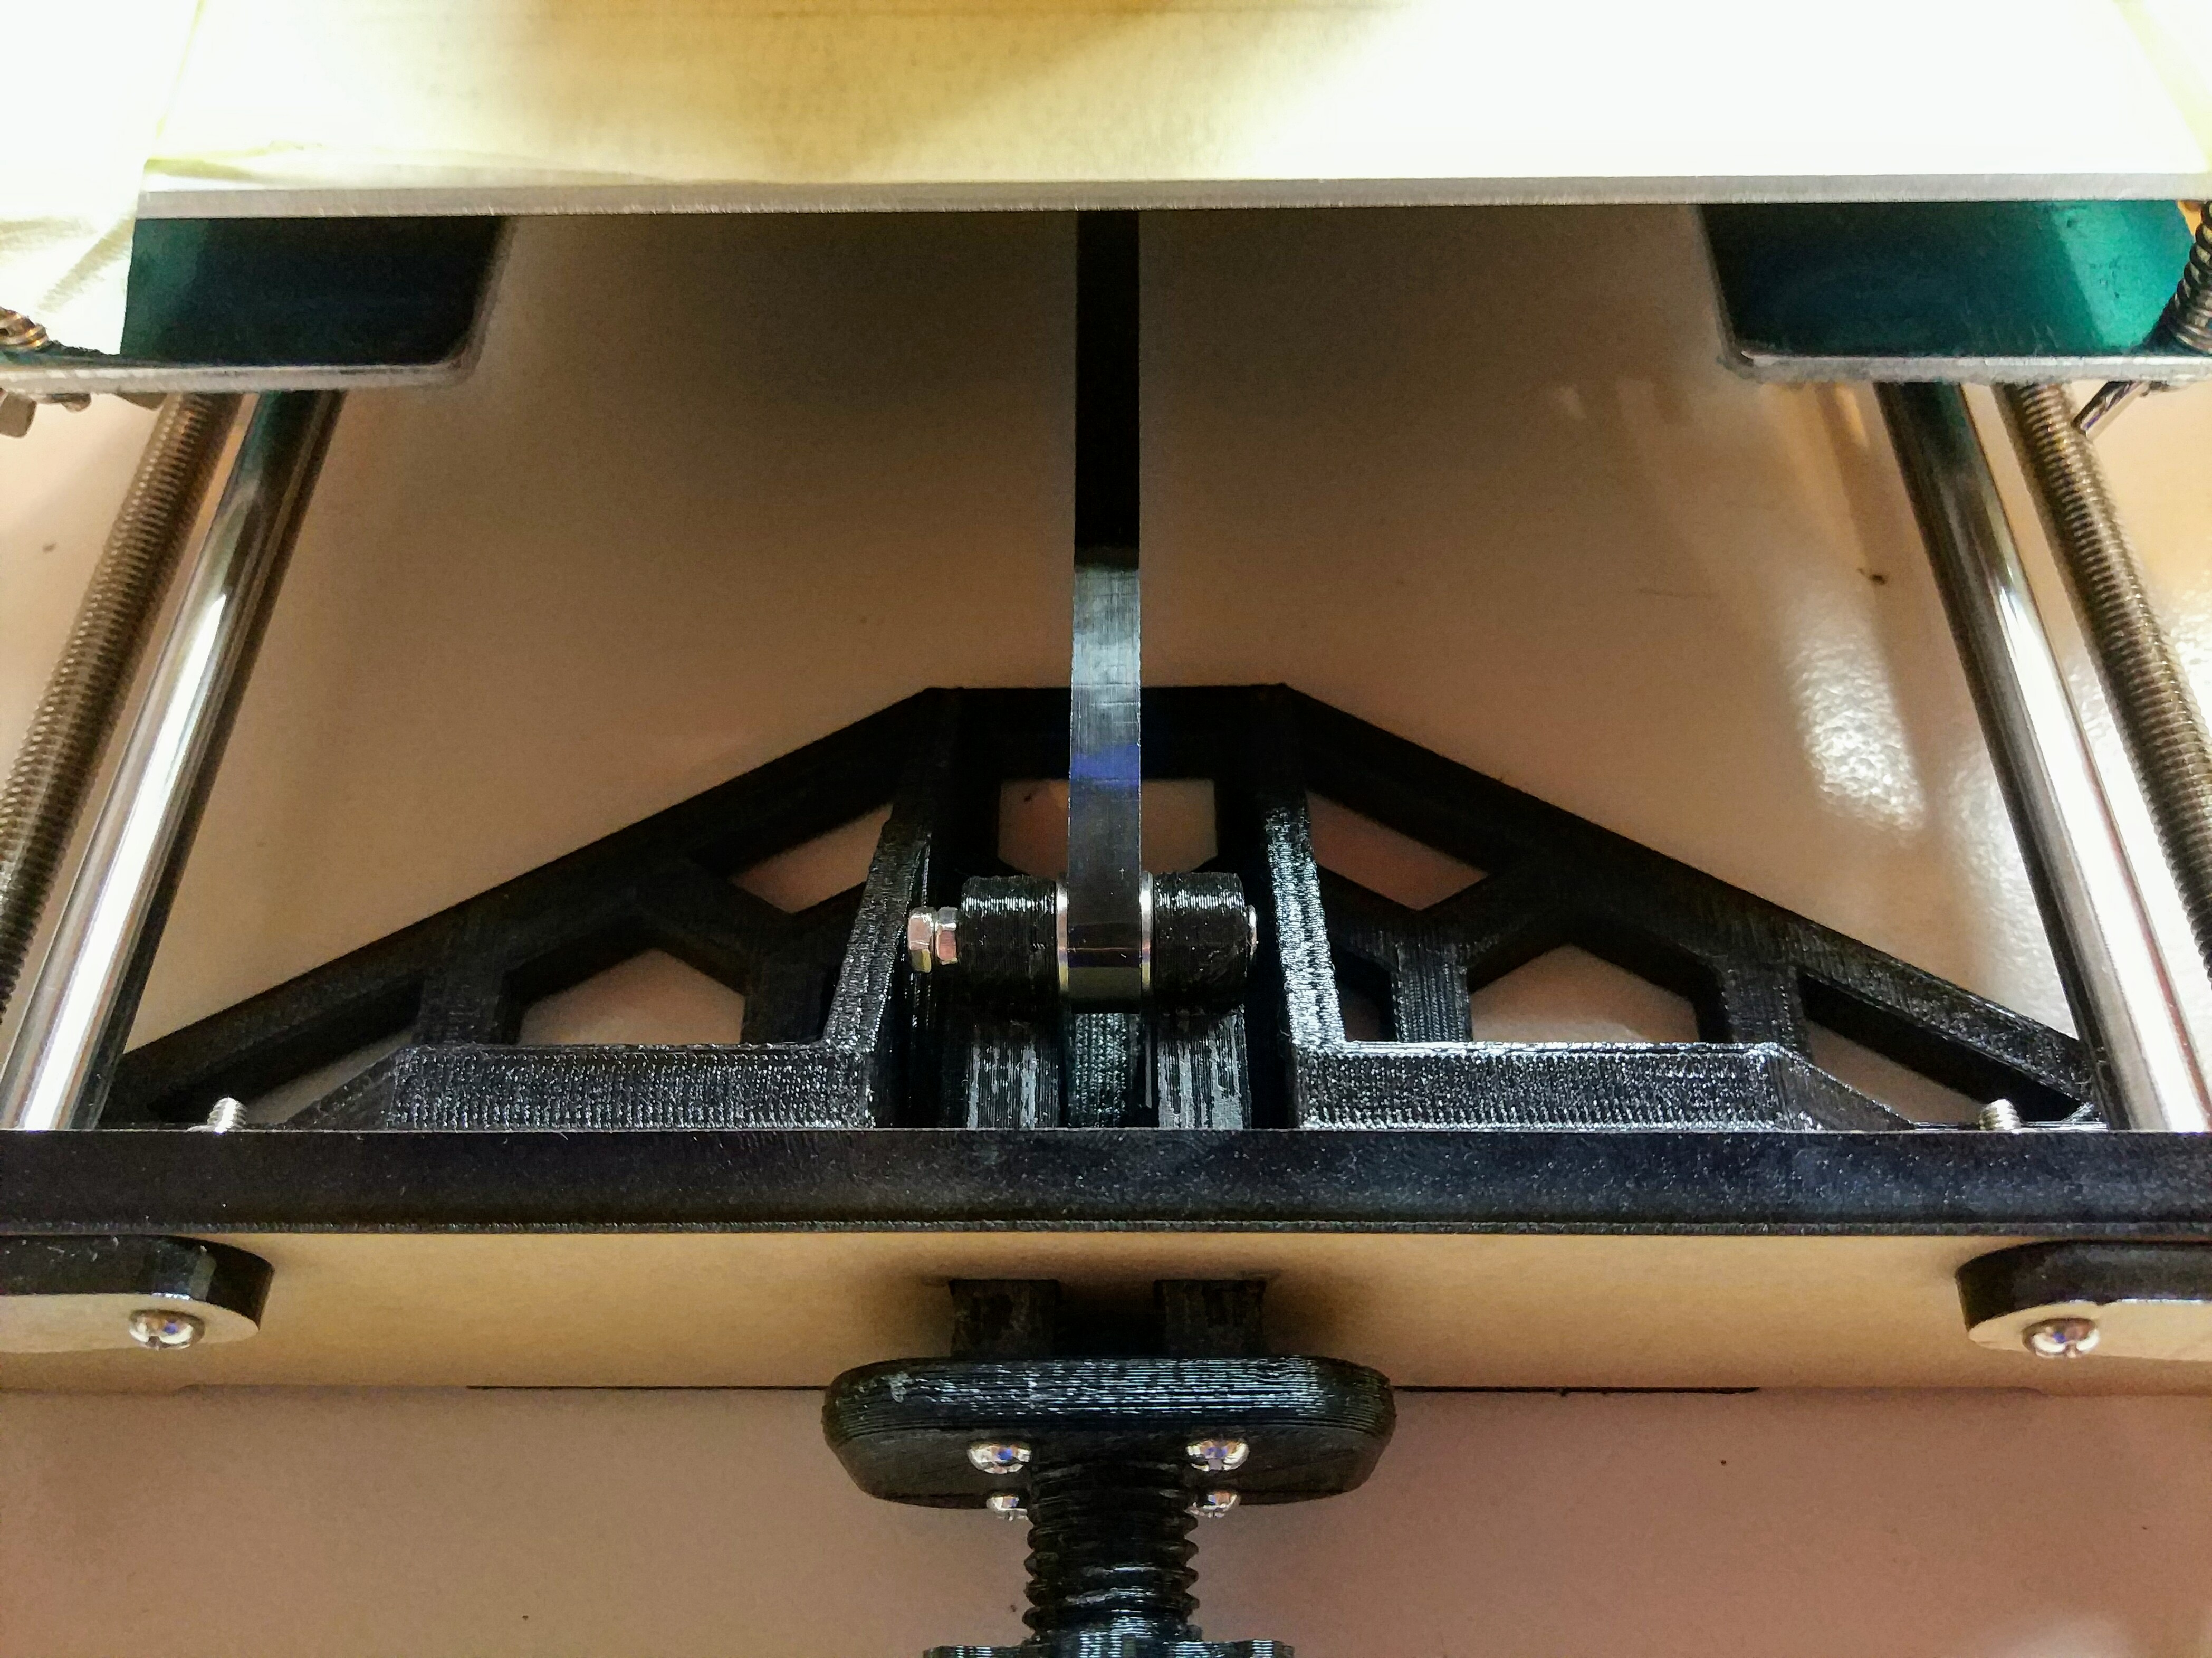
Y-Axis Carrier upside down
Even the vendor’s instructions are wrong on this one. The Y-axis belt should go in straight lines to and from the stepper and the idler.
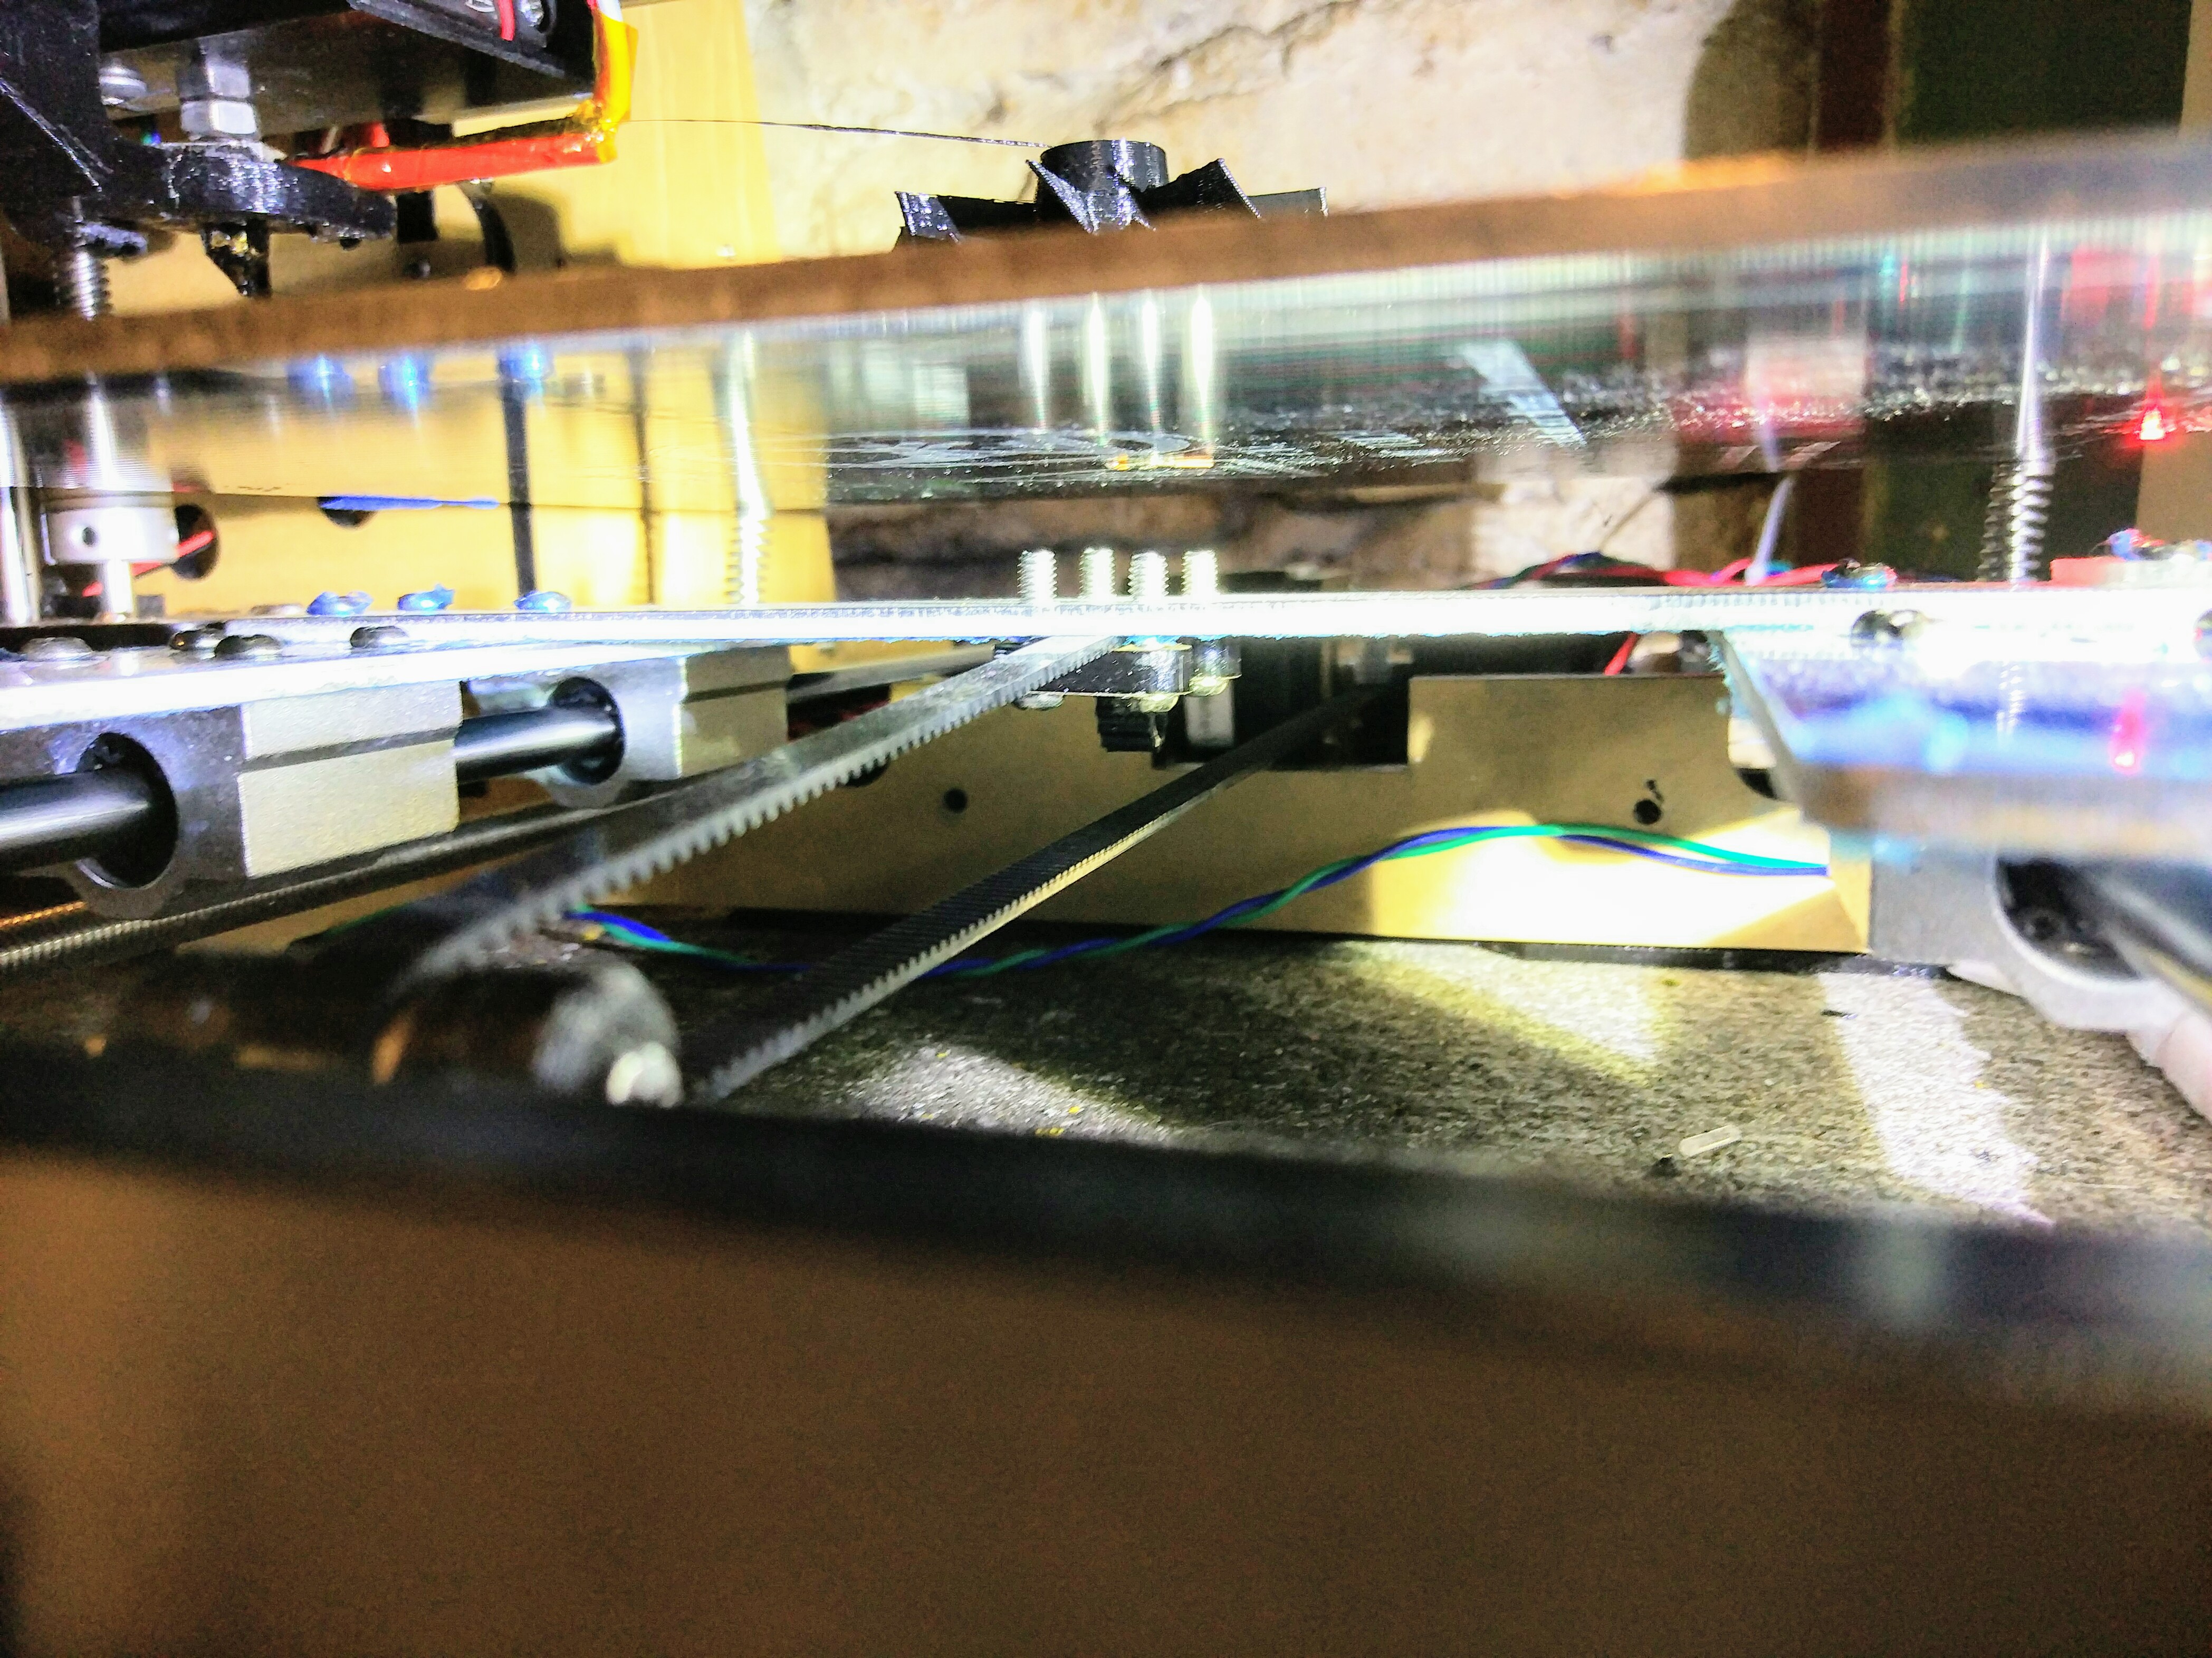
Y-axis pulley attachment installed wrong and pulling upwards
Otherwise you will have uneven pressure on the belt depending on the position because the carriage pulls the belt upwards.
You can fix this by just turning it around. Yes, that means taking everything apart. Again.
Bed Cable Chain
This is looks really cool! Turn your bed by 90° and you move all the cables out of the way. This is necessary because the white heatbed plug takes all the mechanical load. This will lead to failure!
The contact will be intermittent. If the software doesn’t catch it this connector will catch fire. Find it on thingiverse at
Anet A8 Y-Axis Cable Chain – Right Side
You also want to hold the chain down. Mirror and print this:
Optional upgrades
These are nice to have, but not mandatory.
Y-Axis pulley fastener
This helps you fastening the Y-axis belt. Makes your and your stepper motor’s bearings life much easier.
Remixed Y axis belt tightener for A8, A6
Z-Axis Top Caps
This should be unnecessary as all the forces should be taken by the hardened rods. Should. You might reduce a bit of Z-axis wobble.
You can find it on thingiverse as
The Mosfet Upgrade
It’s not strictly necessary because the Mosfet on the Mainboard is quite capable and as long as the connections are good, you will only loose a bit of power. But the heated bed is already at it’s limit with the 12V and the voltage drop over the long wire doesn’t help.
Just connect the heated bed directly to the power supply and put a mosfet in series. You can switch the mosfet with the original wire or any signal wire.
I’ve gone on a spending spree and invested in a optocoupler because I didn’t want any ground loops. Making and testing the PCB took me ~1 hour. Next time, I will buy the ready made PCB für 5 USD.
New Firmware
You should use Marlin or the Anet A8 fork called ‘skynet3d’. Flashing it is really difficult. Luckily there are two alternatives to the ancient arduino version you have to use. That is
- marlintool
- platformio
marlintool is a shell script which downloads and flashed the software. It’s available for Linux x86 and raspberry. This is what I used; works surprisingly well and can also do backups.
Platformio is the new defacto standard in the embedded world and work in progress for skynet3d. You can find the instructions here. And I copy & pasted the relevant part:
[code] cd <your skynet github installation>
# backup our config
cp Marlin/Configuration.h /tmp
cp Marlin/Configuration_adv.h /tmp
# update from Github
git fetch
git checkout SkyNet3D-Devel # or the branch you use (like SkyNet3D-V2.4.x)
git reset origin/`git rev-parse –abbrev-ref HEAD` –hard
# restore the config
cp /tmp/Configuration.h Marlin/
cp /tmp/Configuration_adv.h Marlin/
# build and upload the new skynet
platformio run -d Marlin -t upload [/code]
Afterwards you have to measure your zero position again. I’ve used this pattern on thingiverse:
Frame Braces
The acrylic frame is optimized for easy shipping and fast development. You want it stiffer to print faster. I’ve printed some upgrades which help a lot.
X-axis end frame brace
It’s on thingiverse at
New Power Supply
The 12V 20A Power Supply is one of the cheapest you can get. Mine exploded.
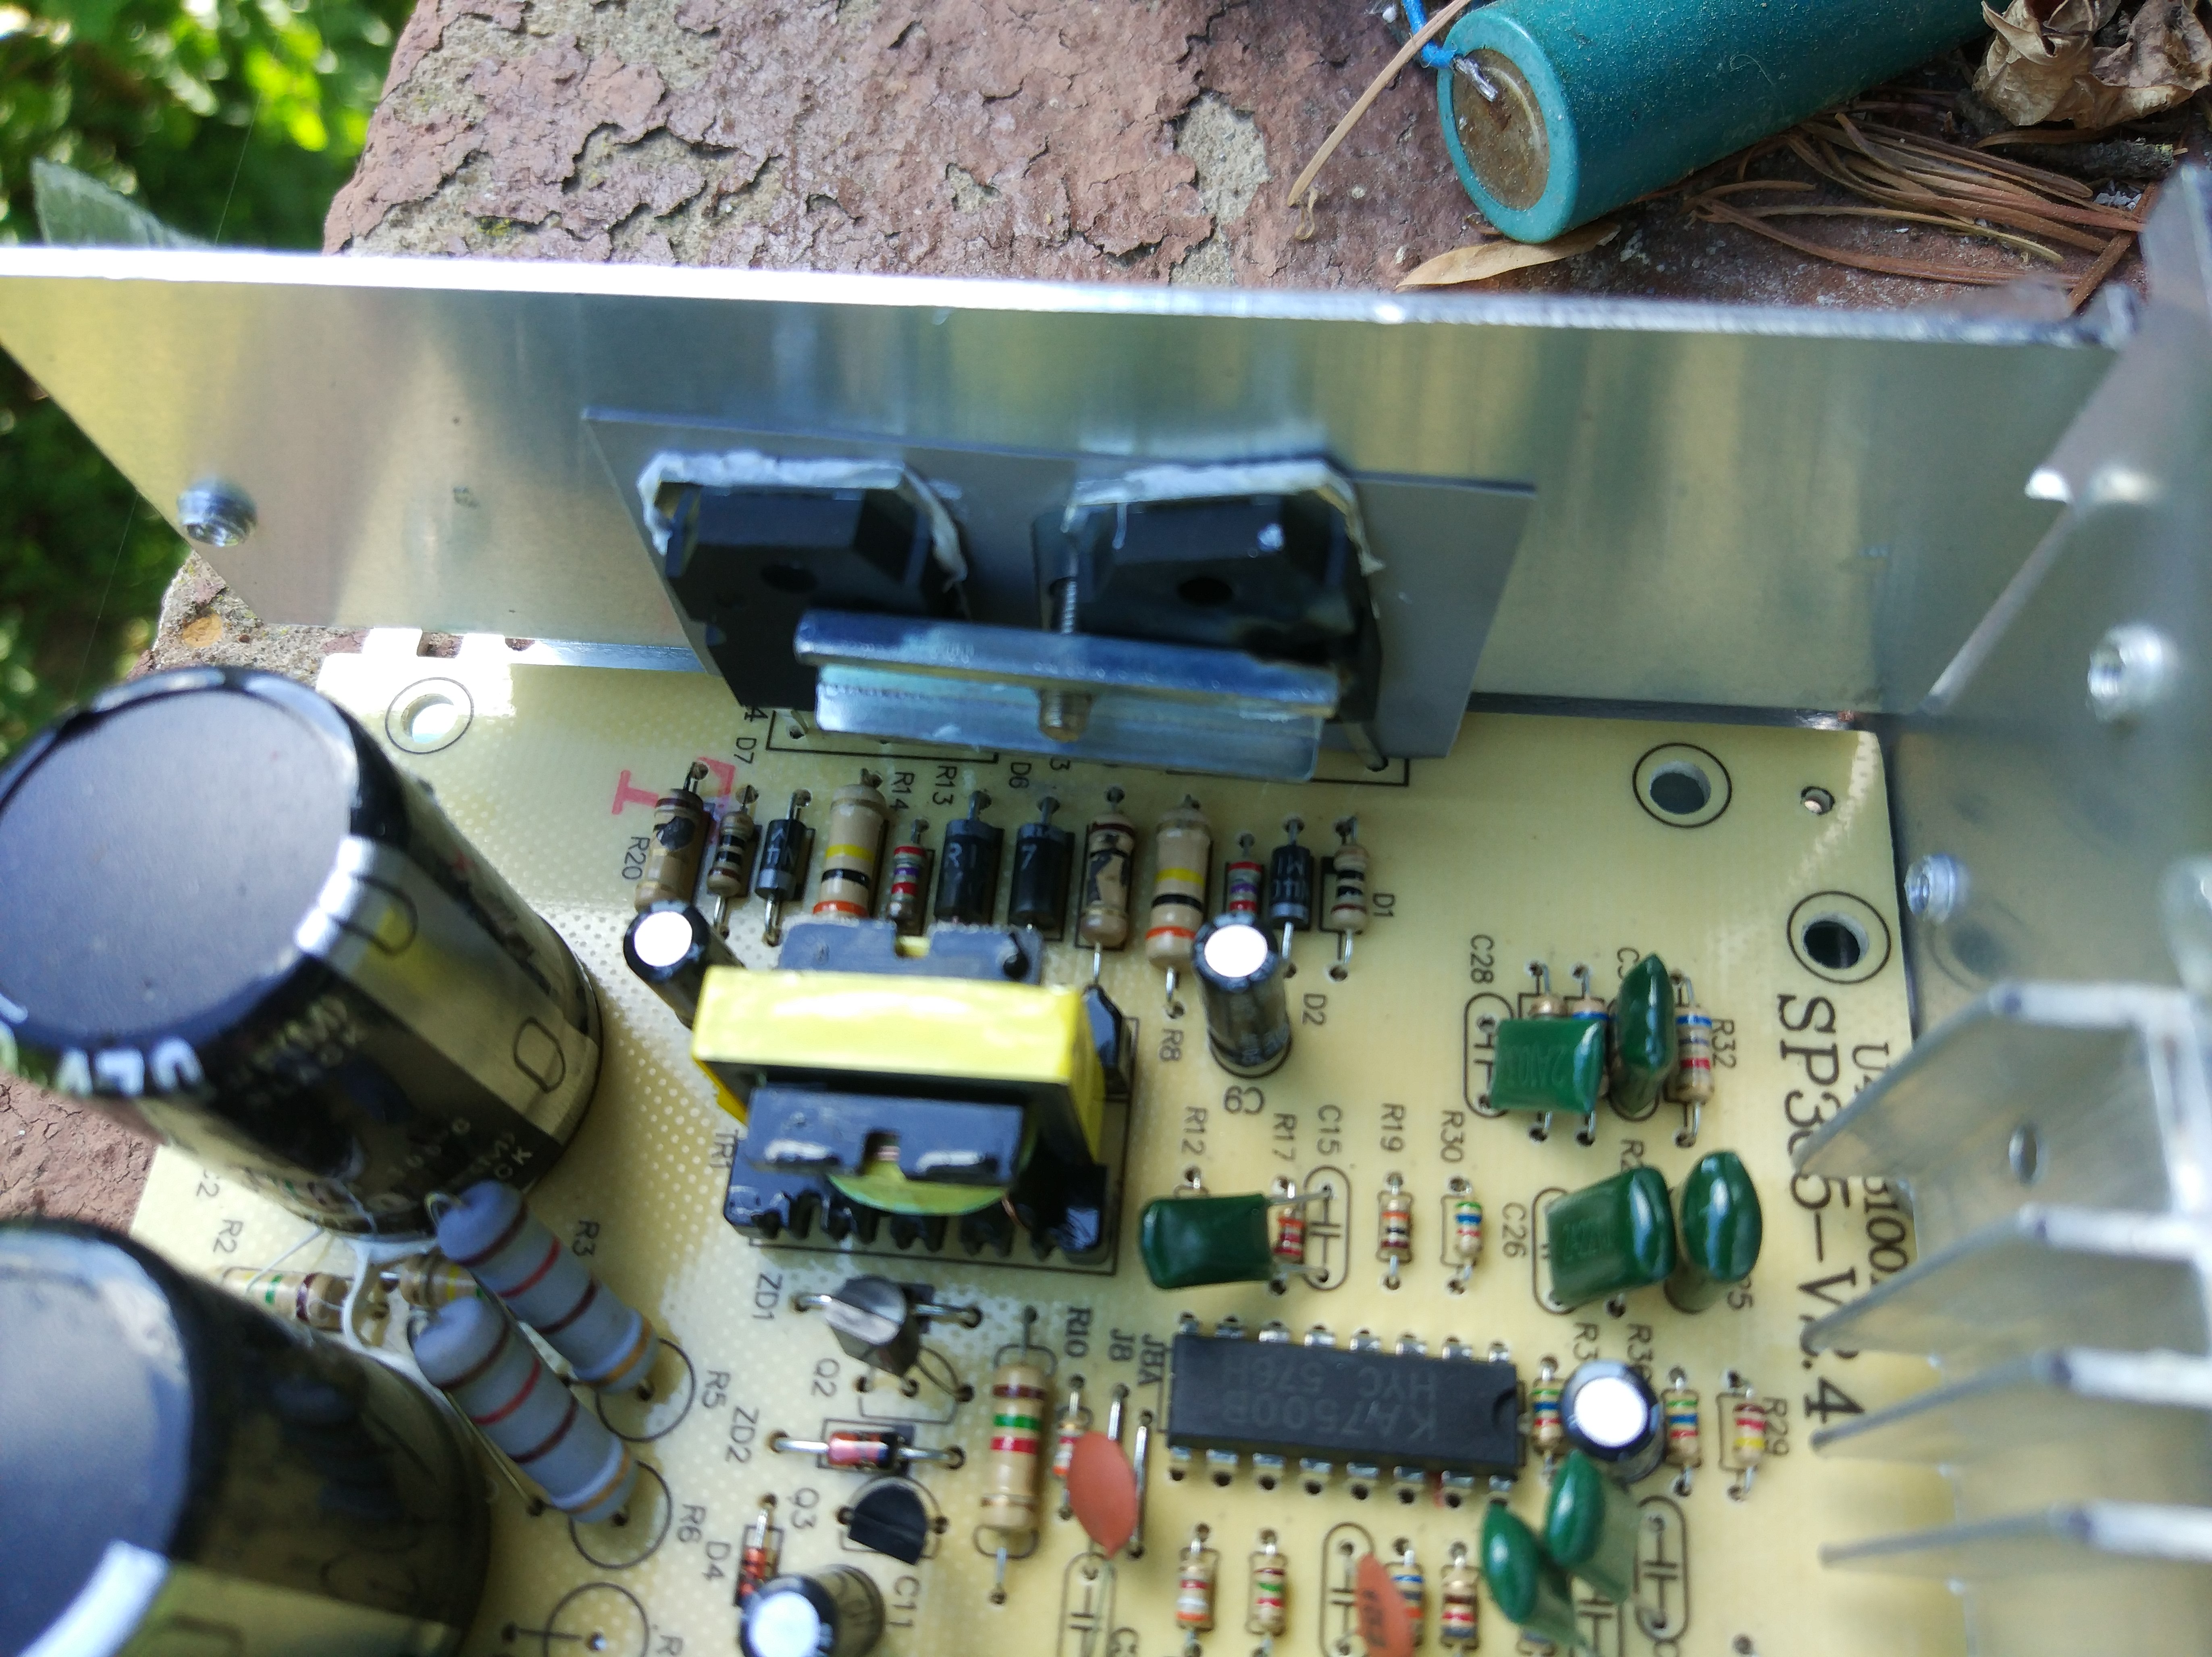
12V 20A Power supply. The transistor at top right blew and shorts to the case
Luckily the house installation fuse blew. I’ve tested it at 45V. It just pulls ~3A and smolders. So this could really burn if the failure mode is slightly different.
Auto bed leveling
Get yourself an inductive distance sensor. 8mm sensing distance is good. If you take a npn, normally open inductive sensor you can just parallel it to your Z-endstop so you have a backup. One possible name is “LJ18a3-8-z/bx”. The inductive sensor’s internal pullup pulls it up to 12V with 1mA and the AVR is powerful enough to sink this through it’s protection Diodes.
There are a lot of guides for auto bed leveling. Beware that Marlin always uses the Probe offset from the EEPROM. Your firmware settings will have no effect. Do a M502 M500 to load defaults from firmware and save to EEPROM after flashing.
Conclusion
Well, this thing is a fire hazard and a time sink. After the first few weeks I had enough parts to build a second printer.
The frame’s stability will seriously inhibit the printing speed.
But it’s fun! You learn how the stuff works, you learn the limits, you learn the workarounds and you learn patience on your 96 hour print.