TL;DR: I’ve invested way too much time and money in this thing
Introduction
I’ve printed for over a month now. Various things broke and some improvements weren’t improvements after all.
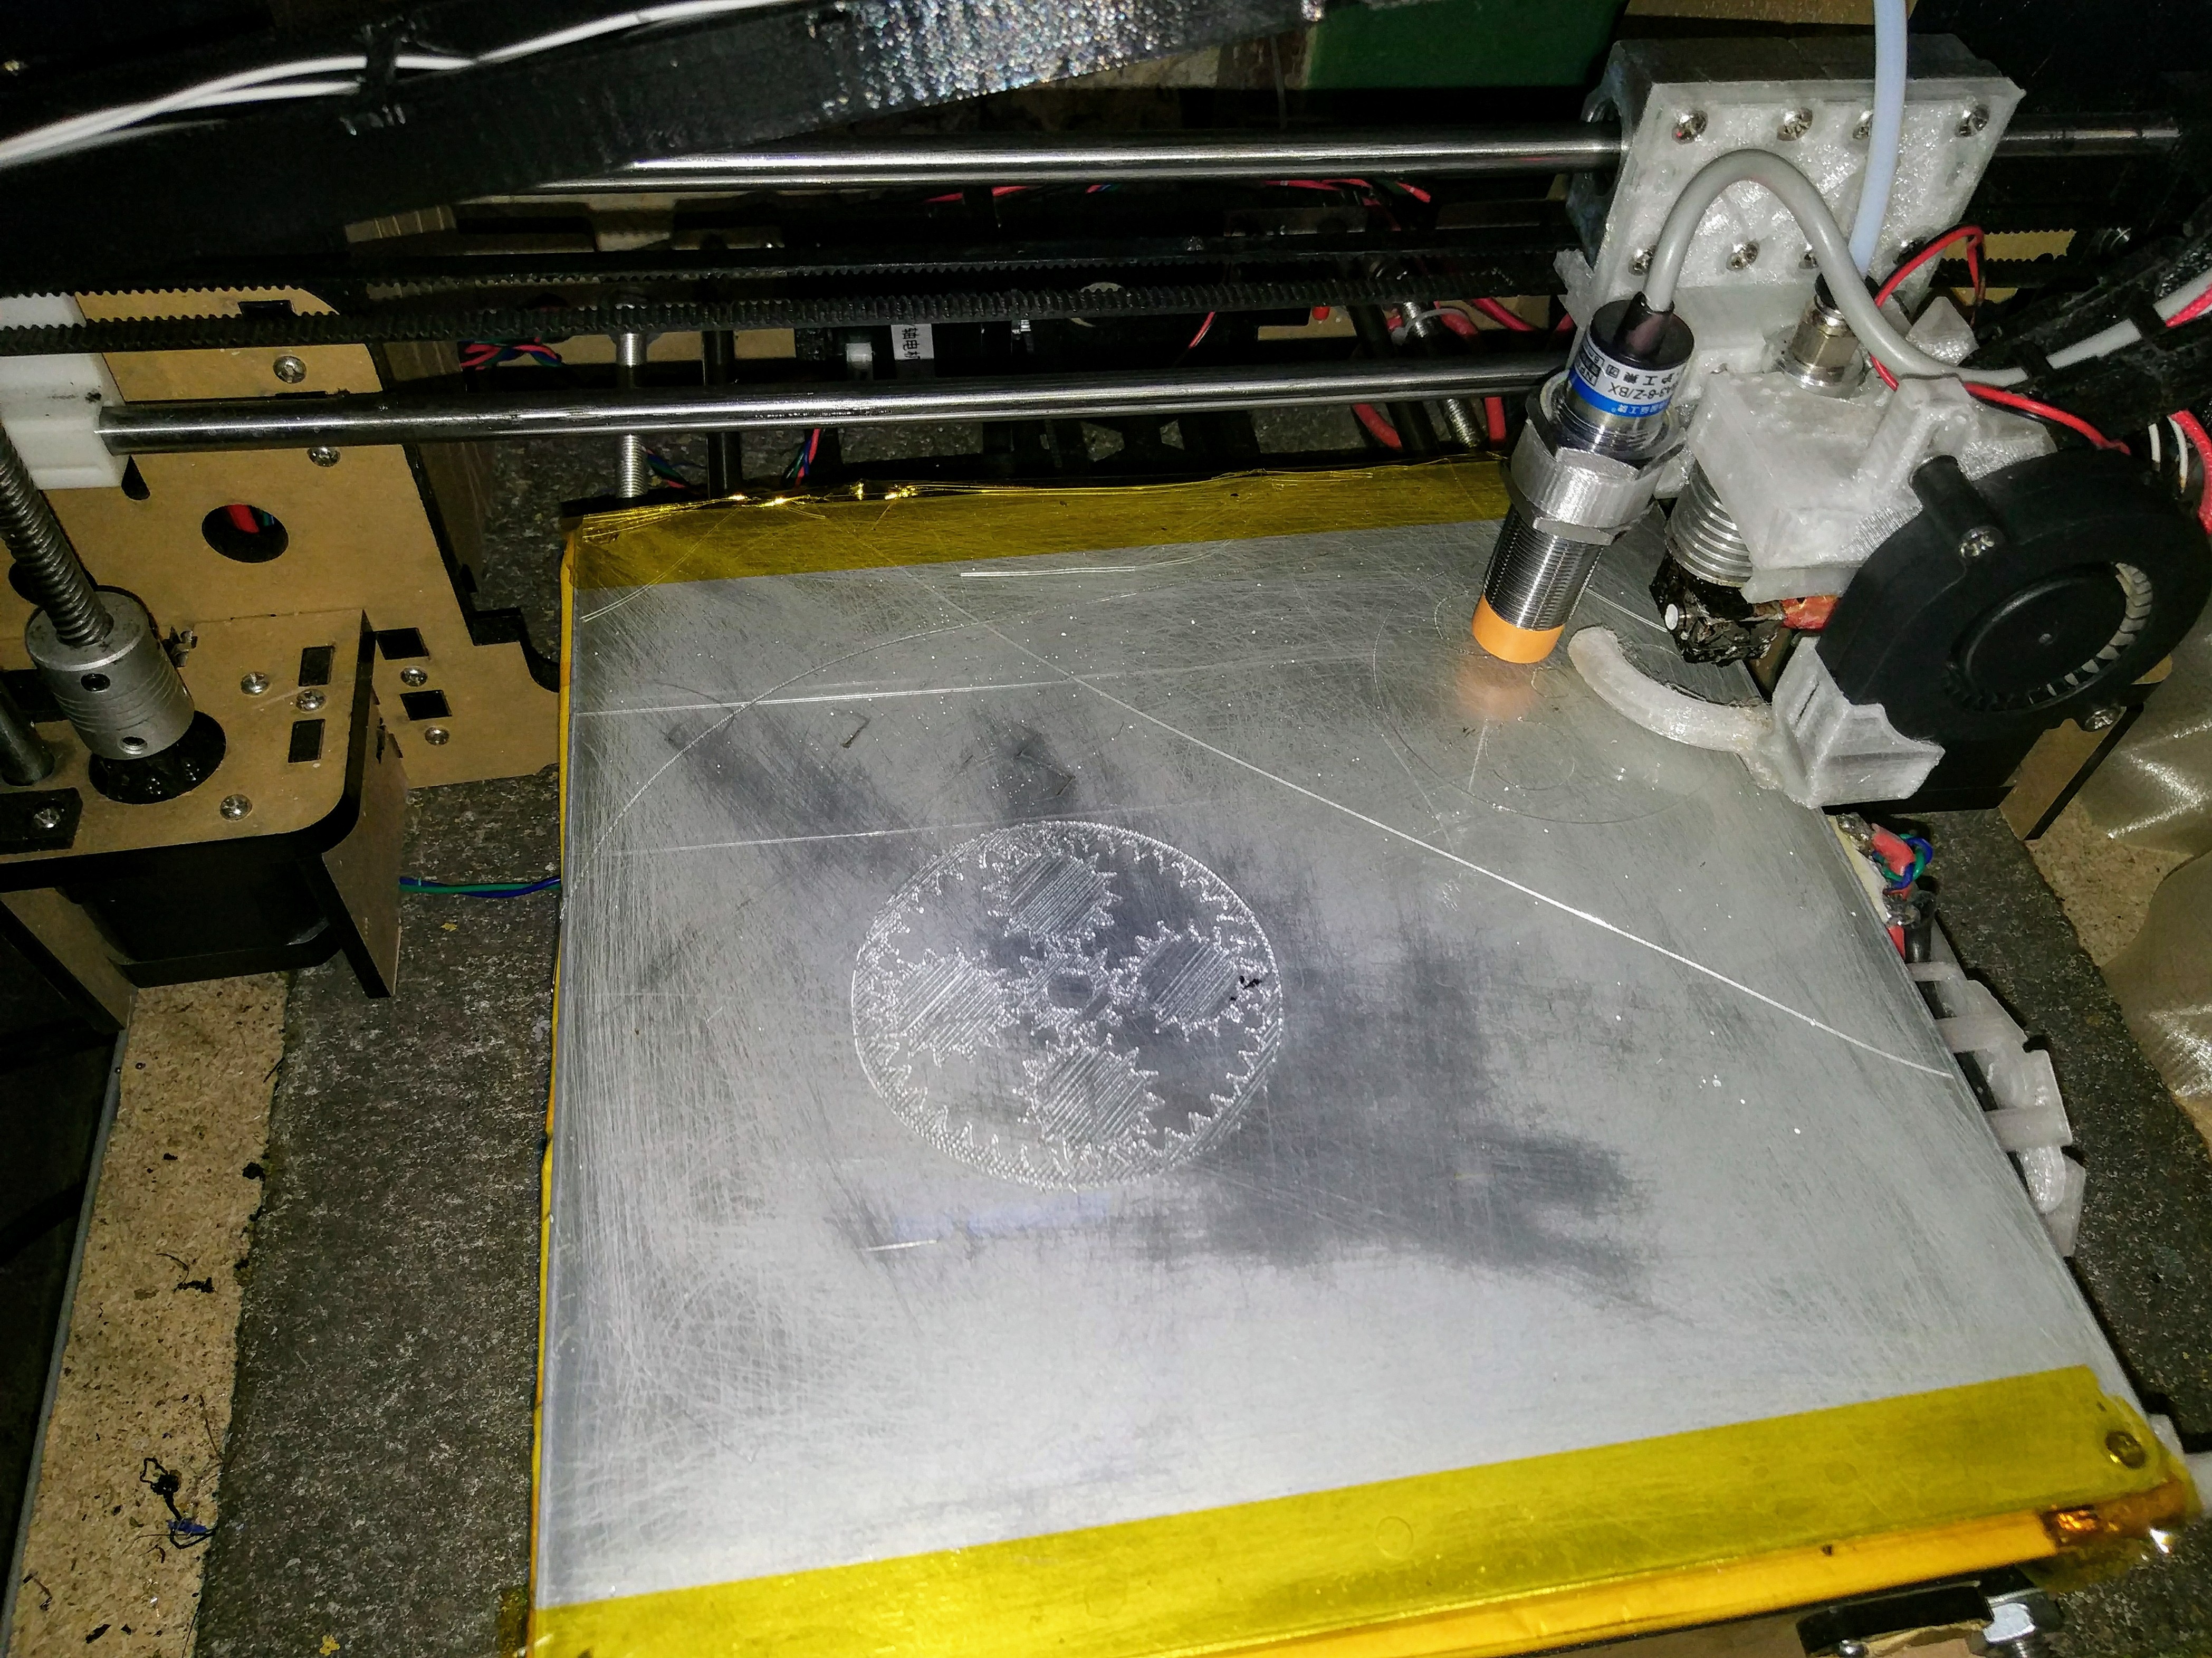
New bed surface
I’ve tried a lot. The best is borosilicate glass. It just works and the bottom is sooo smooth.
This here is a ipad screen protector. It turns out that you can’t cut tempered glass with a box cutter.

But I managed to keep it in one piece as the bottom side is made of polycarbonate.
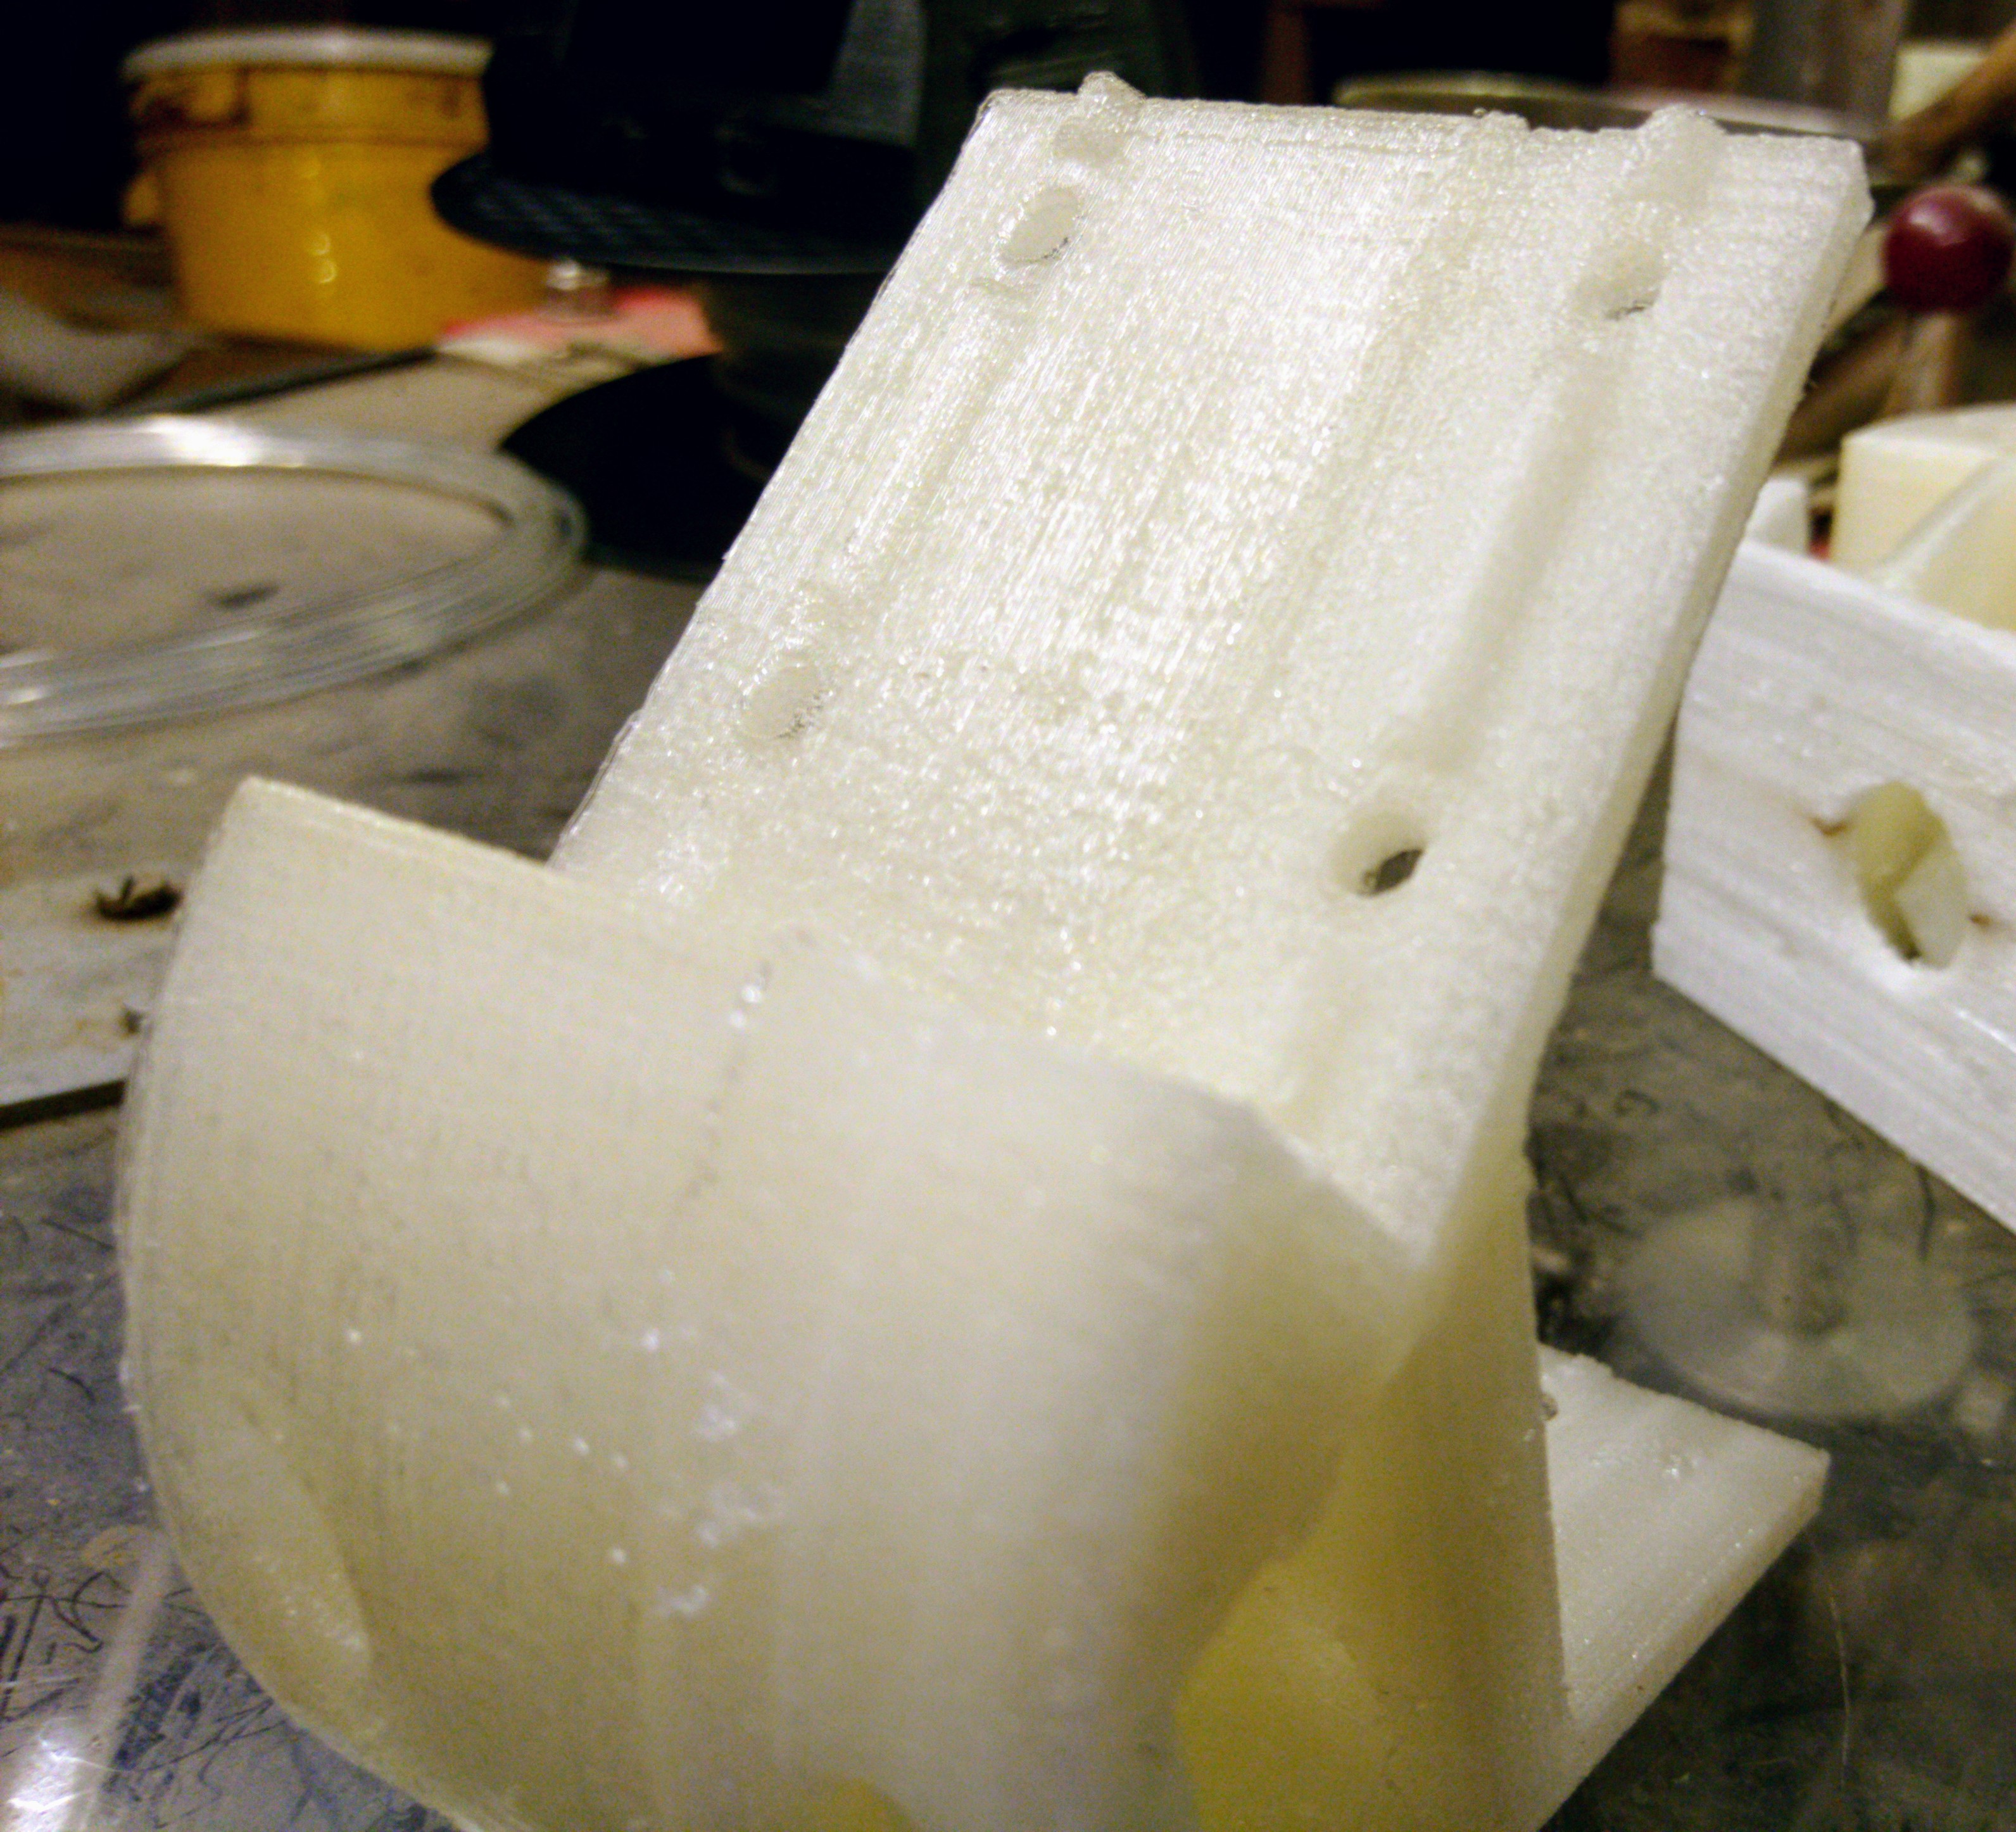
And it works! But you have to turn up the temperature really far as it is a no-stick surface. Duh. Should have been clear from the start. The pieces start warping in the corners after some time.
This is a build-tak like surface:
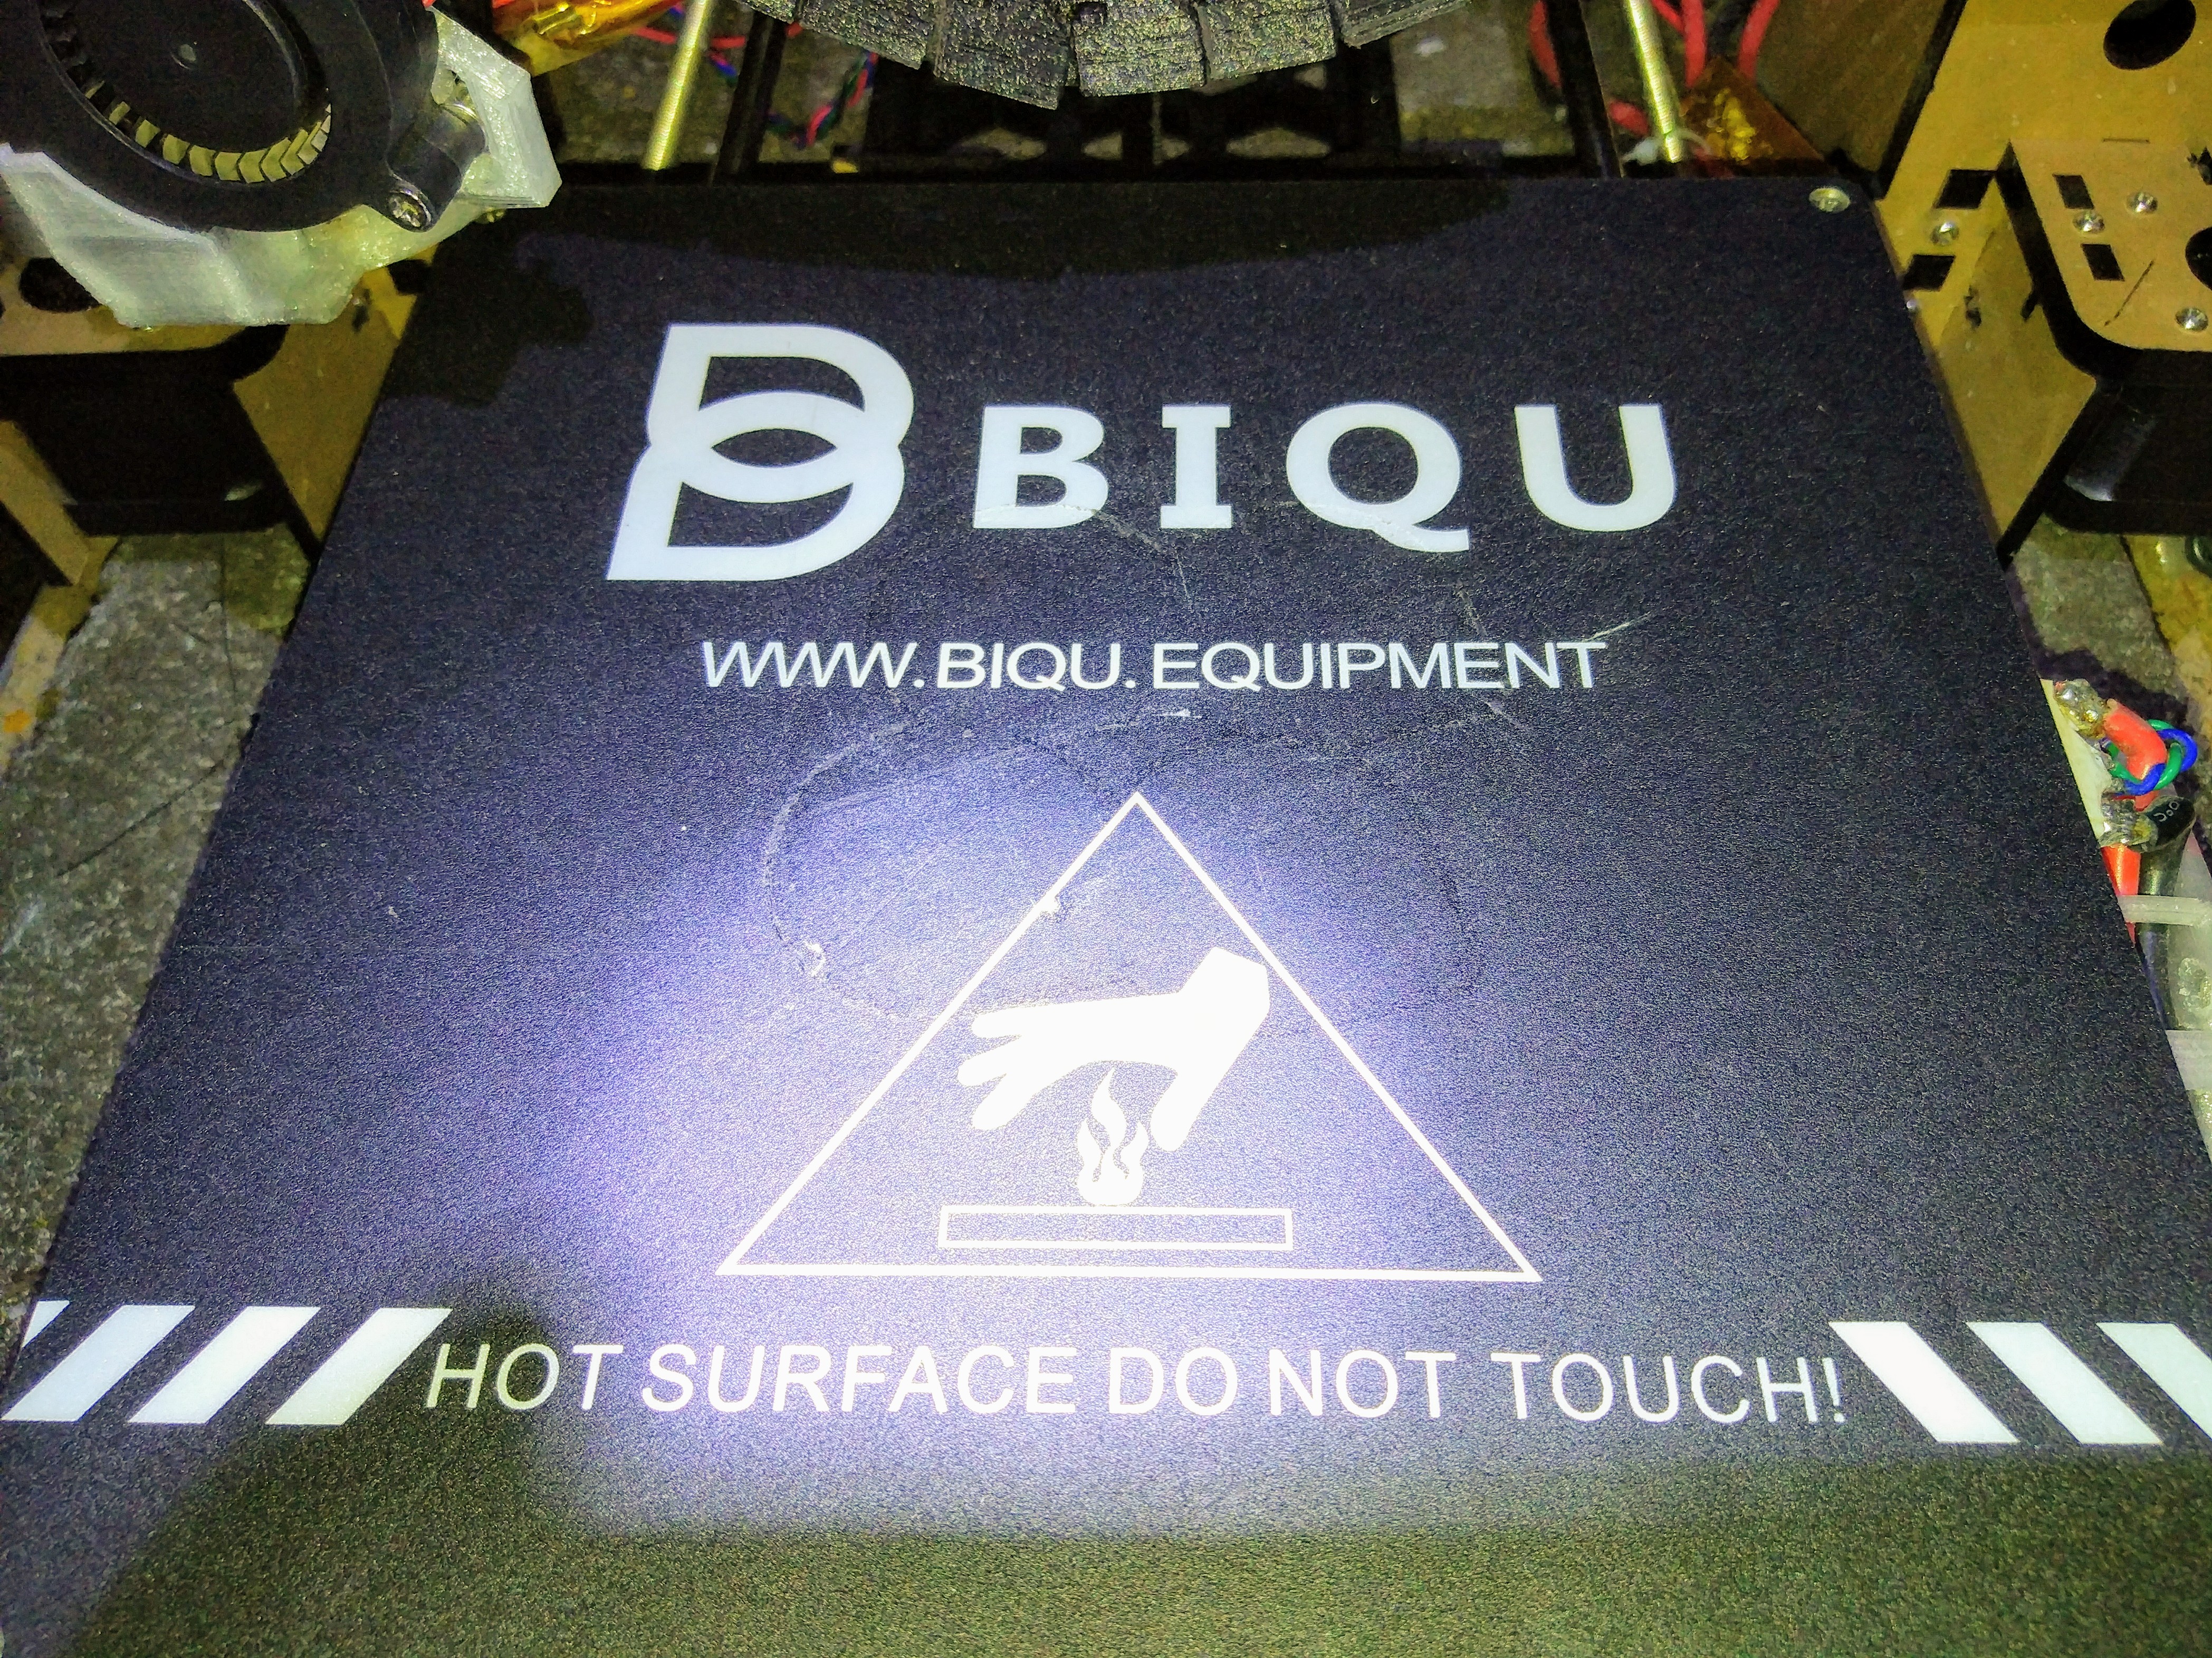
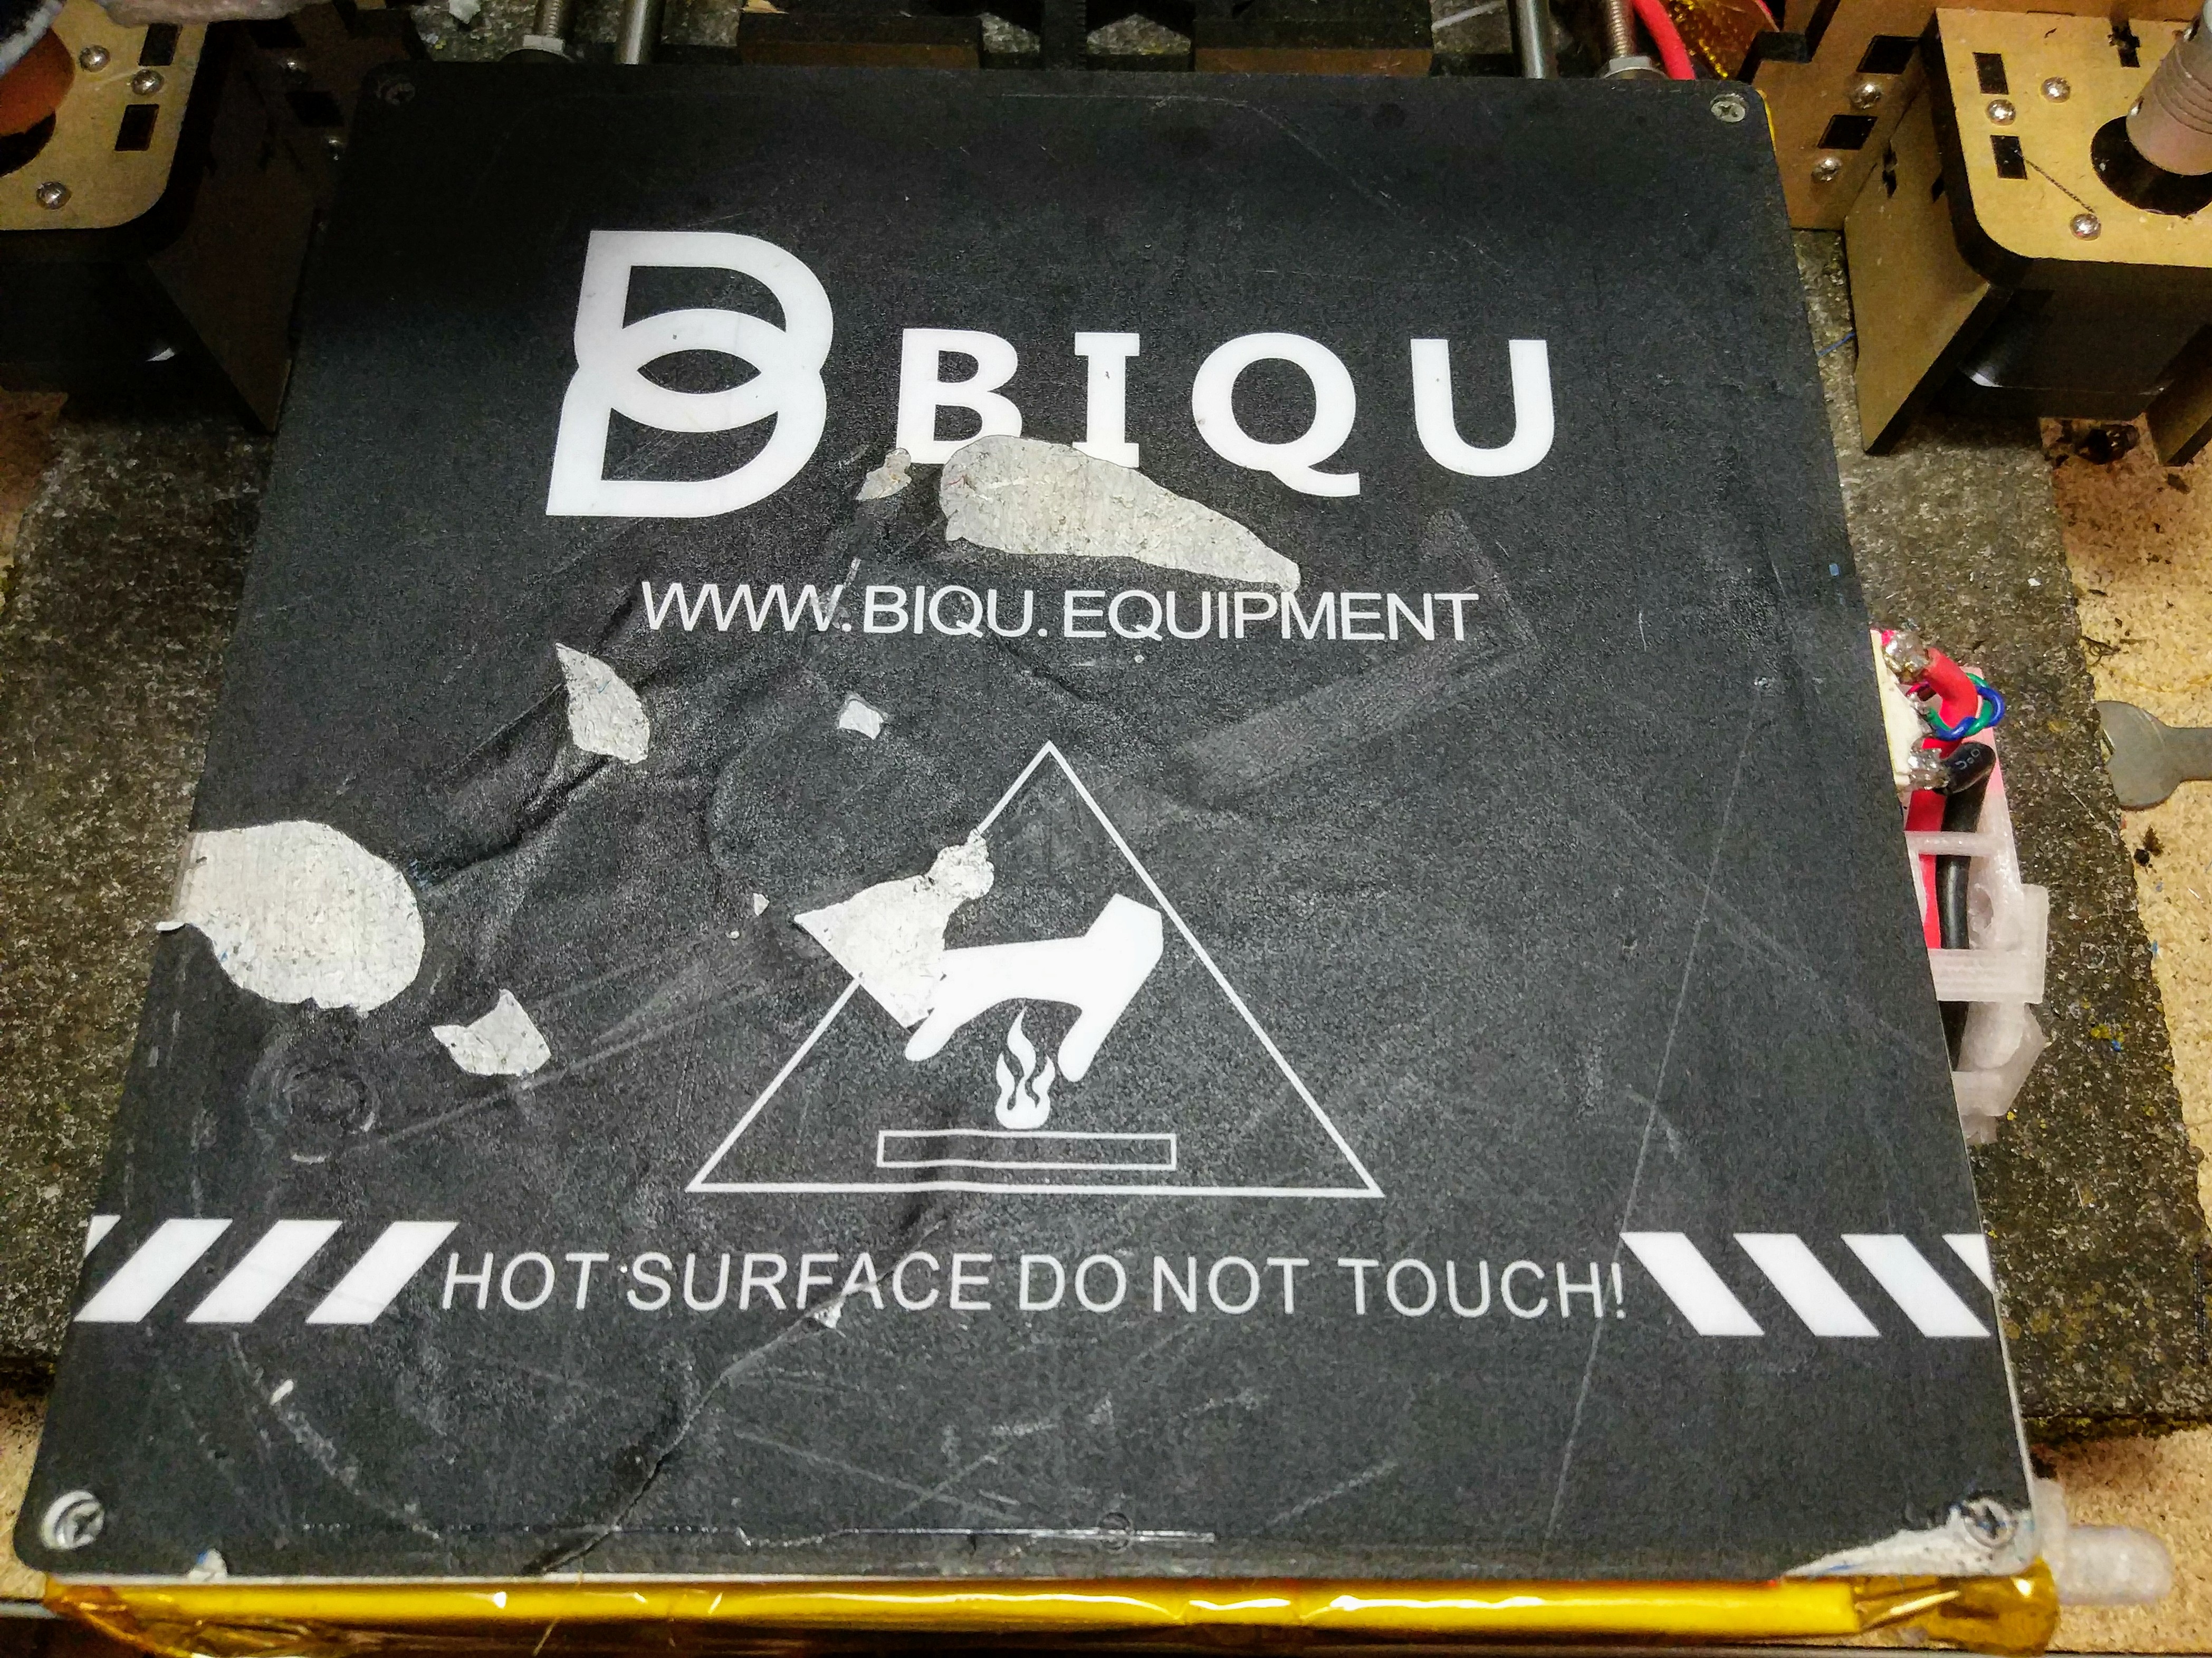
It’s quite cheap at 5 USD and for PLA you don’t even need the heat. Sometimes it sticks too well. And it gets destroyed easily. The bottom doesn’t adhere to the aluminium bed anymore:
I tried printing polycarbonate on it. After heating to 155°C it curled up like a dead leaf.
Printed linear bearings
This just failed. I used PETG for the Y-Axis linear bearings. They are stuck even after 3 hours of traveling back and forth. The problem worsens at slow speed. I actually have step loss.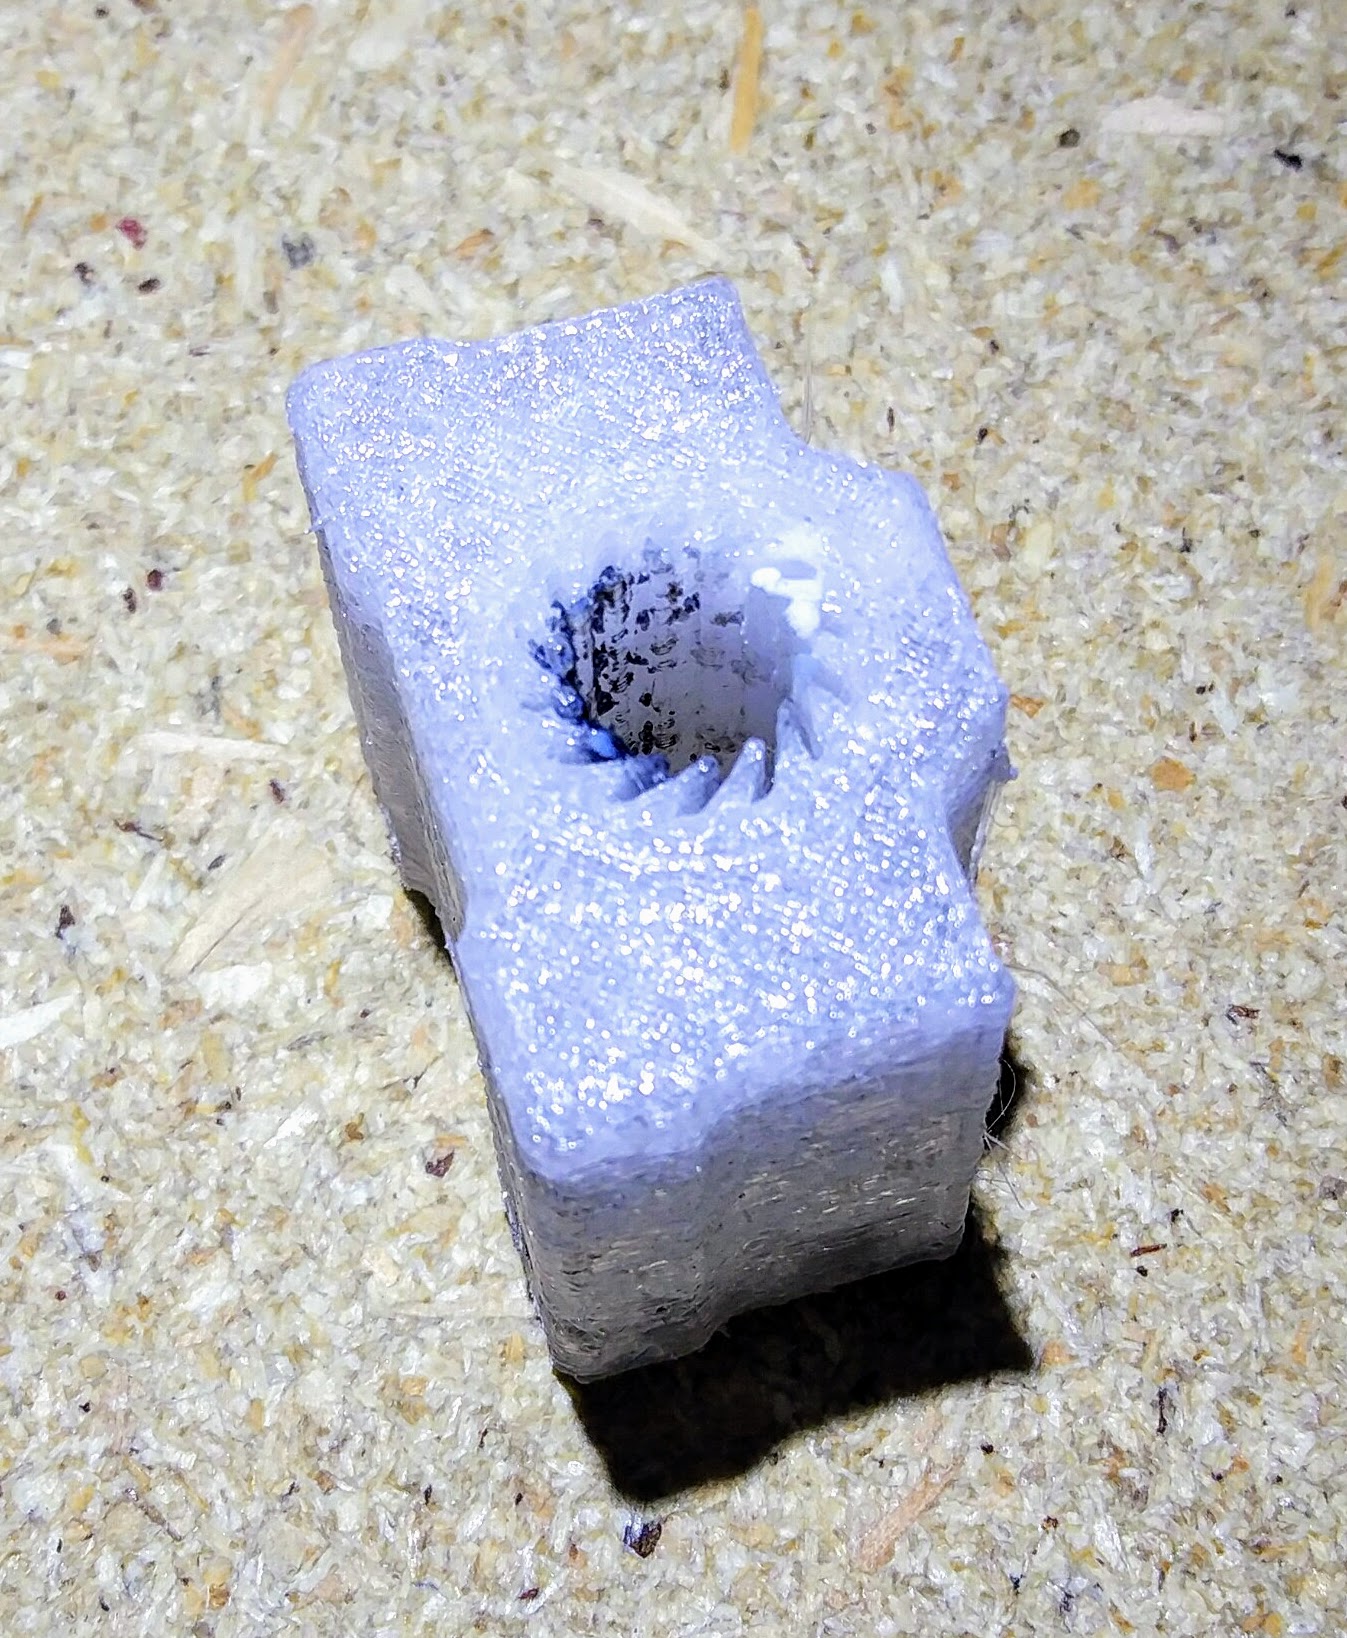
Printing with wet filament
I had to switch spools in the middle of print. The second spool to the right is wet:
The surface is not smooth and shiny but has tiny bubbles. You can’t make out fine features like fonts. And you get overextrusion at holes.
Burnt hotend mosfet
I took a look at the PCB when I got this printer and discovered some serous design flaws. The hotend was not one of them. But the mosfet really shortened and even the aluminium on the heater block melded! This could have been a fire, I’m just lucky that the PLA didn’t burn.
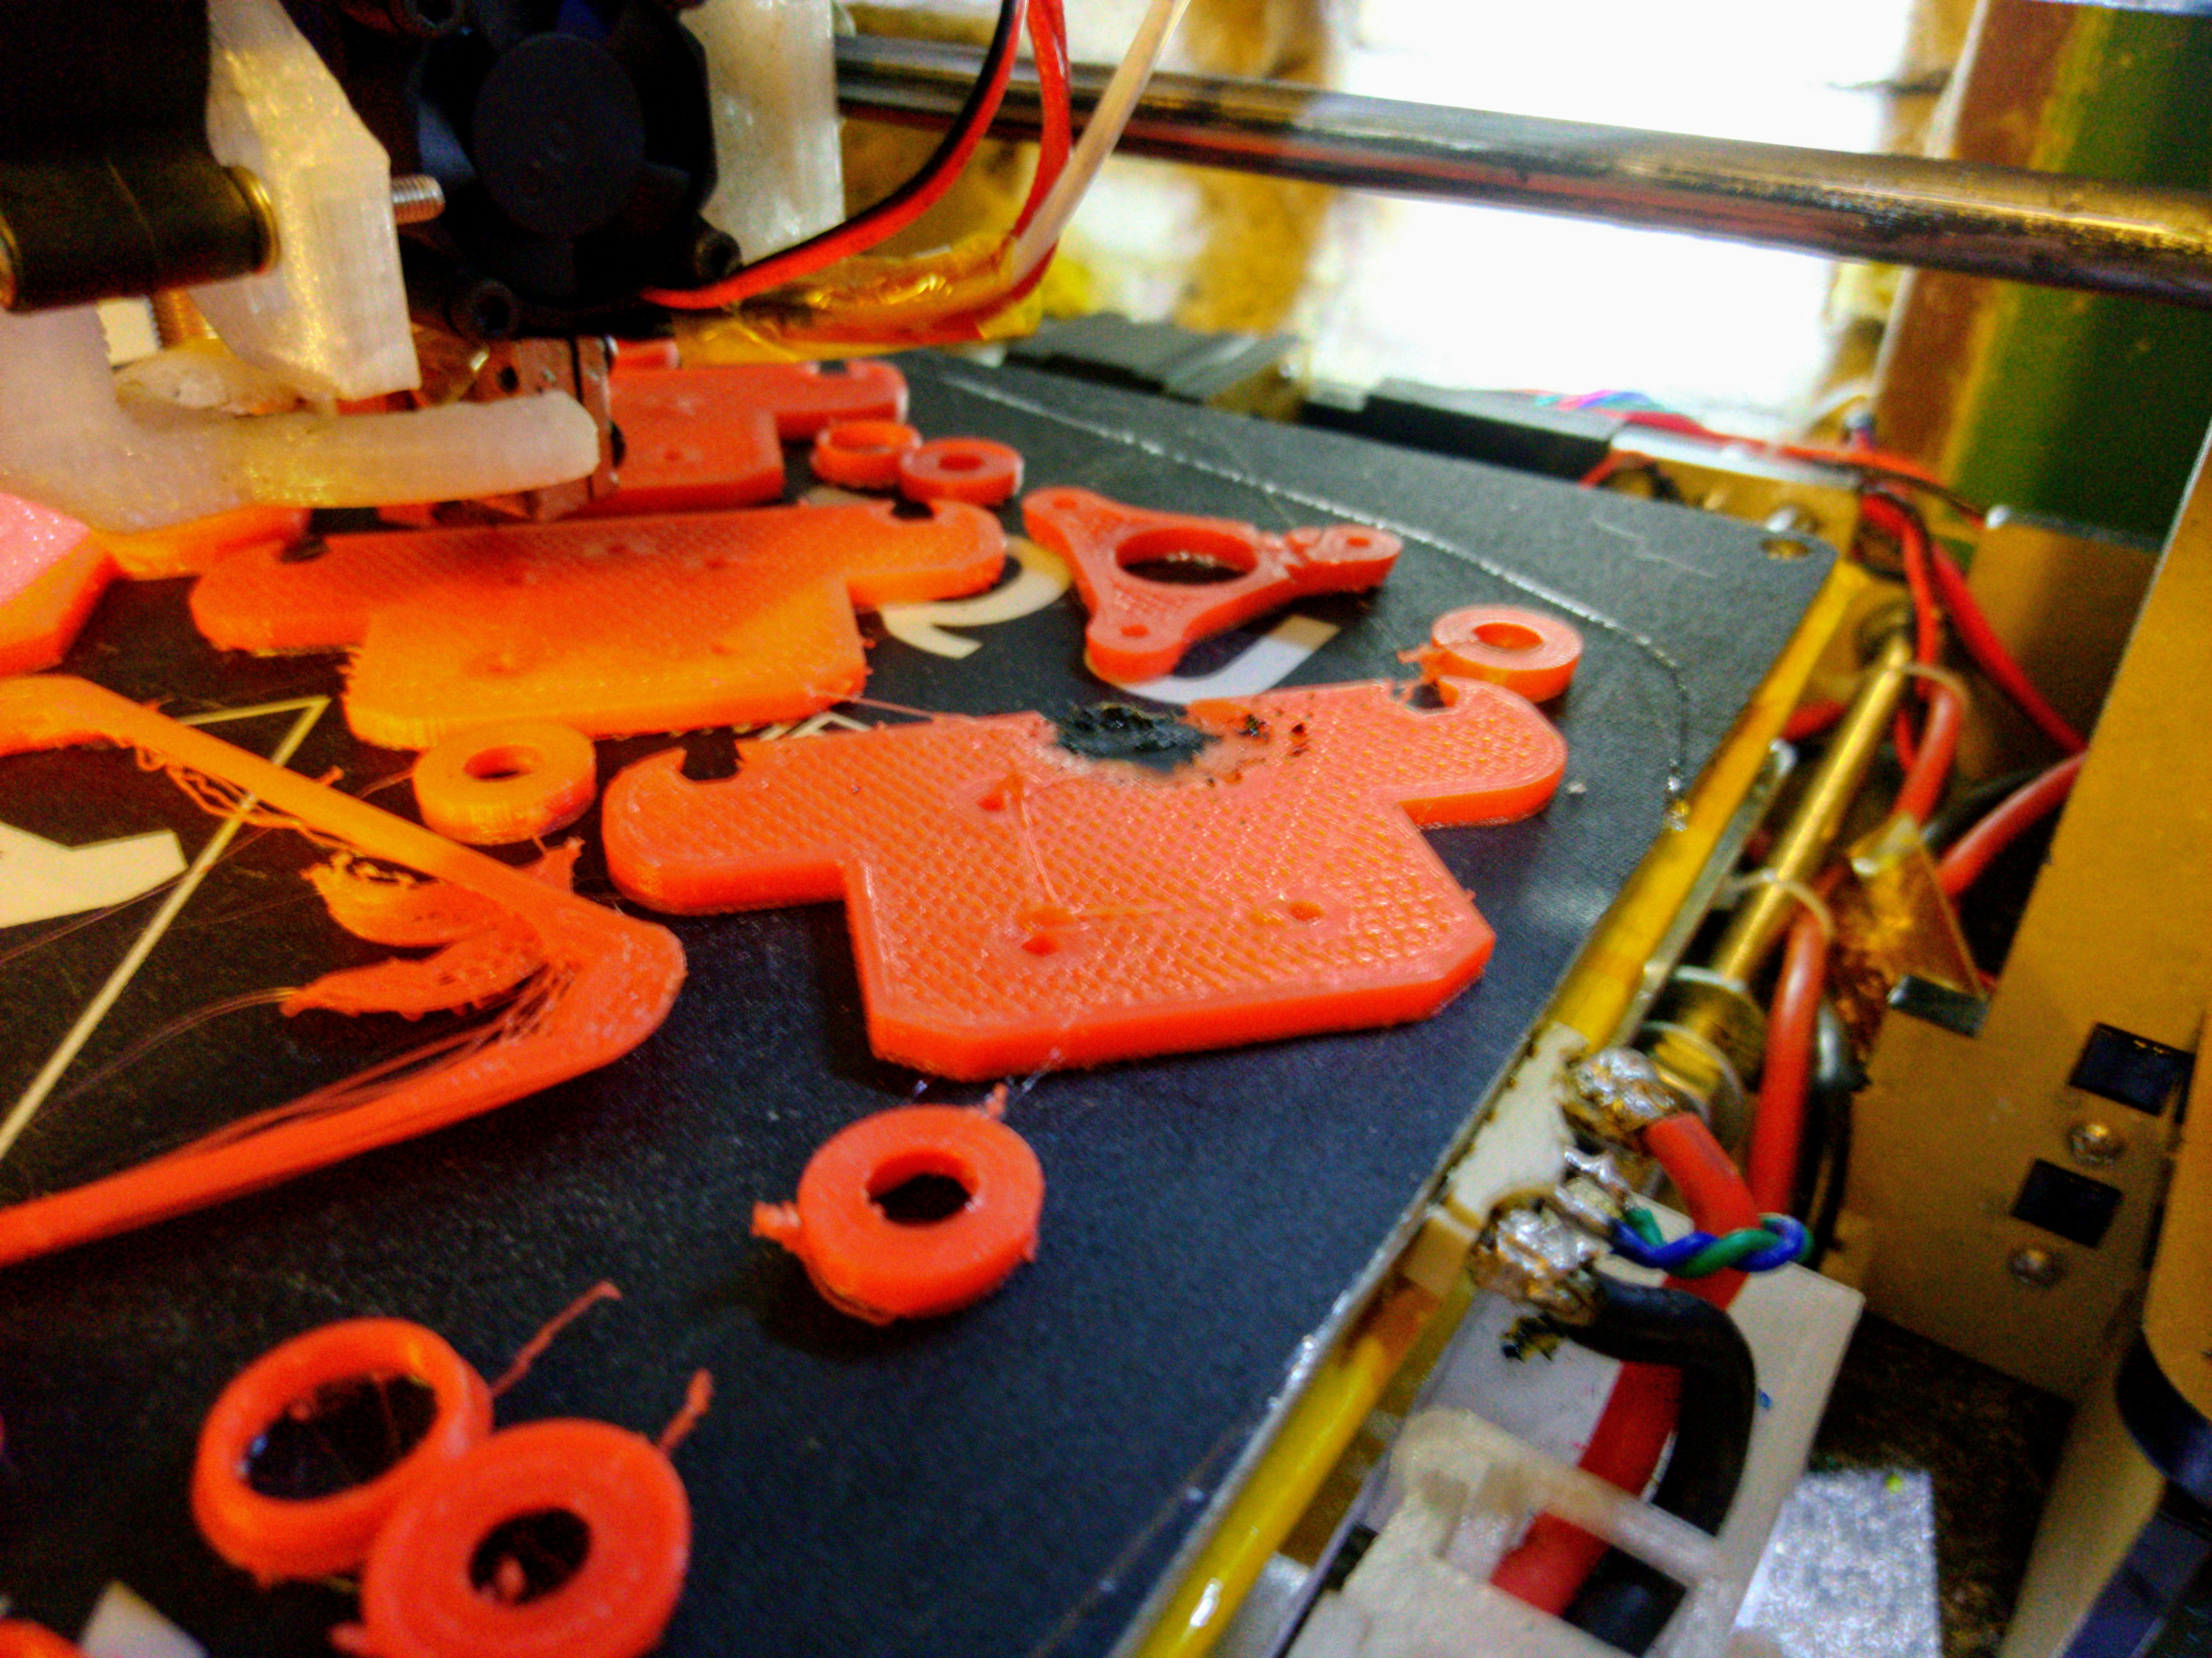
Photo of the failed print:
This is the PCB backside: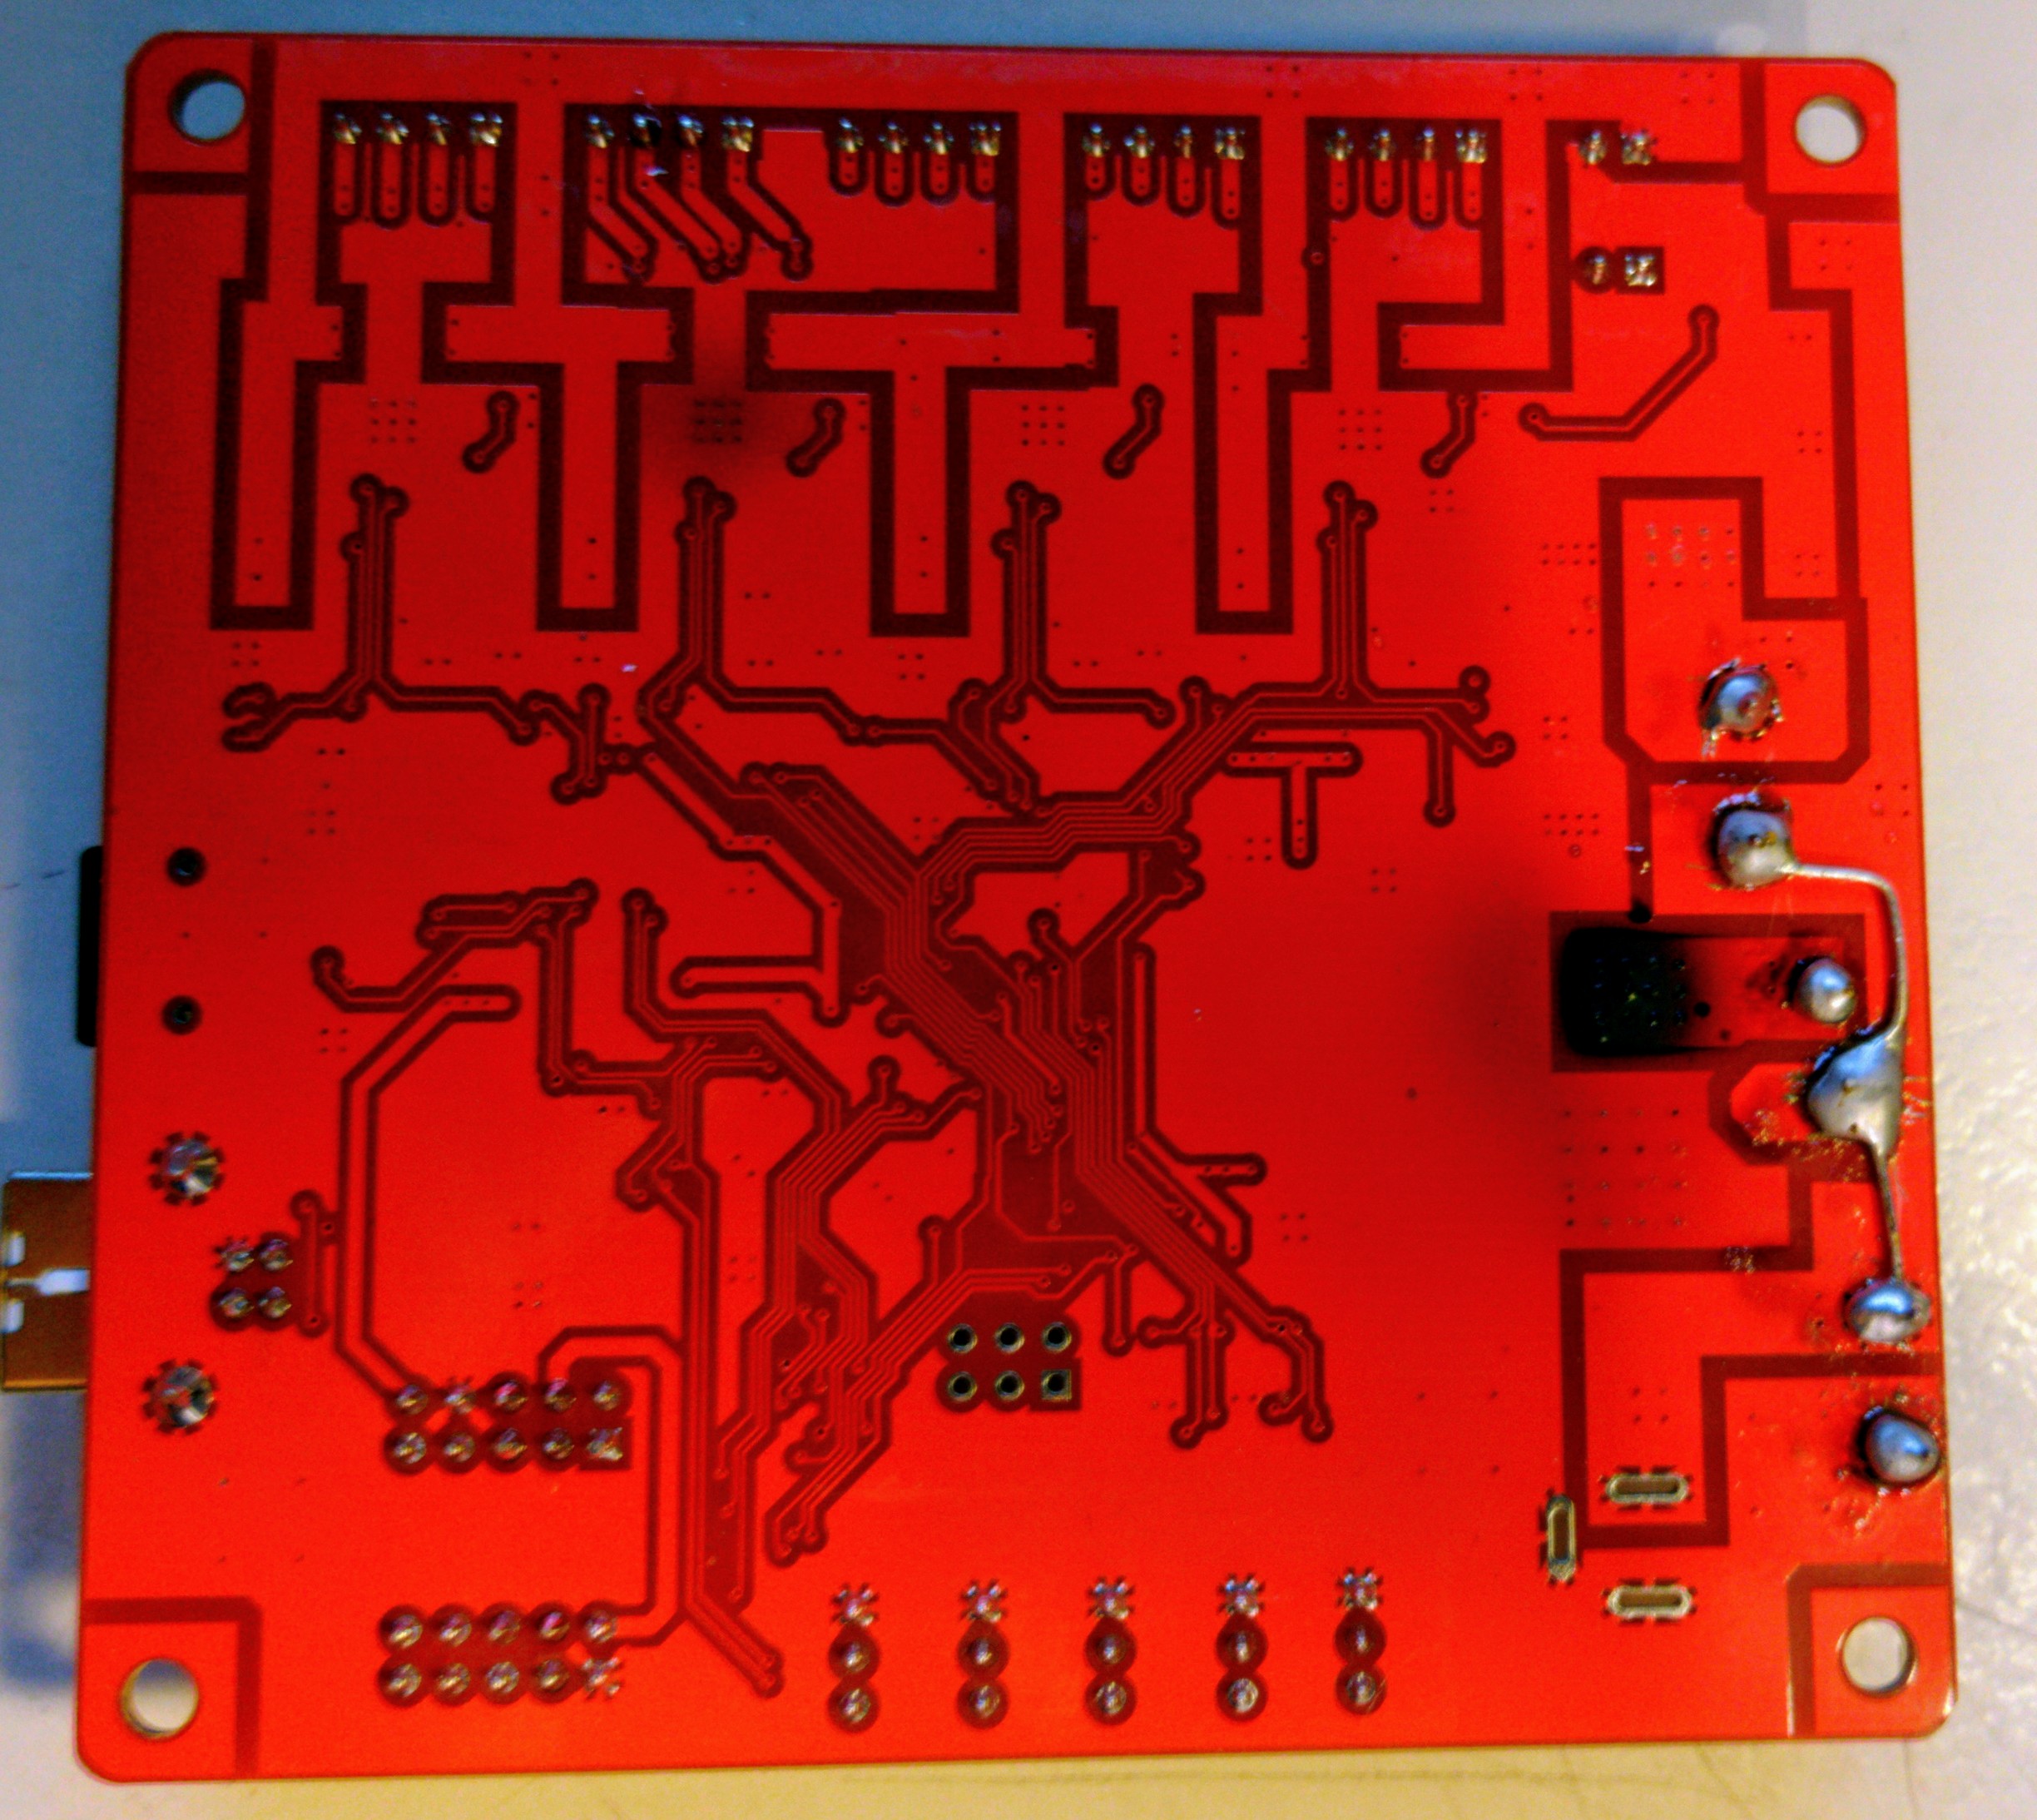
The Mosfet was a beefy one with ~3mΩ and 30V. They even provided cooling: I found the same one in my parts box. I cleaned the debris from the burnt glass fibre board and transplanted the new mosfet upside down:
This thas the advantage that the heat sink can work it’s magic better by contacting the copper base of the mosfet than by transferring the heat through the epoxy casing: This works good so far. The cooler only heats up to 23°C.
E3d v6 Hotend
Well it’s just a clone. You need to polish the heatbreak manually AND you have absolutely no guaranty that the thing works. I’ve chosen it to reduce the weight. Unfortunately, the bowden tube has it’s own disadvantages.  By now I’ve changed back to the original MK8 Anet clone. The reduced weight is no good, as the heated bed is made of aluminum and quite heavy. So there is no way I can accelerate faster.
Different Extruder motor
I’ve ordered a smaller, lighter extruder motor. This failed. It just doesn’t have enough power to reliably extrude filament. Maybe if I used it as a geared extruder.
New Software
Marlin supports the Anet since Version 1.1.4! No need for skynet!
I’ve copied the platformio definition from the skynet project so I don’t have to check out all the mainboards. I merged my old config in to the new config. And: It doesn’t compile. The default config uses too much flash. You can read what other people with the same problem on github did. I threw out EEPROM_CHITCHAT.
Conclusion
Fun stuff. But you end up spending quite a lot of money. On the other hand I can print now in polycarbonate.